


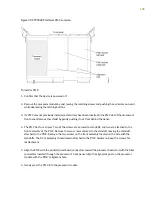


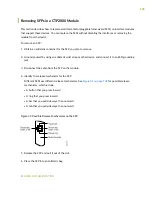


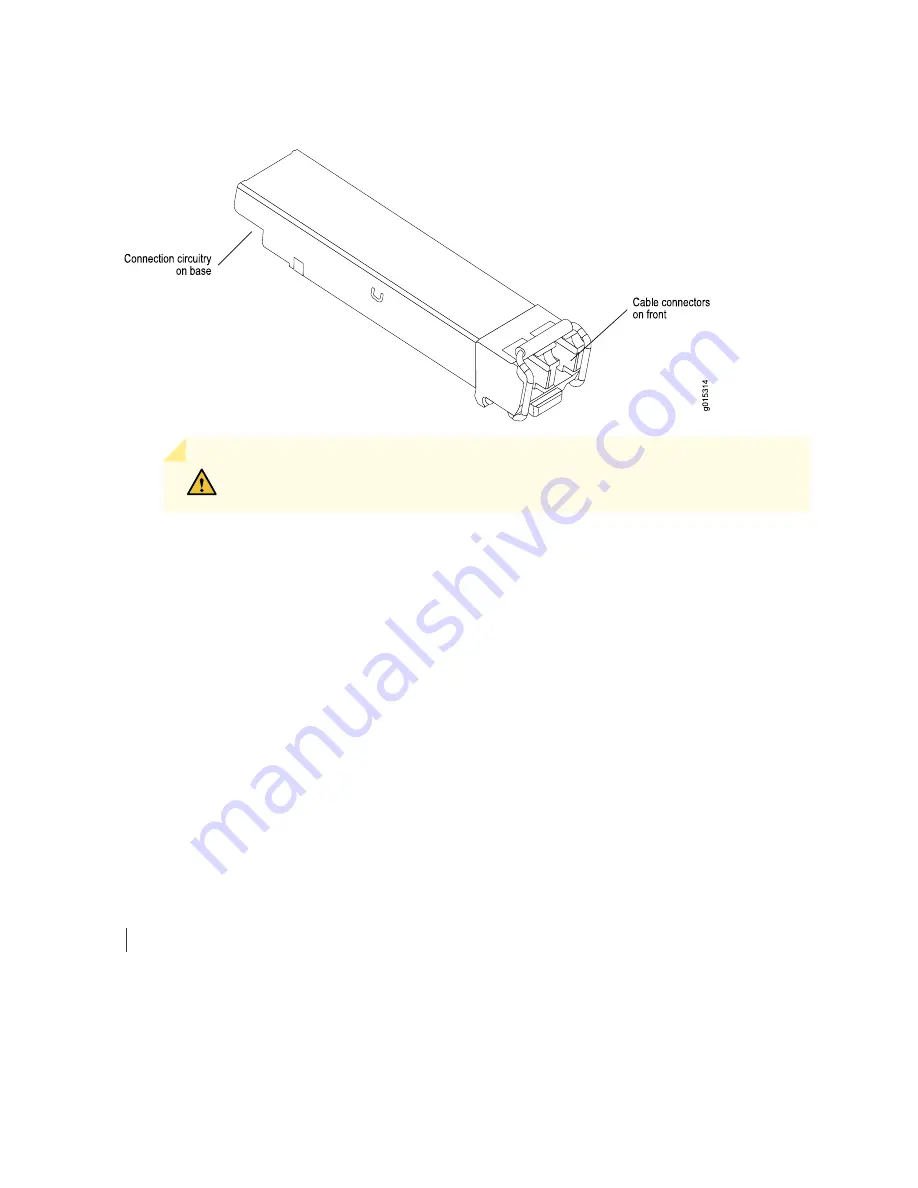
Figure 40: Representative SFP
CAUTION:
Be sure to position the SFP correctly before you install it.
3. Hold the SFP so that:
•
The connection circuitry is adjacent to the module's faceplate.
•
The cable connectors are visible when you install the SFP.
4. Slide the SFP as far as you can into the module until the SFP clicks into place.
If the SFP does not slide smoothly into the module, make sure that the orientation of the SFP is correct.
5. Gently pull the SFP to confirm that it is inserted correctly.
If the SFP comes out of the slot when you pull it, repeat Step 4.
6. Connect the new cables to the SFP.
RELATED DOCUMENTATION
Removing SFPs in a CTP2000 Module | 104
103
Содержание CTP2000 Series
Страница 1: ...CTP2000 Series Circuit to Packet Platforms Hardware Guide Published 2020 08 31 ...
Страница 8: ...1 PART Overview CTP2000 Series Platform Overview 2 CTP2000 Series Interface Modules 11 ...
Страница 112: ...Installing SFPs in a CTP2000 Module 102 105 ...
Страница 127: ...5 PART Configuration Accessing the CTP2000 Platform 121 ...
Страница 144: ...7 PART Troubleshooting Troubleshooting Power Failures 138 Contacting Customer Support 140 ...
Страница 149: ...Locating CTP Component Serial Numbers 141 Returning CTP Products for Repair or Replacement 136 142 ...


