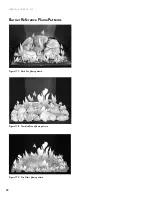
7
130112_Rev 2 GF 160 DV 2/22
Location
In selecting a location for the stove, consider the
following points:
1) Heat distribution
2) Vent termination requirements
3) Gas supply line routing
4) Traffic areas, furniture, draperies, etc.
The stove may be located on or near conventional
construction materials, however, proper clearance to
combustibles must be maintained in order to provide adequate
air circulation around the appliance. Also, it is important to
provide adequate access around the stove for servicing and
operation.
The clearance and hearth specifications listed in this manual
are the minimum requirements for combustible material. A
combustible material is anything that can burn (i.e. sheet rock,
wall paper, wood, fabrics etc.). These surfaces are not limited
to those that are visible and also include materials that may be
located behind non-combustibles.
If you are not sure of the combustible nature of a material,
consult your local fire officials. Remember, “Fire Resistant”
materials are considered combustible: they are difficult to
ignite, but will burn. Also, “fire-rated” sheet rock is considered
combustible.
Floor Protection
This appliance MAY NOT be installed directly on carpeting,
vinyl, or linoleum.
If this appliance will be installed on any
combustible material OTHER THAN WOOD, a floor pad must
be installed that is either metal, wood, ceramic tile, stone, or
a listed hearth pad. This floor protection must extend the full
width and depth of the appliance. It is not necessary to remove
carpeting, vinyl, linoleum or laminate from underneath the floor
protection. See fig. 5.1.
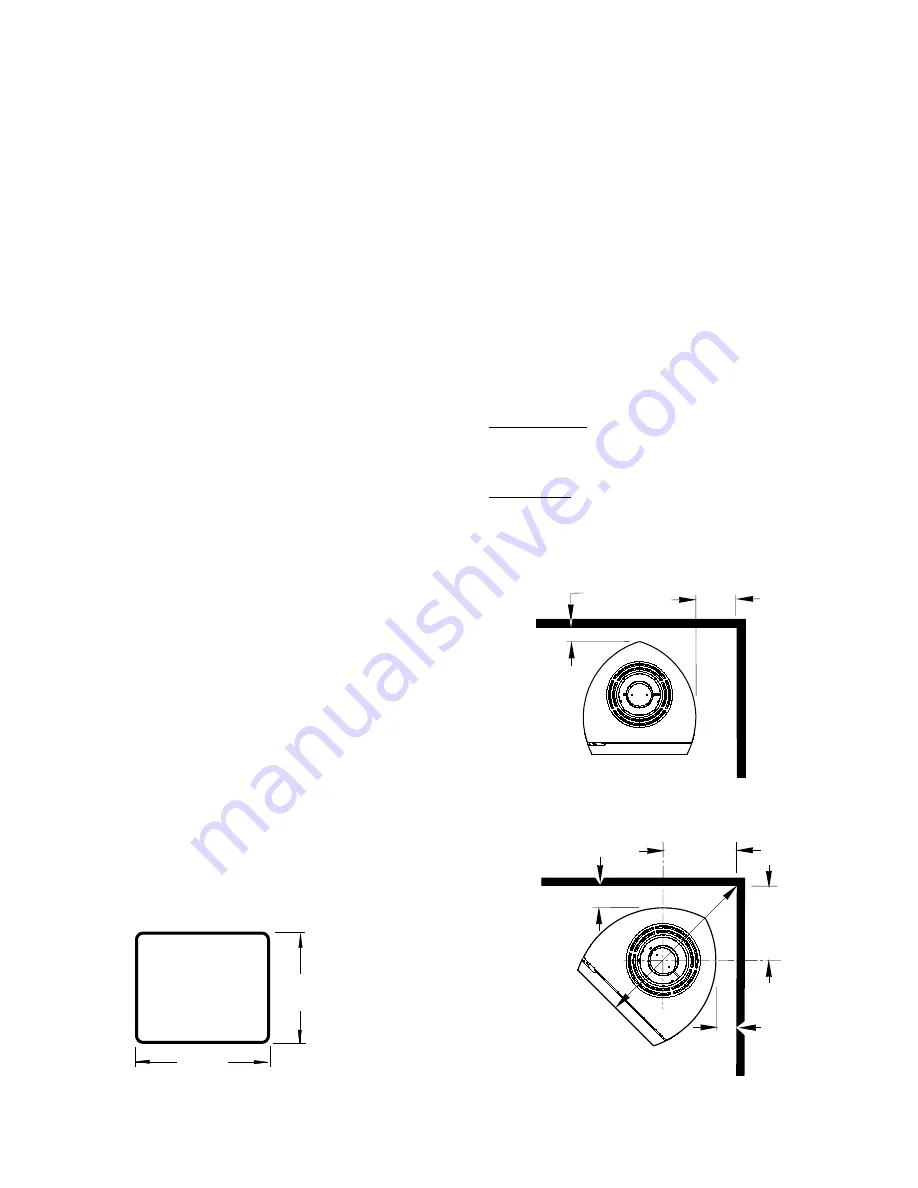
Figure 5.1. Minimum combustible floor protection.
18”
(475 mm)
18”
(457 mm)
Stove and Vent Clearance
Requirement
s
Minimum Clearances from the Stove to Combustibles:
Measured from:
Rear:
2”
Rear Shroud
Ceiling:
33 1/2”
Top Plate
Corner:
3 3/8”
Side Plate
Side:
7 3/8”
Side Plate
Minimum Clearances between Vent Pipe and
Combustible Materials:
Horizontal Run:
Off the top of the pipe
2”
Off the sides and bottom
1”
Vertical Run:
All sides
1”
5. Installation Requirements
Figure 5.3. Corner Wall clearances.
Figure 5.2 Parallel Clearances


