


VR209TP
21
CAMERA OPERATION
Enter Camera Mode
Connect the cameras to the unit using camera connection cable at the back of the unit. Press the
CAM
key on the front control panel to access camera mode.
Camera Connection and Camera Trigger
This unit can connect 3 cameras: CAMERA (CH1), CH2, and CH3. Each camera can be triggered
separately and can be set in different trigger priority. There are 3 trigger wires at the back of the unit.
If trigger signals are detected on more than one trigger wire, the channel that has the highest priority
is triggered first. Once a channel is triggered, the triggered channel video will be displayed on the
full screen. Only one camera channel has audio input, which is available only when the selected
camera channel is triggered and the
MIC
option is turned on. See “Camera Setup Menu” on page 9
for information about the Auto Mic Trigger setting.
Auto Mic Trigger
The Auto Mic Trigger feature allows you to select which camera/microphone combination to use for
rear observation.
With the Auto Mic Trigger selected for Mic 1, the current playback audio will be muted and the
microphone for camera 1 will be automatically turned on when the vehicle is placed in reverse gear.
Likewise, when Auto Mic Trigger selected for Mic 2, the current playback audio will be muted and
the microphone for camera 2 will be automatically turned on when the vehicle is placed in reverse
gear.
It is important to set this correctly so that the proper camera/microphone combination will be used to
interrupt playback when the vehicle is backing up.
Audio Output and Volume Adjustment
In camera mode, if the title camera is not triggered, the front audio output will be the from the last
audio source played. Rotate the
VOL
control (1) to adjust the volume of the audio source.
When the title camera is triggered and the
MIC
option is on, the title camera video will appear on the
entire screen and the audio output from the camera is played. In this case, rotate the
VOL
control
(1) to adjust the volume of the title camera. If the
MIC
option is off, no audio is available when the
title camera is triggered.
NOTE: The upper area of the screen is the current playback information bar area. Press the
top of the screen to remove the bar or make the bar reappear.
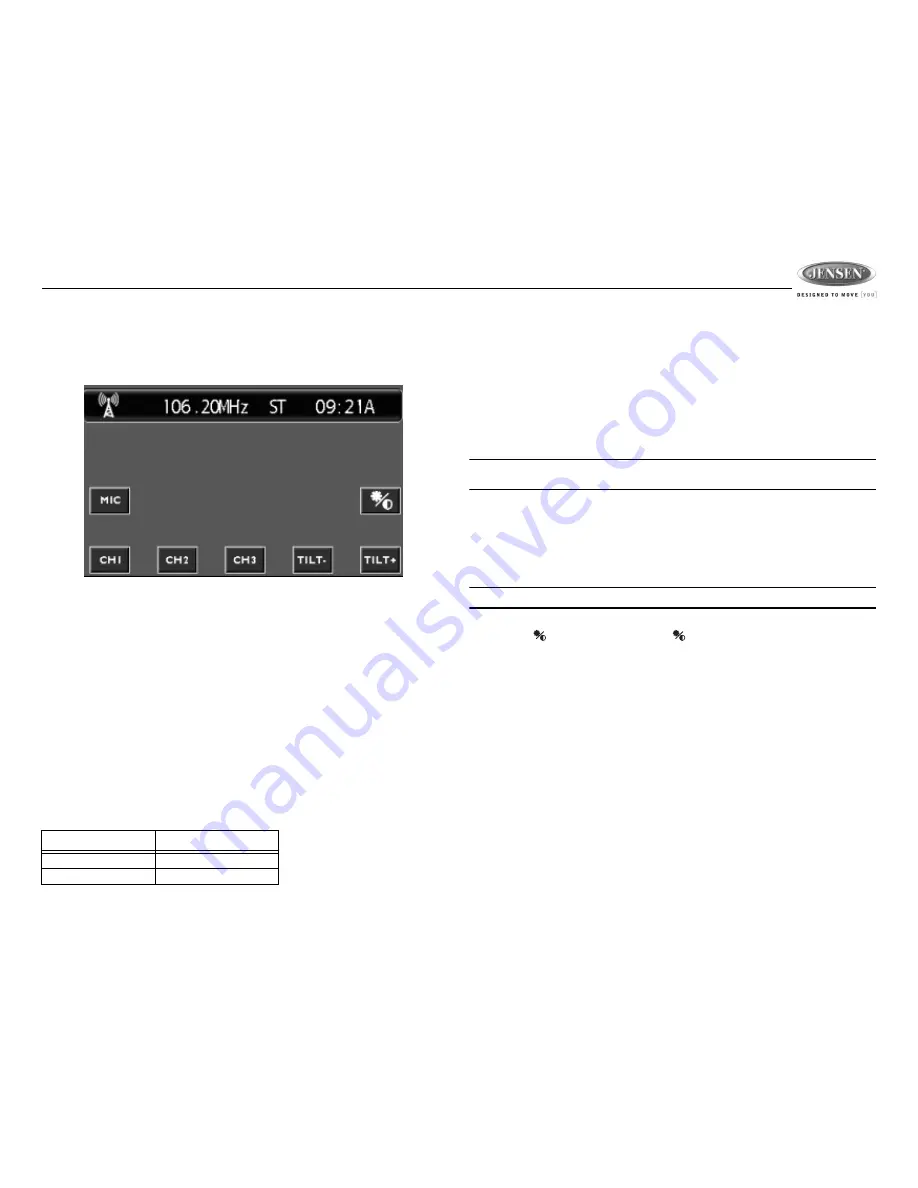
Camera Control Option
Touch the lower part of the screen to make the camera controls appear.
•
Touch the CH1 button on the front screen to view the CH1 video in full screen.
•
Touch the CH2 button on the front screen to view the CH2 video in full screen.
•
Touch the CH3 button on the front screen to view the CH3 video in full screen.
•
Touch the
TILT-
or
TILT+
button to adjust the camera tilt angle downwards/upwards.
NOTE: The TILT- and TILT+ button is operative only when the CH1 is displayed in full screen.
•
Touch the
MIC
button on the screen to turn the camera audio ON/OFF.
•
Touch the
button on the screen or press
button (10) on the control panel to select
Brightness, Contrast and Color settings.
Table 6: Auto Mic Trigger
Rear Camera
Auto Mic Trigger
CH1
MIC 1
CH2
MIC 2


