20
www.janome.com
User Manual
QUILT MAKER PRO 20
Optional Accessory: Rear Handlebar Kit
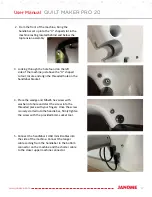
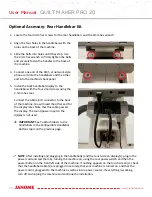
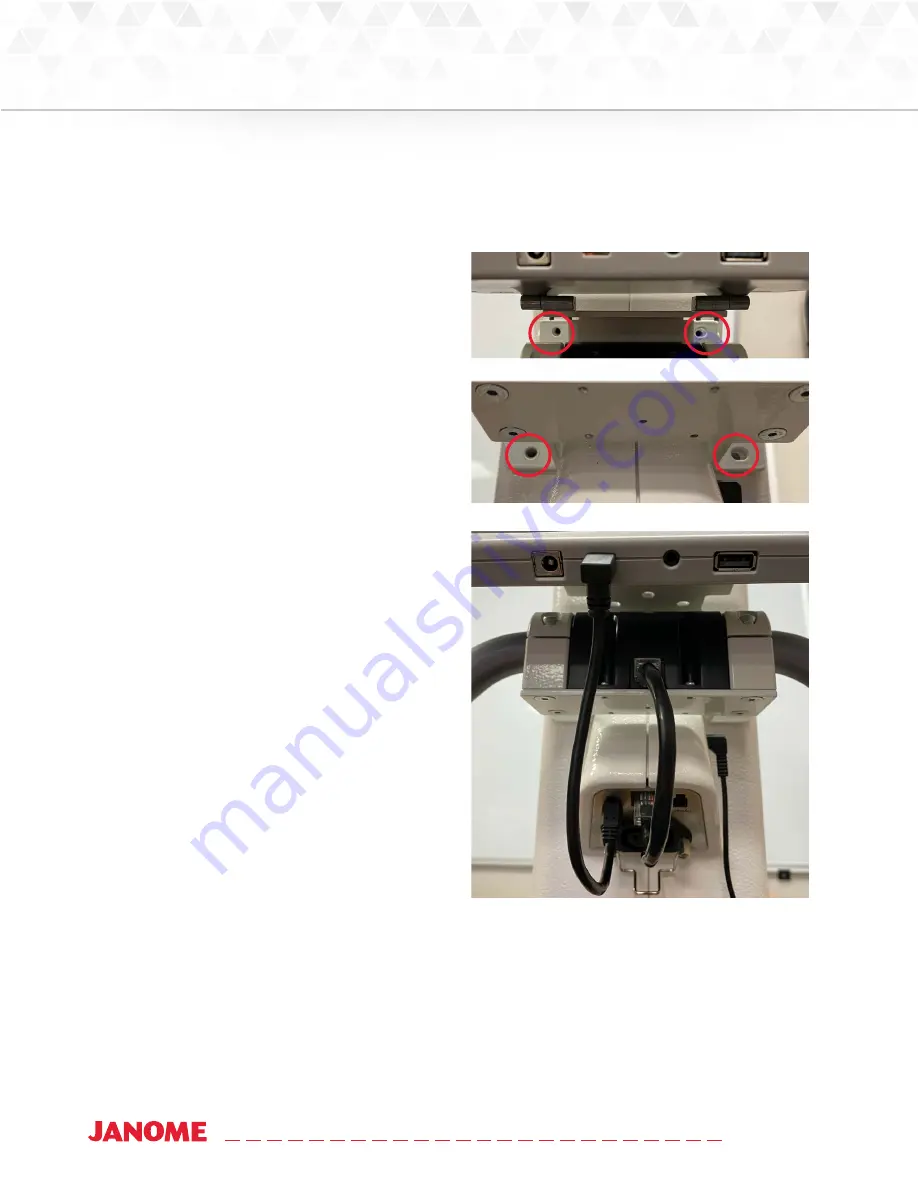
1. Locate the four 4mm hex screws for the rear handlebars and the 4mm hex wrench.
2. Align the four holes in the handlebars with the
holes on the back of the machine.
3. Slide the bolts into holes until they stop. Use
the 4mm hex wrench to firmly tighten the bolts
and securely fasten the handles to the back of
the machine.
4. Connect one end of the RJ45, or network style,
phone cord into the handlebars and the other
end into the machine’s back panel.
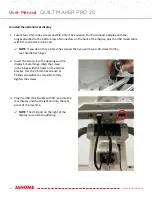
5. Install the back handlebar display to the
handlebar with the four small screws using the
2.5mm hex tool.
Connect the USB mini B connector to the back
of the machine. You will need the other end for
the display later. Note that this cable powers
the display. The round power input to the
display is not used.
Â
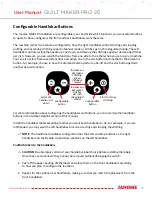
IMPORTANT: See To attach labels to the
handlebars in the Configurable Handlebar
Buttons topic on the previous page.
NOTE: After installing and plugging in the handlebar(s) and the touch-screen display(s), plug in the
power cord and test them by turning the machine on, using the rear power switch and then the
power button on the front left side of the machine. If nothing appears on the touch screen(s), check
that the handlebar cable(s) are plugged in securely, that your machine is turned on, and that the
power cord is plugged into the machine as well as into a power source. If everything is working,
turn off and unplug the machine and continue the installation.
Содержание Quilt Maker Pro 20
Страница 1: ...USER MANUAL Version 1 0 Janome America Quilt Maker Pro 20...
Страница 77: ......
Страница 78: ......

