56
c
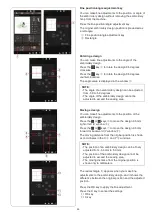
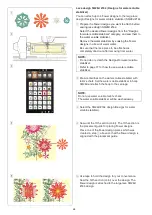
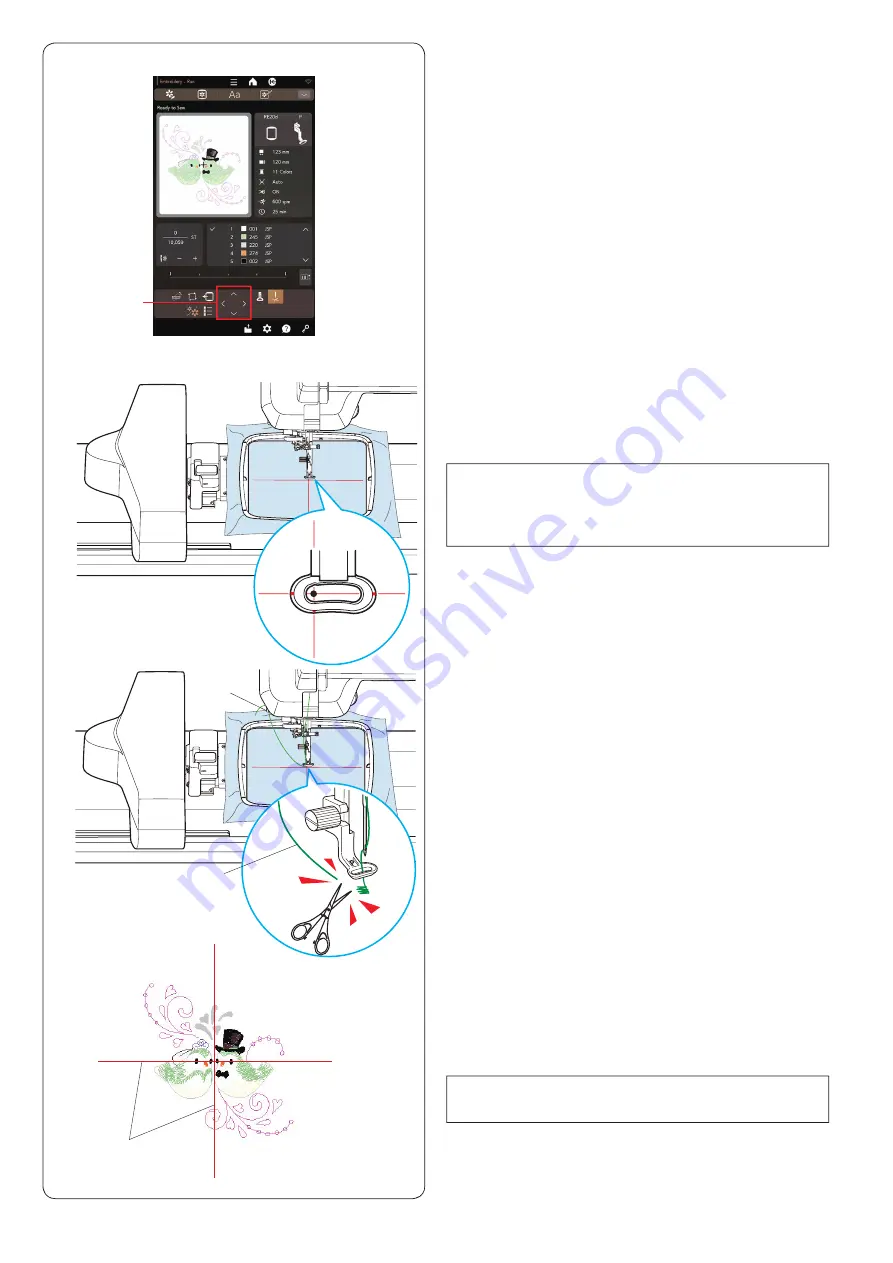
Hook the needle thread to the thread cutter/holder,
then press the start/stop button (refer to page 40).
Sew 5 to 6 stitches and press the start/stop button to
stop the machine.
The presser foot will be raised automatically.
Cut the loose thread close to the beginning of the
starting point.
w
Thread holder
e
Loose thread hook to the thread holder
Press the start/stop button to start sewing again.
The machine will stop (and trim the threads if auto
thread cutting is activated) automatically when the first
color section is finished.
Change the thread to the next color and sew the next
section.
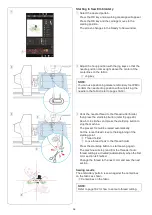
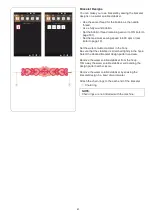
Sewing results
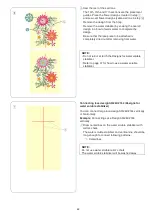
The embroidery pattern is sewn against the centerlines
on the fabric as shown.
r
Centerlines on the fabric
Starting to Sew Embroidery
z
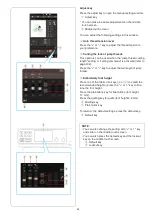
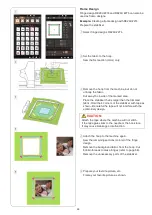
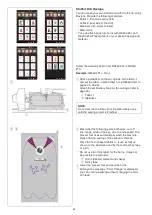
Select the desired pattern.
Press the OK key and a warning message will appear.
Press the OK key and the carriage moves to the
starting position.
The screen changes to the Ready to Sew window.
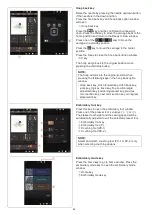
x
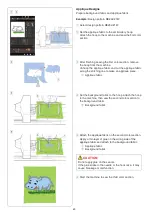
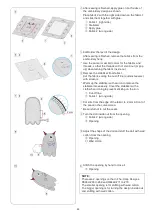
Adjust the hoop position with the jog keys so that the
needle position comes right above the center of the
centerlines on the fabric.
q
Jog key
NOTE:
Refer to page 102 for how to set auto thread cutting.
NOTE:
You can use positioning marker embroidery foot PM to
confirm the needle drop position without piercing the
needle to the fabric (refer to pages 18-19).
e
r
q
z
x
c
w
Содержание Continental M17
Страница 1: ...Instruction Book Continental M17 Embroidery...
Страница 146: ...142 DESIGN CHART Embroidery Monogram Gothic Script Cheltenham Bauhaus Galant Typist...
Страница 147: ...143 DESIGN CHART Embroidery Monogram Brush First Grade Hollowblock Jupiter Micro Gothic Cyrillic 1 Cyrillic 2 Cyrillic 3...
Страница 148: ...144 2 Letters 3 Letters DESIGN CHART Embroidery Monogram Border Normal Sew Version 1 04 07 03 2022...
Страница 149: ...This page is left intentionally blank...
Страница 150: ...868 800 013 e EN...

