46
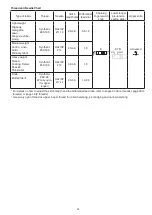
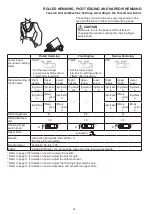
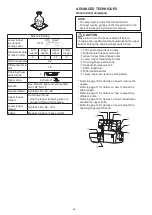
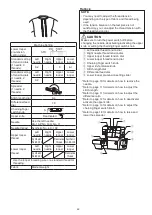
Machine Setting
Lower looper
pre-tension
setting slider
STD.
Standard setting
of tension dials
Left
needle
Right
needle
Upper
looper
Lower
looper
5
5
1-2
6
Stitch length dial
3-4
Differential feed
dial
1.0
Chaining finger
switch knob
S
Upper knife
Activated
Needle
Use both the right and left needles:
HA-1 SP No. 14
Needle thread
Synthetic: No. 60 - 80
Upper looper
thread
Decorative thread
* Use the looper threading wire or a
standard thread for threading.
Lower looper
thread
Synthetic: No. 60 - 100
Fabric
Medium weight or heavy weight
ADVANCED TECHNIQUES
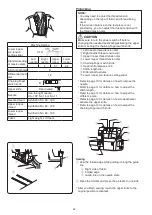
Decorative Overedging
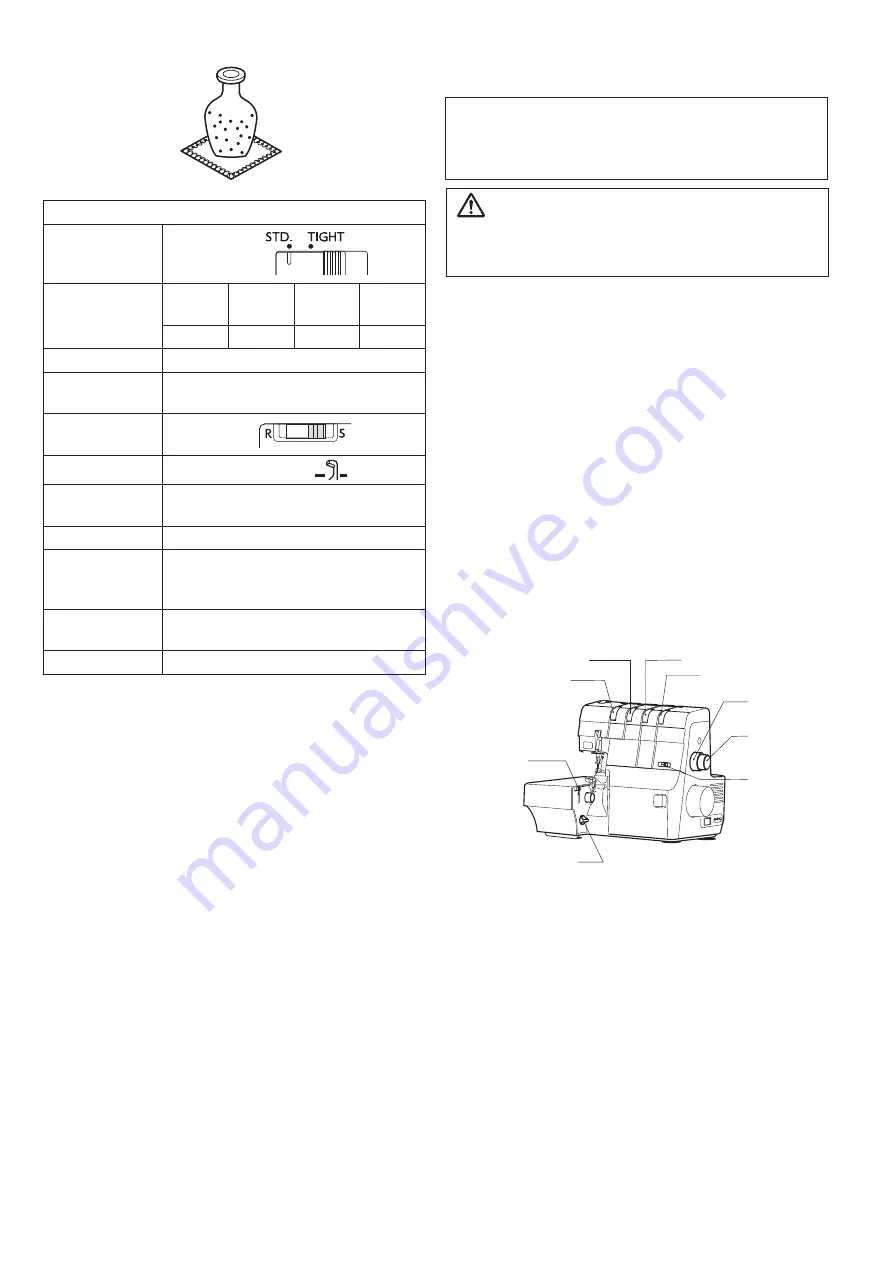
q
Left needle thread tension dial
w
Right needle thread tension dial
e
Upper looper thread tension dial
r
Lower looper thread tension dial
t
Chaining finger switch knob
y
Upper knife release knob
u
Stitch length dial
i
Differential feed dial
o
Lower looper pre-tension setting slider
* Refer to page 10 for details on how to remove the
needle.
* Refer to page 11 for details on how to adjust the
stitch length.
* Refer to page 11 for details on how to adjust the
difference ratio.
* Refer to page 12 for details on how to deactivate/
activate the upper knife.
* Refer to page 13 for details on how to adjust the
chaining finger switch knob.
CAUTION
Make sure to turn the power switch off before
changing the needle, deactivating/activating the upper
knife or setting the chaining finger switch knob.
w
q
e
r
t
y
u
i
o
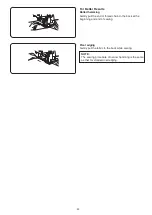
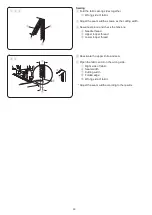
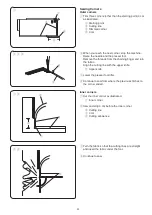
NOTE:
• You may need to adjust the thread tension.
• For best results, gently pull the thread chain to the
back at the beginning and end of sewing.
Содержание AT2000D
Страница 2: ...Instruction Book AirThread 2000D Professional...
Страница 3: ......
Страница 62: ...59 This page is left intentionally blank...
Страница 63: ...60 Version 1 01 11 04 2018...
Страница 64: ......
Страница 65: ...799 800 005 EN...

