


XG100 User Manual
5-2
Janam Technologies LLC
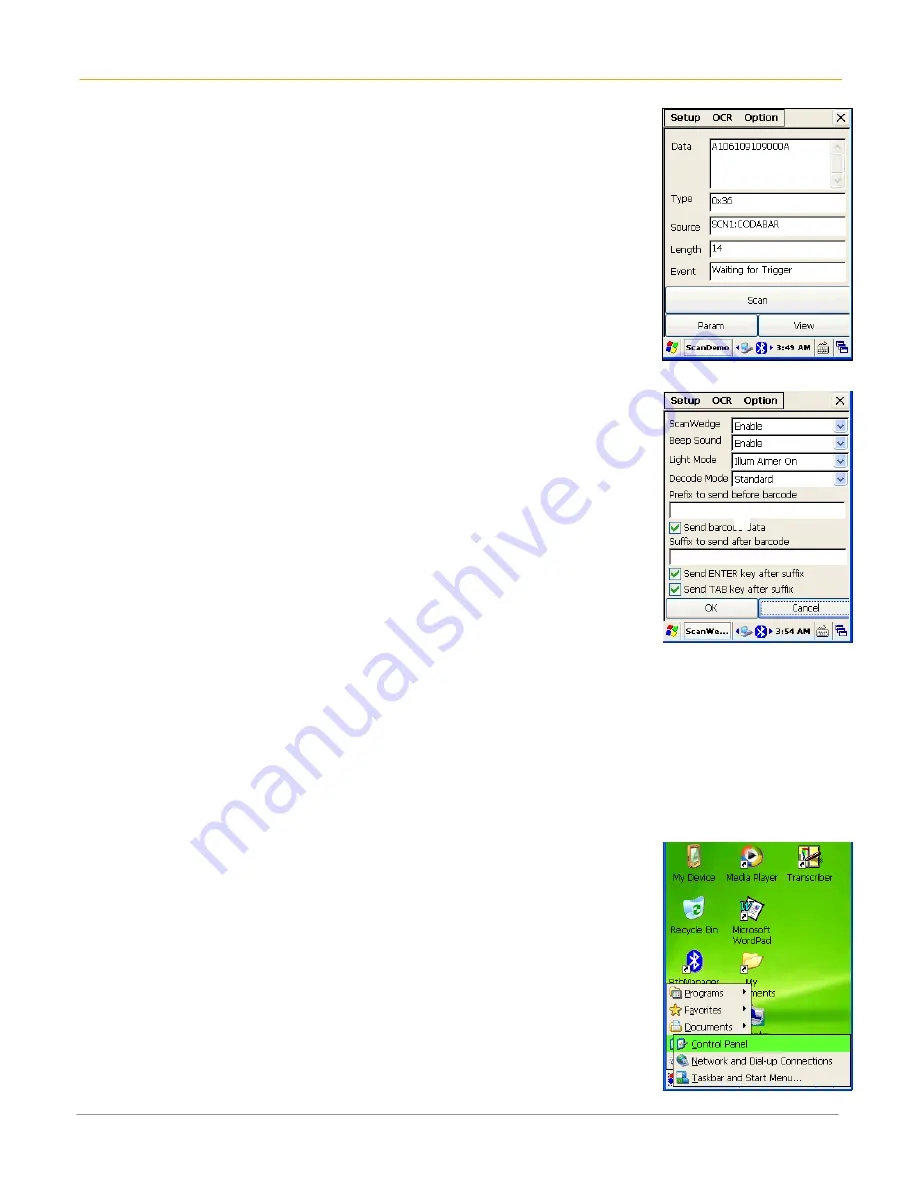
8.
Select Scan.
9.
Point the barcode scan window at a barcode, and press the scan trigger
on the XG100.
Enable the ScanWedge Feature
When the ScanWedge feature is enabled, data can be entered into an
application by opening the application on the handheld and scanning a
barcode.
1.
Go to Start > Programs > Scan > ScanWedge.
2.
Select Enable from the ScanWedge menu.
3.
Choose Setup > Symbology Config from the top menu. You can then
select enable all to enable all types of barcode or select only the barcode
symbologies you need.
4.
Tap OK.
Note:
The ScanWedge function will be disabled if manual scanning is
initiated either by a command API or by using the Janam Barcode
Test program.
Unlock 2D Scanning
All of Janam’s mobile computers can be upgraded in the field to read both 1D and 2D barcodes with a
simple firmware upgrade (Part Number 2D-XP-1). With each upgrade, a key code is provided that unlocks
2D scanning capability on the device. To purchase an upgrade for your XG100, contact your authorized
Janam dealer.
You will need to provide the product imager ID number so the appropriate six-digit key code sequence can
be assigned. To access the imager ID number, follow these steps:
To get your imager ID number:
1.
Tap the Start > Settings > Control Panel.


