16
Step 6
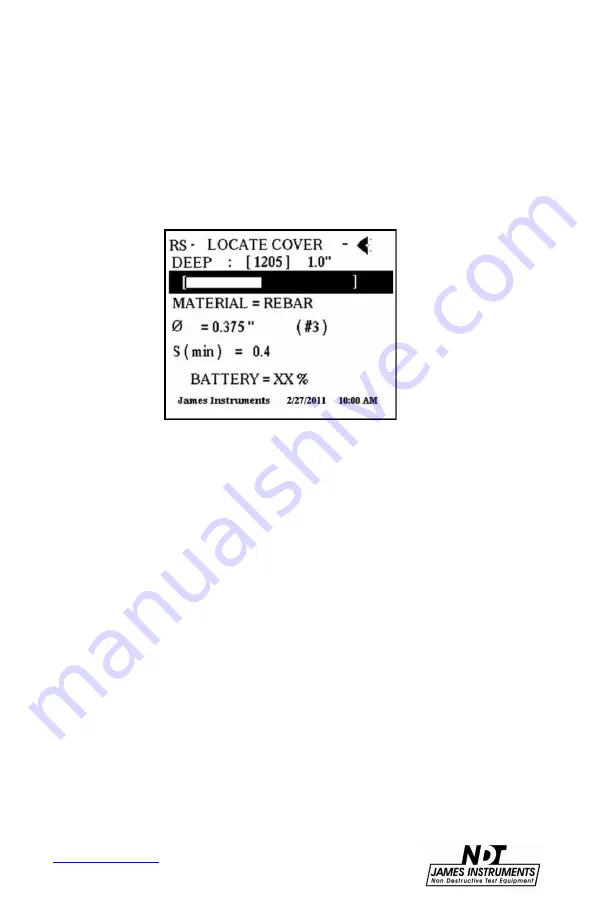
: Now pass the sensing probe on the surface of the test
structure until the smallest cover is displayed on the right hand
corner of the screen. The audio/ headphone feature also allows
the user to precisely locate the center of the rebar using the audio
signal. This audio feature helps give even more cover precision.
The steps below show how to properly choose the audio signal for
your application.
Figure 10: Dynamic Bar Display
Step 6A
: In the Locate Cover screen, use the up / down arrow
keys to scroll the cursor down to the action bar in the display.
Step 6B
: Use the right arrow key to choose either a beeping type
audio signal, or a continuous tone audio signal. A small speaker
icon will appear on the upper right hand corner of the display when
the audio feature has been enabled. Headphones have also been
supplied with the Rebarscope® to help the user hear a clearer
audio signal in noisy environments.
Step 6C
: Pressing the right arrow key one more time after the
continuous tone will turn off the audio feature, and the speaker
icon on the upper right hand corner will no longer appear on the
display screen.
Содержание Rebarscope R-C-400
Страница 1: ...R C 400 R C 450 R C 410 Rebarscope Operator s Manual Original Instructions Revision July 2018 ...
Страница 12: ...7 www ndtJames com Menu Layout Figure 3 Rebarscope Function Flow Chart ...
Страница 23: ...18 www ndtJames com Figure 12 3 8 Spacer with L Shaped Template Figure 13 Locating Rebar with Spacer ...
Страница 24: ...19 www ndtJames com Figure 14 Analyzing Data ...


