57
Fig. 61: Graph Window
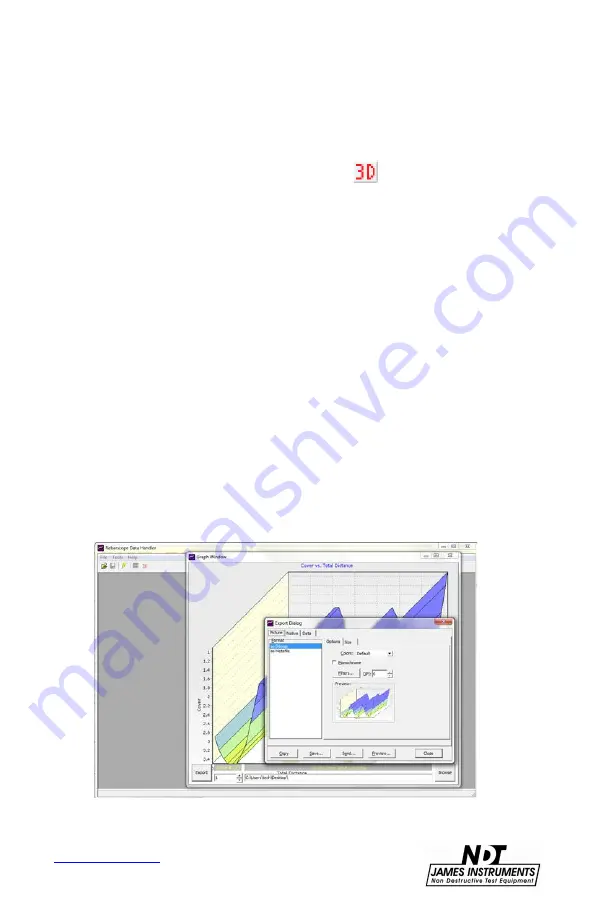
Using the 3D graph option:
a. Press the 3D command symbol.
b.
Set the Slice number to 1
c. Browse for the first Scan Map, select it and click
open, at this stage nothing will appear on the
graph space.
d. Set the Slice number to 2.
e. Browse for the second Scan Map (usually all Scan
Maps are save in the same location), select it and
click open.
f.
The graph starts to form, and by adding more slices
the graph will expand in the Z-direction.
g. To export the graph, click “Export”.
h. Choose s suitable format and click Save.
Fig. 62: Graph Window with Export Dialog Screen
Содержание Rebarscope R-C-400
Страница 1: ...R C 400 R C 450 R C 410 Rebarscope Operator s Manual Original Instructions Revision July 2018 ...
Страница 12: ...7 www ndtJames com Menu Layout Figure 3 Rebarscope Function Flow Chart ...
Страница 23: ...18 www ndtJames com Figure 12 3 8 Spacer with L Shaped Template Figure 13 Locating Rebar with Spacer ...
Страница 24: ...19 www ndtJames com Figure 14 Analyzing Data ...


