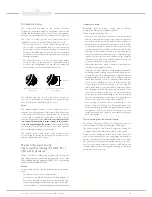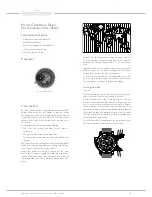
Side opening
An opening on the side of the depth gauge compartment
reveals the membrane, which reacts to water pressure.
It should be noted that inside the compartment the mem-
brane itself is completely water-resistant. Via the opening,
water enters the compartment, in a confined space on the
left-hand side of the membrane (when the watch is viewed
from the front); but water does not penetrate inside the
membrane, i.e. inside the mechanism, the movement or the
watch.
Recommendations
To ensure that the depth gauge works properly, follow the
recommendations below:
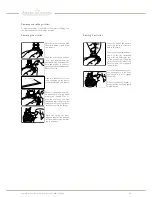
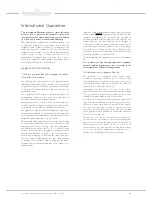
- Whenever you have used your watch underwater, rinse it
under a gentle flow of clean water (tap water for exam-
ple) so that water gets into the depth gauge compartment.
Then tilt the watch with the depth gauge opening down-
wards to get rid of the water and any small residue.
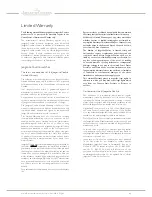
- To avoid damaging the depth gauge membrane, make
sure to avoid inserting into the opening any object that
could come into contact with the membrane and deform
it. However, if this occurs, consult an authorised Jaeger-
LeCoultre retailer for a check-up of the mechanism.
Adjusting the wristlet
Note: the wristlet illustrations below may not correspond either
to your wristlet or your watch, but the demonstration illustrated
is completely identical and valid.
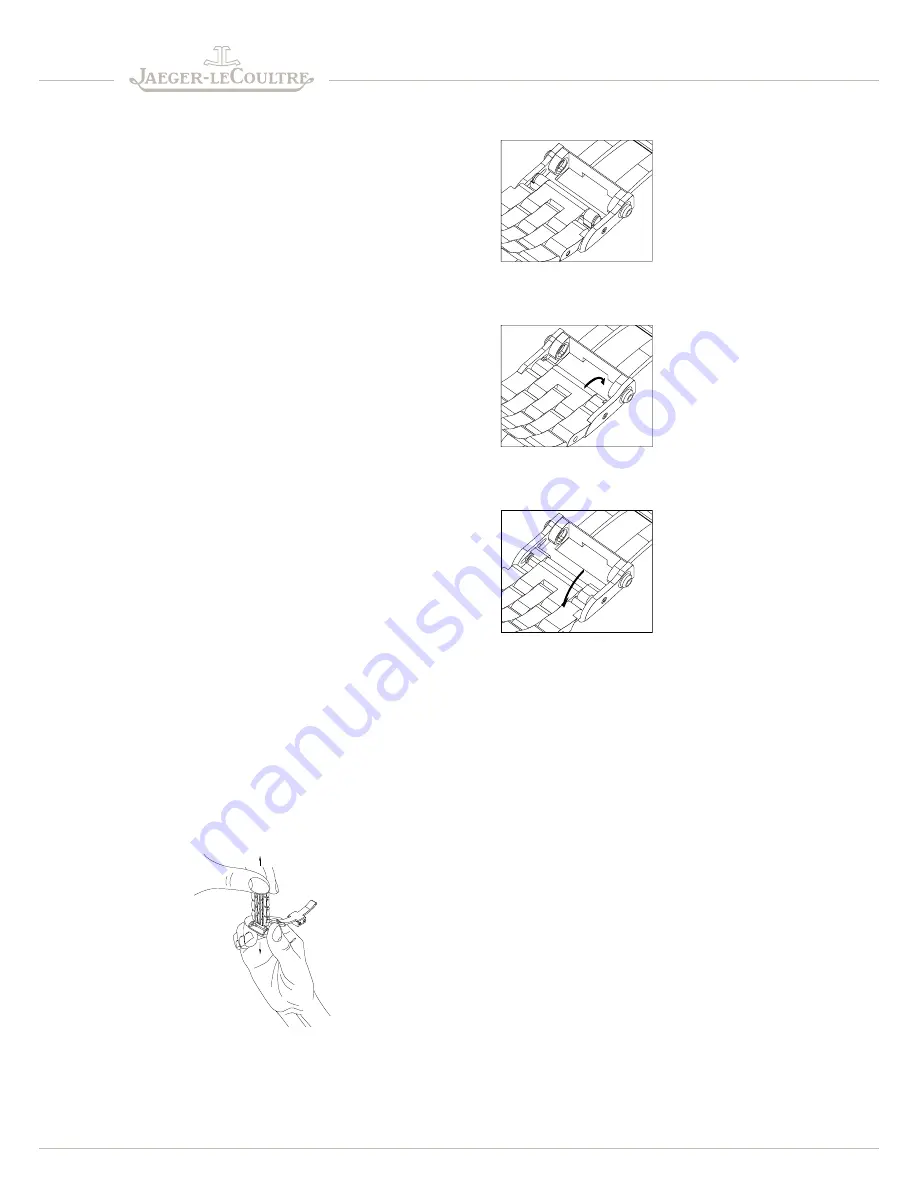
Adjusting the clasp
The clasp on metal bracelets and articulated rubber straps is
fitted with an adjustment system enabling you to lengthen or
shorten the wristlet by 4 mm on either side, for greater wearer
comfort.
Using the fine adjustment system
Switch from the long position to the short position:
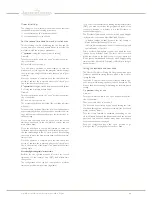
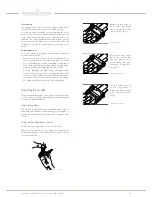
Remove your watch. Hold your clasp open between the
thumb and forefinger of one hand, with the wristlet section in
your other hand (fig. 1).
Lift up the clasp cover so
as to release the hinged
part of the wristlet section
from its groove (fig. 2).
Fig. 2 Long position
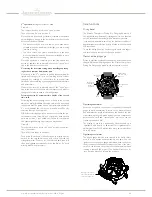
Push down the hinged
part of your wristlet sec-
tion and place it in its
groove, facing the oppo-
site way to its initial posi-
tion (fig. 3).
Fig. 3 Shortened position
The switch from the short
to the long position is
made in the same way, but
in the opposite direction
(fig. 4).
Fig. 4 Extended position
Fig. 1
M
aster
C
oMpressor
D
iving
p
ro
g
eographiC
n
avy
seaL
s
- English
6/9


