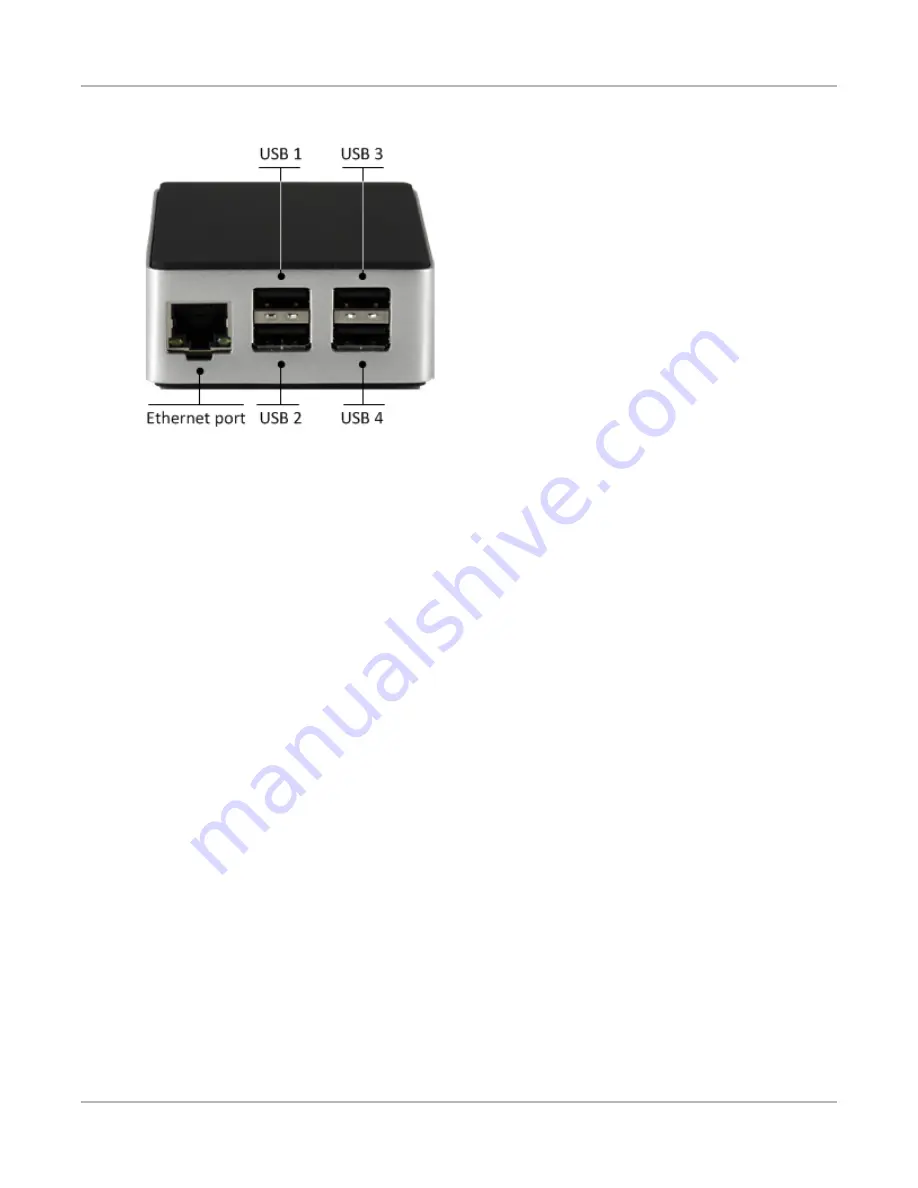
2. Power on the XRPi2
A console window displays.
3. Now that you have connected to the XRPi2, continue with the Setup script.
Registering with an IxChariot or Hawkeye Server
Ixia includes a script that enables the XRPi2 to automatically register itself with an Hawkeye server. If
you do not want or need to do this now, you can move on to the web setup. If you later want to auto-
register the XRPi2, you can run the script at any time, or you can use the web interface to configure
auto-registration.
1. Connect to the XRPi2.
2. Type the following command to start the script:
xrpi2_configure
3. When the script prompts you, enter the following:
l
A name for the probe. You can use letters, numbers, and hyphens (-) in the name. The name
will be used by IxChariot or Hawkeye to set the hostname, and displayed as the probe
name.
l
The hostname or IP address of the Hawkeye server or the IxChariot Console (for IxChariot
9.0 or later).
l
A description of the probe's location (used by Hawkeye only).
l
A description of the probe's group (used by Hawkeye only)
4. If you want to configure the XRPi2's advanced features, continue with the web setup process.
XRPi2 User Guide
9
Setting up the XRPi2
Содержание XRPi2
Страница 1: ...XRPi2 User Guide May 2016...
Страница 5: ...v XRPi2 User Guide This page intentionally left blank...
Страница 7: ...vii This page intentionally left blank...
Страница 19: ...10 XRPi2 User Guide This page intentionally left blank...
Страница 23: ...14 XRPi2 User Guide This page intentionally left blank...
Страница 25: ...16 XRPi2 User Guide This page intentionally left blank...


