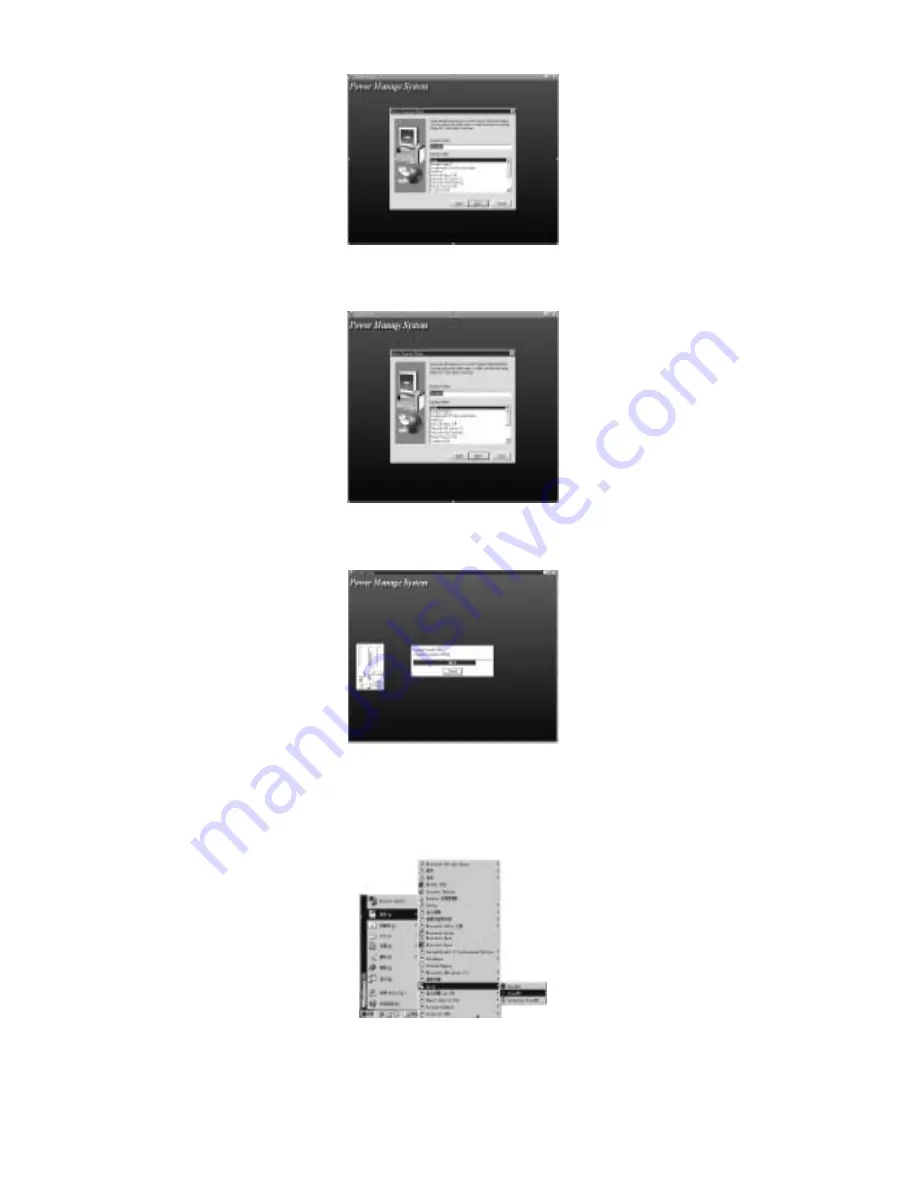
3.1.5 In Fig. 3-5, users may select the installation type. Generally, select “TYPICAL” and click “NEXT” to
continue.
Fig 3-5 The Installation Interface 5
3.1.6 In Fig. 3-6, enter the file folder’s name, the default name is “POWERMS”. Generally you do not need
to enter a new name. Click “NEXT” to continue.
Fig 3-6 The Installation Interface 6
3.1.7 Click “NEXT” and the installation system will enter the files’ copy state. When the system completes
copying the files to your computer the PowerMS system installation finished.
Fig 3-7 The Installation Interface 7
3.2 System Start
3.2.1 In Fig. 3-8, select the file folder of “Start | Program | Array”. And then click the “PowerMS” in the
menu.
Fig 3-8 The System Start Interface


