


© Isothermal Technology
Page 77 of 102
923 milliK manual - issue: 1.10
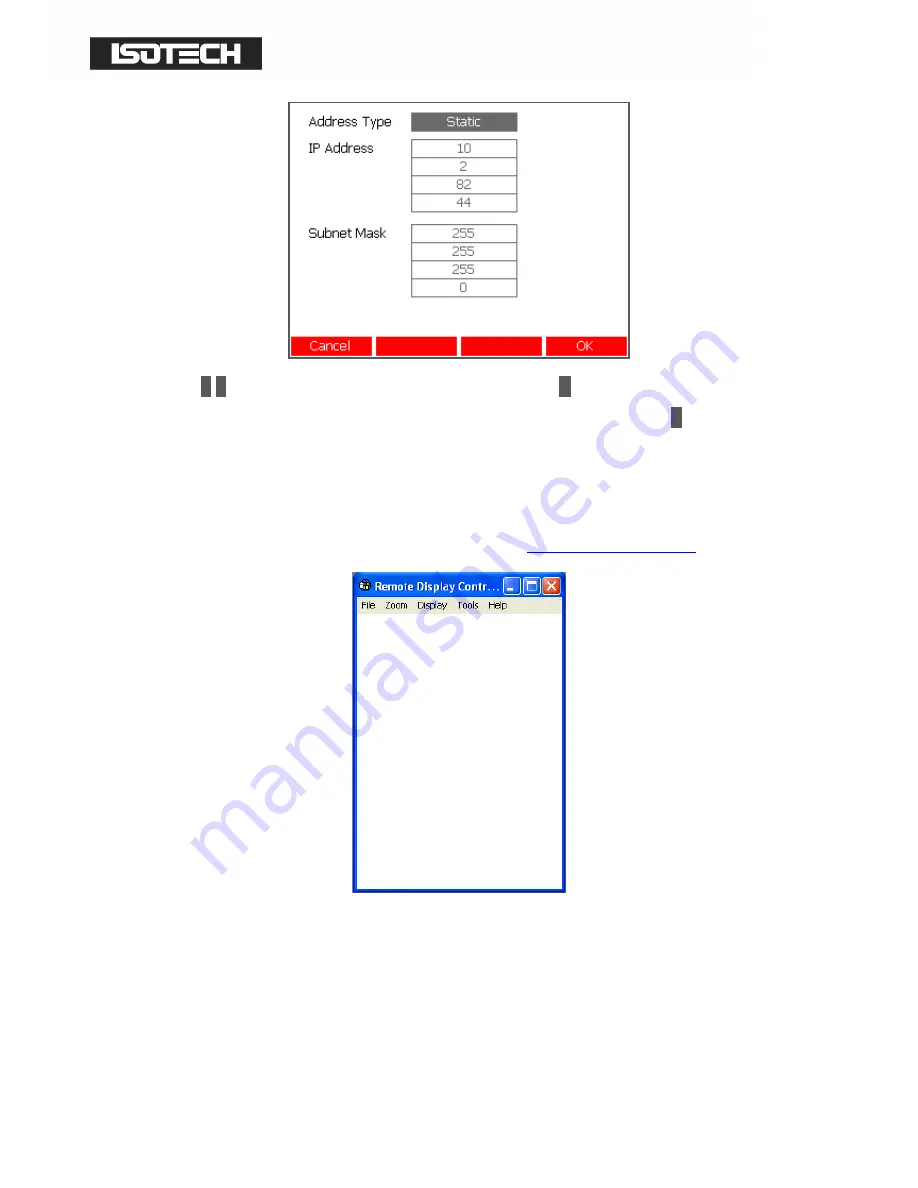
Use the
↑
↑
↑
↑
↓
↓
↓
↓
keys to select each parameter and then press the
↵
↵
↵
↵
key the open a numeric
window and enter the value. In the case of the “Address Type” parameter, the
↵
↵
↵
↵
key toggles
the between Static and Dynamic.
Connect the milliK’s Ethernet port (RJ45 connector on rear panel) to your LAN using a
standard (non cross-over) patch cable. Then launch the “CE6 cerhost.exe” application (this
Microsoft freeware application can be downloaded from
http://isotech.info/milliK
):
Click on “File” and then “Connect…” to establish connection with the milliK, a ‘Connect’
Window will then appear and after a few seconds it will show a list of available devices that
includes the milliK (the milliK will be listed as “Tritonxx” where xx is a number assigned to
the milliK in case you have more that one connected to the LAN):


