8
Installation menu.
To enter the Installation menu, press UP/DOWN keys in the Main Menu to highlight
the Installation item and then press ENTER or RIGHT keys. A password input dialog
pops out. After entering a correct password (default password is ‘0000’), the
Installation menu appears. See the figure below.
4.1 Antenna Setting
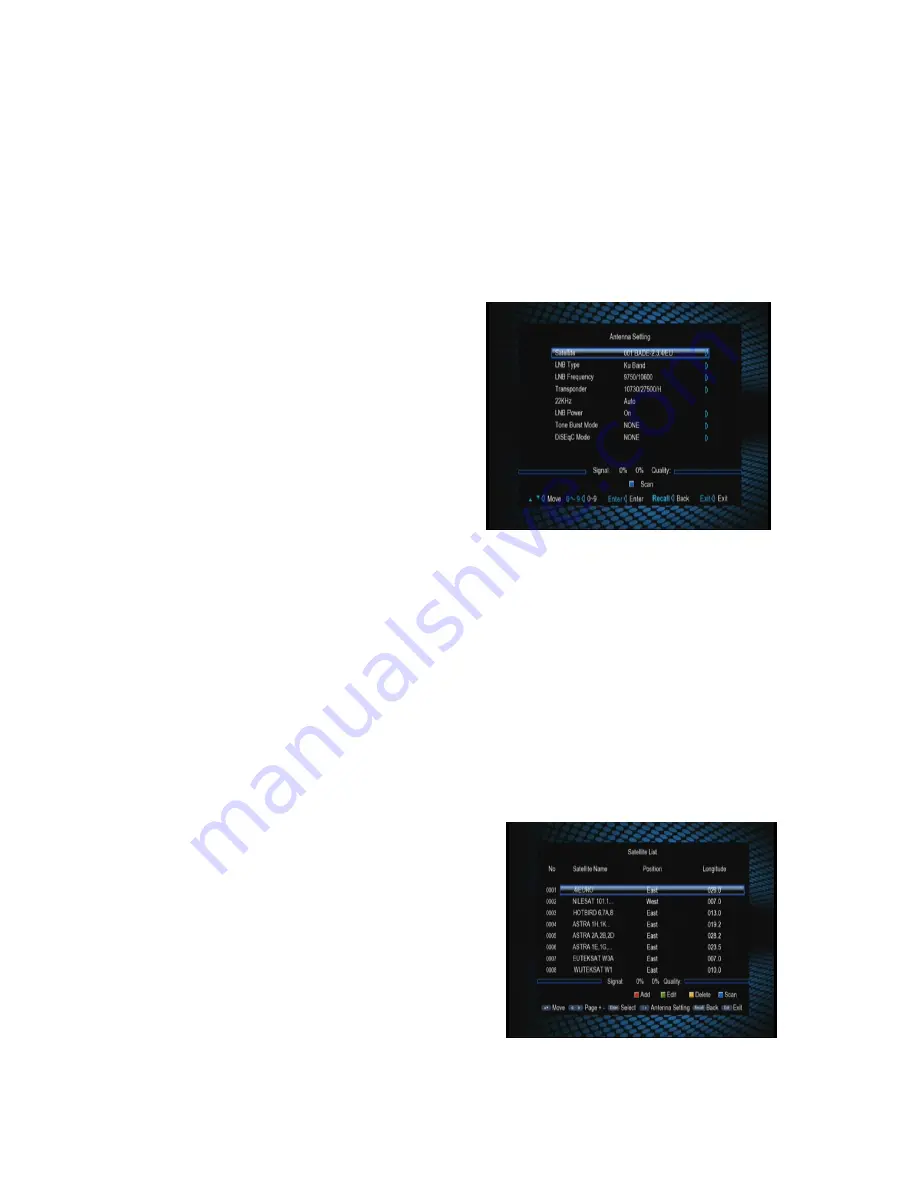
In the Installation menu press UP/DOWN keys to highlight the Antenna Setting sub
item and then press ENTER or RIGHT
keys to enter the Antenna Setting.
There are these setting items:
l
Satellite:
Select a satellite from the
existing satellite list.
l
LNB Type:
Set the working frequency
band for LNB (three options: Ku Band, C
Band and User).
l
LNB Frequency:
Set
the local
oscillation frequency of LNB.
l
Transponder:
Select a transponder from the existing transponder list.
l
22KHz:
Turn on or off the 22KHz switch (On, Off).
l
12V:
Turn on or off the 12V switch (On, Off).
l
LNB Power:
Set whether or not there is a STB to supply power to LNB.
l
DiSEqC
(Digital Satellite Equipment Control)
Mode:
Select input signal. When more
than one LNB is used, DiSEqC can be used to select one LNB to input.
In the Antenna Setting page, you can press UP/DOWN keys to highlight a
setting item and then press ENTER key to enter corresponding editing state. In the
editing state press UP/DOWN keys to select an option and then press ENTER key
to exit editing.
4.2 Satellite List
Enter this picture, you can see the presorted
Satellite list, in this menu, you can press the
UP/DOWN key to choose the satellite which you
want to use, also,you can edit/add/delete it,then
press OK to confirm the setting, you can set other
parameters. you must do this to open the
following option.


