PAGE 11
IRONKEY ENTERPRISE USER GUIDE
uSIng THE IROnKEy unLOCKER On WInDOWS
The IronKey Unlocker allows you to securely access your files on multiple operating systems. It
prompts you for your password, securely validates it, and then mounts your secure volume where
all of your files are stored on the IronKey.
Here is how to unlock your IronKey on Windows 2000 (SP4), XP (SP2+), Vista, or 7:
# Step
Description
1 Plug in your IronKey and unlock
it with your password.
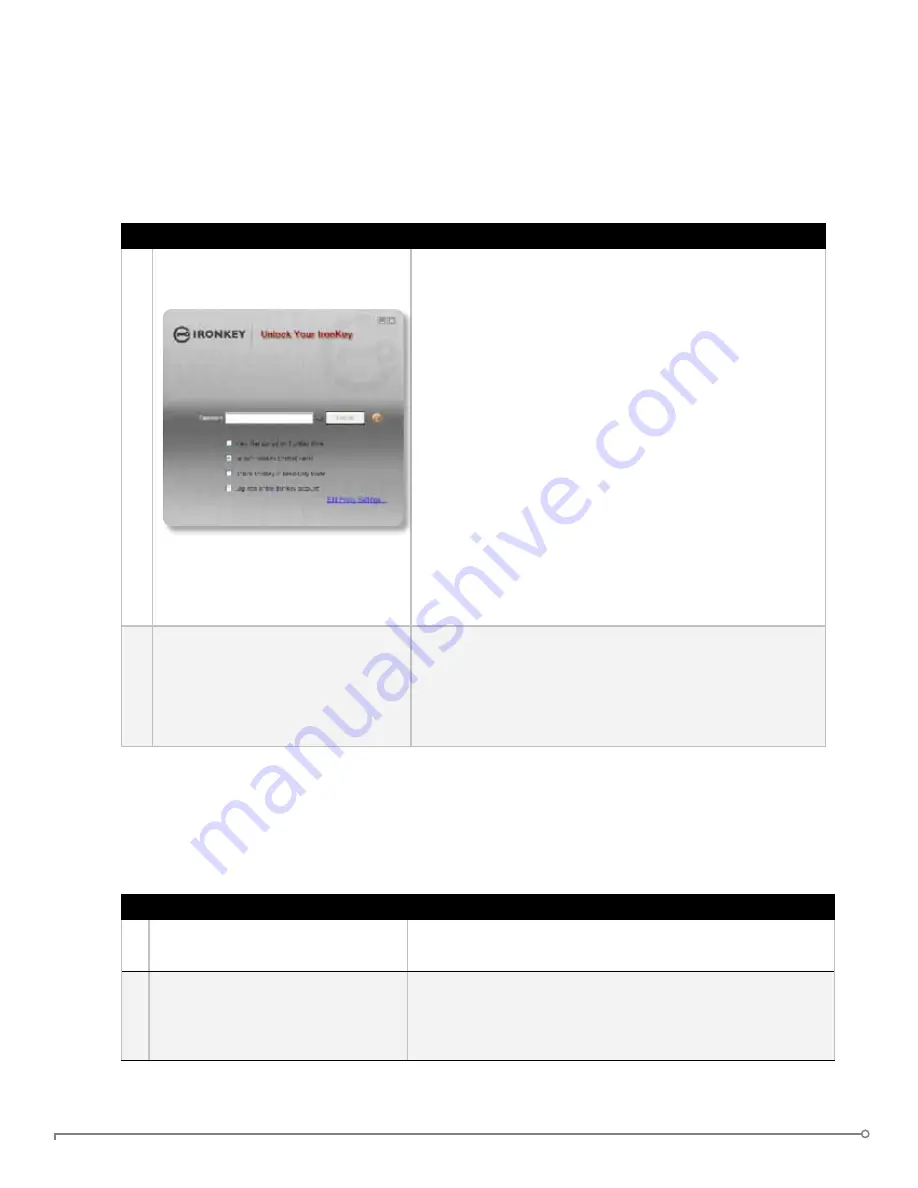
When you plug your IronKey in, the “Unlock Your
IronKey” window appears.
If this screen does not appear, you can start it manually
by double-clicking the IronKey Unlocker drive in “My
Computer” and double-clicking the “IronKey.exe” file.
Entering your password correctly will mount your
secure volume with all your secure applications and
files.
Entering the wrong password too many times will
permanently erase all of your data. After every three
attempts, you must unplug and reinsert the IronKey.
nOTE
: Some operations require that your IronKey
connect to the Internet before unlocking. If it cannot
connect, click “Edit Proxy Settings” to configure how
your IronKey connects to the Internet.
2 Choose which action to take
when you unlock it.
By selecting the corresponding checkboxes before
unlocking your IronKey, you can view your secure files,
launch the IronKey Control Panel, unlock the IronKey
in a Read-Only Mode where files cannot be edited, and
securely log into your
my.ironkey.com
account.
uSIng THE IROnKEy unLOCKER On A MAC
You can use the IronKey Unlocker for Mac to access your files and change your device password
on a Mac. You can use the other IronKey applications on a Windows computer.
# Step
Description
1 Plug the IronKey into your
computer’s USB port.
2 Double-click the IronKey drive
on your desktop, and double-click
the “IronKey” file. The “Unlock
Your IronKey” screen appears.
nOTE:
You can install the IronKey Auto-Launch
Assistant, which automatically opens the IronKey
Unlocker when you plug in an IronKey. See “Preferences”
in IronKey Control Panel Settings. (Mac only)


