background image

12

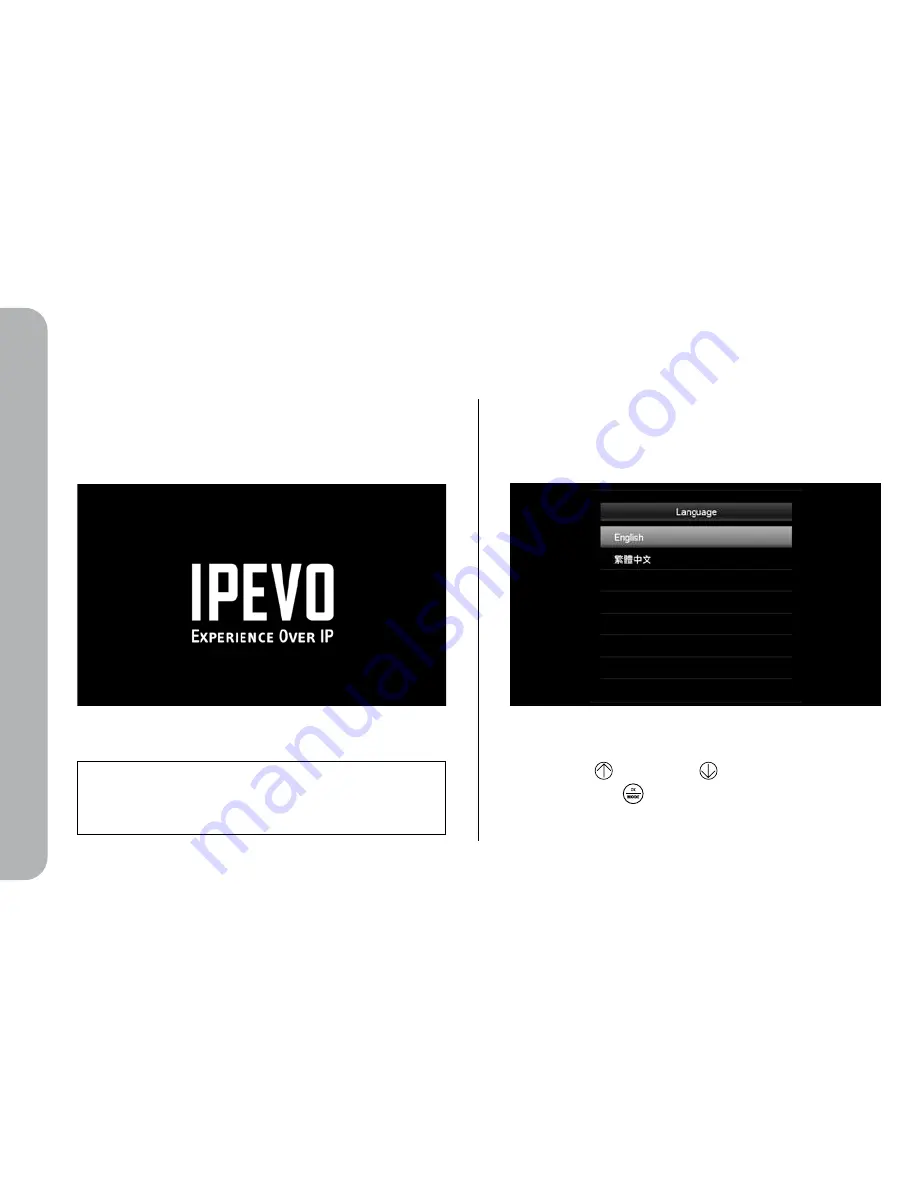
Press Up key 

 or Down key   to select the language 

and press OK key 

 (OK/MODE).

Note: 

It takes approximately 30 seconds for Kaleido R7 to load and run
its internal software and enter the main menu (if you temporarily 
switch off Kaleido R7, use the standby mode instead of power off/on to 
reduce waiting time).

Kaleido R7 

Se

tup

3. The Welcome screen

4. Select Language

Содержание Kaleido R7

Страница 1: ...www ipevo com Kaleido R7 Wireless Digital Frame Quick Start Guide...

Страница 2: ...6 2 Kaleido R7 Setup 7 2 1 Features and Functions 7 2 2 Hardware Setup 10 3 Putting it all Together 13 3 1 Connecting Kaleido R7 to a Wireless Network 13 3 2 Pairing Kaleido R7 with Your Computer 14 3...

Страница 3: ...t else you ll need not included Power Outlet PC or Mac with Internet Connectivity and Access Wi Fi Access Point Attention Due to difference in product specifications please operate the device using on...

Страница 4: ...them to Kaleido R7 when your computer is online or synchronize contents to your digital frame and view them when your computer is offline Using EyeStage on PC Mac 1 1 EyeStage Installation 1 2 EyeSta...

Страница 5: ...rive and the auto run program will proceed to install the software on your computer Insert the installation disk into your CD ROM drive Follow the on screen instructions to complete the software insta...

Страница 6: ...ly to the digital frame My Gallery Import your favorite Live Channels contents to your computer hard disk to view offline or on Kaleido R7 Device Sync your favorite contents from My Gallery to Kaleido...

Страница 7: ...ms accepts the current selection Toggles the display layout mode during playback Goes to previous photos views Goes to next photos views Plays photo or pauses playback Activates standby mode screen sw...

Страница 8: ...o computer cable not included Power jack Connect power adaptor here Kaleido R7 can be rotated to display images in both Landscape and Portrait views Kaleido R7 Back View Landscape view Portrait view D...

Страница 9: ...e photo 90 clockwise Jumps to each of user defined channels Returns to the previous menu Cancel playback Moves to the previous menu item Switches to the previous channel Confirms accepts the current s...

Страница 10: ...or your wireless access point The EyeStage software is running on your computer Kaleido R7 will only recognize computers in the same wireless network In other words both the computer and Kaleido R7 mu...

Страница 11: ...nsure that you 2 Switch On Kaleido R7 Connect the power adaptor to Kaleido R7 Connect the power adaptor to the power outlet Power On ON OFF 1 Remove the protective bag film from components Connect Kal...

Страница 12: ...te It takes approximately 30 seconds for Kaleido R7 to load and run its internal software and enter the main menu if you temporarily switch off Kaleido R7 use the standby mode instead of power off on...

Страница 13: ...e computer is connected and press the OK key OK MODE The on screen keyboard appears with an input box for you to enter the password Using the keys on the remote control highlight a character and press...

Страница 14: ...your computer if you haven t already done so Step 3 Select Pair Pair with device Step 4 After Kaleido R7 and EyeStage have been paired successfully Kaleido R7 will appear on the Device Tab of EyeStag...

Страница 15: ...nked to the computer Access contents synced to Kaleido using EyeStage con tent can be viewed offline Access photos stored on SD HC MMC MS cards USB flash disks or internal memory Various configuration...

Страница 16: ...press the Play key to start to play the highlighted photos albums diagram 2 If a menu option is grayed out it indicates that there are no devices connected in the relevant slot diagram 3 Use the keys...

Страница 17: ...purchaser referred to as the Warranty Period If a hardware defect results in a replacement or return please send the product back to the location of purchase along with a copy of the receipt of purcha...

Страница 18: ...tlined in the user manual Damages caused by servicing maintenance or repair of the product including upgrades and expansions performed by anyone who is not a representative of IPEVO or an IPEVO author...

Страница 19: ...ng a clean and soft cloth preferably lint free to avoid scratching the surface Please do not use any cleaning agents or solution The LCD screen is prone to scratches or damages Please avoid not making...

Страница 20: ...IPEVO Inc 440 N Wolfe Road Sunnyvale CA 94085 USA Tel 1 408 490 3085 Service mail cs ipevo com http www ipevo com...

Отзывы: