13
Putt
ing
it all
To
ge
ther
3. Putting it all Together
3.1 Connecting Kaleido R7 to a Wireless Network
Note:
If you only want to view contents stored on memory devices, you can press Back to
skip the network setup and return to the main menu. To configure your network setting at
a later stage, simply go to Settings > Wireless Network / Pair with EyeStage and provide
necessary information.
• Kaleido will search for available wireless networks automatically.
• Select the wireless network that the computer is connected and
press the OK key (OK/MODE).
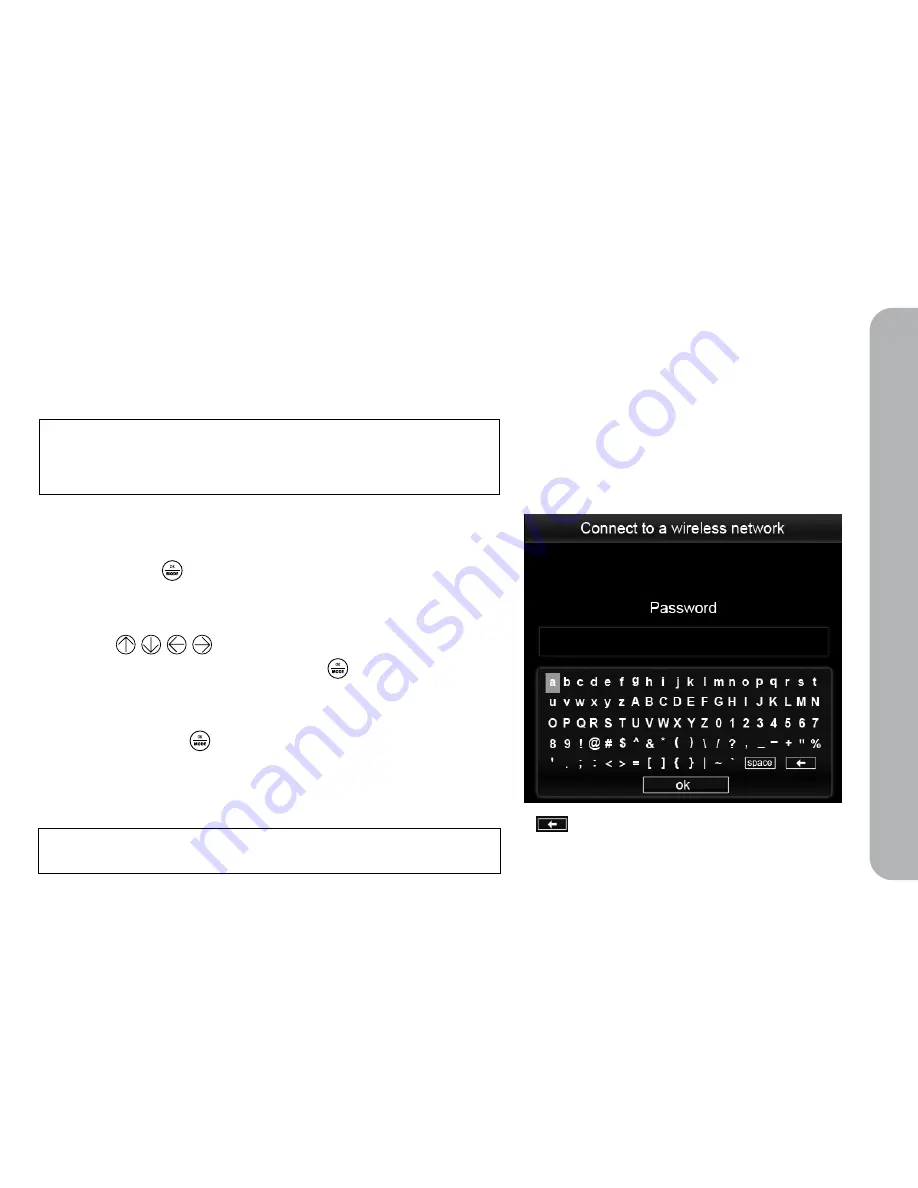
The on-screen keyboard appears with an input box for you to
enter the password.
• Using the keys on the remote control,
highlight a character and press the OK key (OK/MODE)to enter it
into the input box.
• After you have finished, select OK from the on-screen keyboard
and press the OK key (OK/MODE).
• The connection progress screen appears, indicating to you when
the device is connected to the wireless network. You should also
see the wireless connection status icon on the Main Menu.
Note:
For more information on wireless network configurations, please refer to the relevant
sections in the Kaleido R7 User Manual.
= Windows: Backspace / Mac: Delete


