


42
Ioline FlexJet User Guide
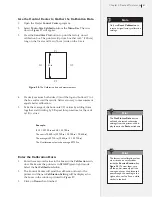
Prepare the Printer
1.
Load the printer with paper that is a minimum of 46-in wide.
(Follow the loading instructions under the
Operation
chapter.)
Install cartridges.
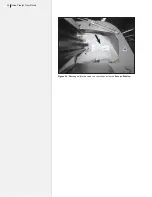
2. Move the carriage using the
Arrow
keys so that the carriage
notch is over the paper and roughly one inch from the right
paper edge.
3.
Put the printer in
START
(green light) mode by pressing the
Set Origin
key. (
See the
Operation
chapter for more details on
preparing to plot
.)
4.
Start the FlexJet
Control Center
software. Ensure that there
are no errors when the program tries to communicate with the
printer. If errors occur, check the cables and ensure that the cor-
rect port number and baud rate are selected. (
See
Connect the
FlexJet to the Computer: Overview
in the
Installation
chapter for
information on serial port connections.
)
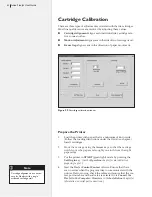
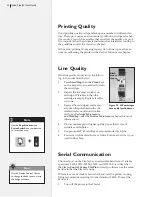
Figure 29.
Cartridge calibration window.
Cartridge Calibration
There are three types of adjustments associated with the ink cartridges.
Most line quality issues are resolved by adjusting these values.
n
Cartridge Alignment
aligns each individual ink cartridge rela-
tive to one another.
n
Motion Adjustment
aligns scans in the direction of carriage travel.
n
Frame Gap
aligns scans in the direction of paper movement.
Cartridge alignment is not neces-
sary for FlexJets with a single
activated cartridge stall.
Note
i
Содержание FlexJet
Страница 1: ...User Guide Ioline FlexJet ...
Страница 3: ...User Guide Ioline FlexJet ...
Страница 8: ......
Страница 20: ...20 Ioline FlexJet User Guide This page intentionally left blank ...
Страница 50: ...50 Ioline FlexJet User Guide Figure 34 Factory calibration values on the sticker inside the Service Station ...
Страница 64: ...64 Ioline FlexJet User Guide This page intentionally left blank ...


