62
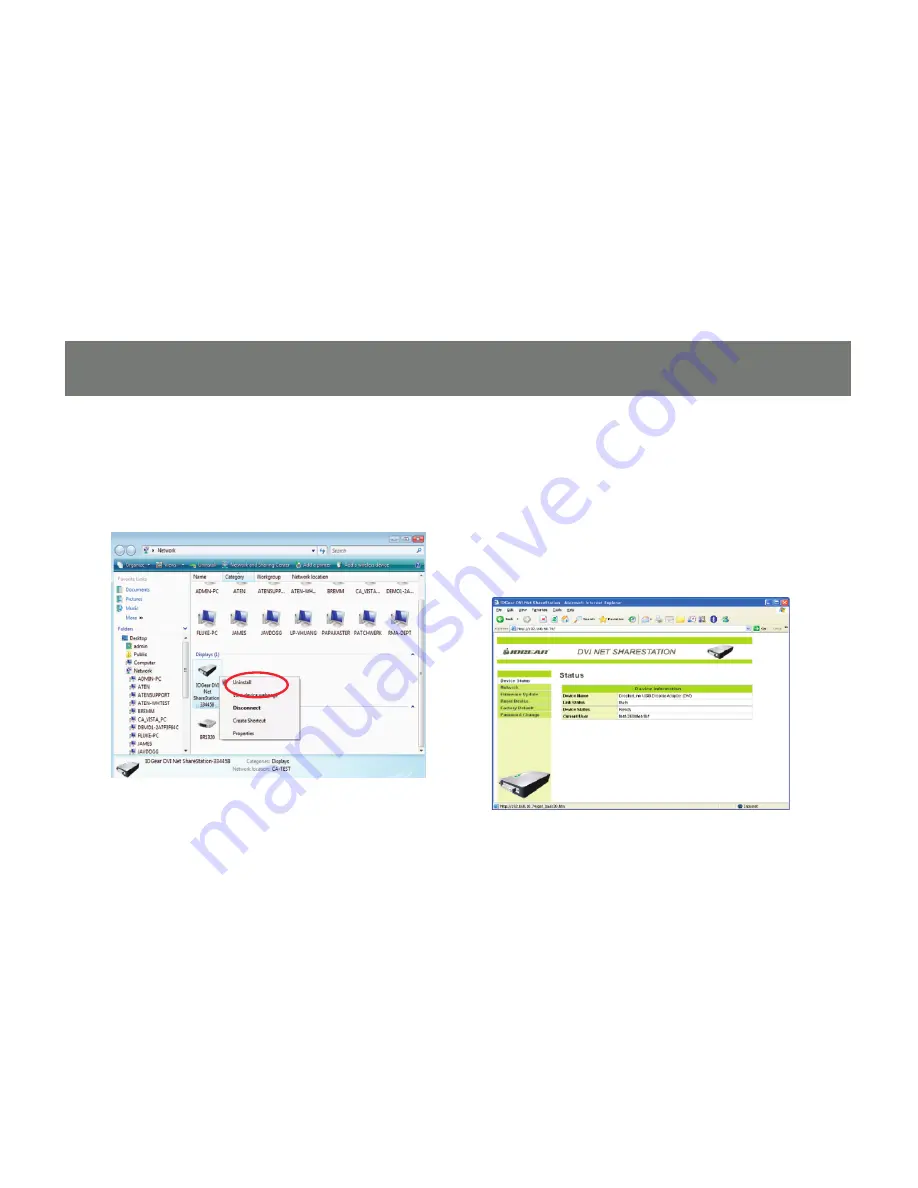
To access web management interface in VISTA,
in the Network window, right click on the
“IOGEAR GDIP201…”
icon, and select
“View
device webpage.”
The left panel of the web management interface
provides a list of different options to choose
from.
Device Status:
Displays the current USB
device info and will tell you which computer a
USB device is connected to. The interface is
limited to support up to 4 USB devices.
Содержание DVI Net ShareStation GDIP201
Страница 1: ...1 Installation Installation Installation Guide DVI Net ShareStation GDIP201 PART NO M1048...
Страница 2: ...2...
Страница 7: ...7 2 Connect the DVI cable of the DVI monitor to the DVI port on the DVI Net ShareStation...
Страница 15: ...15 3 Right click on the CD ROM drive and select Explore 4 Double click on the DL_Driver folder...
Страница 17: ...17 7 The DisplayLink software is now installing...
Страница 19: ...19 3 When the installation completes click Finish to close the installation wizard...
Страница 27: ...27 4 After you have connected the GDIP201 the DisplayLink icon will show up in the taskbar as shown...
Страница 33: ...33 To adjust the refresh rate of the extended screen click on Advanced and then the Monitor tab...
Страница 36: ...36 3 Right click on the CD ROM drive and select Explore 4 Double click on the Vista folder...
Страница 40: ...40 3 Right click on the CD ROM drive and select Explore 4 Double click on the DL_Driver folder...
Страница 44: ...44 2 Click OK to start the installation process...
Страница 53: ...53 3 Once connected there will be a DisplayLink icon on the task bar...
Страница 58: ...58 To adjust the refresh rate of the extended screen click on Advanced and then the Monitor tab...
Страница 73: ...73...


