Operation Manual 5280 EPSP
52
8.1.2.11
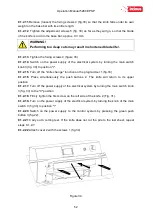
.Remove (loosen) the fixing screws 4 (fig.33) so that the knife falls under its own
weight on the base bar with its entire length.
8.1.2.12
. Tighten the adjustment screws 5 (fig. 33) as far as they will go, so that the blade
of the knife is cut into the base bar, approx. 0.3 mm.
WARNING!
Performing too deep cuts may result in shortened blade life!.
8.1.2.13
. Tighten the fixing screws 4 (figure 33)
8.1.2.14
. Switch on the power supply of the electrical system by turning the main switch
knob 3 (fig. 33) to position "I".
8.1.2.15
. Turn off the "knife change" function on the programmer 1 (fig.33)
8.1.2.16
. Press simultaneously the push buttons 2. The knife will return to its upper
position.
8.1.2.17.
Turn off the power supply of the electrical system by turning the main switch knob
3 (fig. 33) to the "0" position
8.1.2.18.
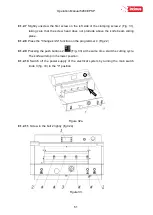
Firmly tighten the first screw on the left side of the knife. 2 (Fig. 31).
8.1.2.19.
Turn on the power supply of the electrical system by turning the knob of the main
switch 3 (fig.33) to position "I"
8.1.2.20
Switch on the power supply to the control system by pressing the green push
button 3 (fig.22).
8.1.2.21
Carry out a cutting test. If the knife does not cut the pile to the last sheet, repeat
steps 8.1.2.7.
8.1.2.22
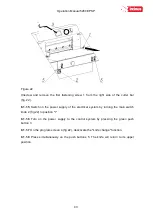
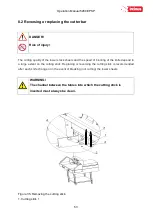
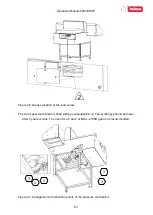
Attach cover 2 with the screws 1 (fig.34)
1
2
1
1
Figure 34.
Содержание INT-GU-05280EPSP
Страница 6: ...Operation Manual 5280 EPSP 6 EC Conformity Declaration...
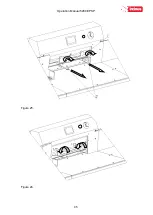
Страница 45: ...Operation Manual 5280 EPSP 45 Figure 25 Figure 26...
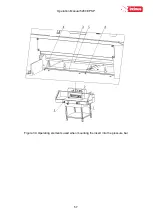
Страница 57: ...Operation Manual 5280 EPSP 57 Figure 39 Operating elements used when mounting the insert into the pressure bar...
Страница 68: ...Operation Manual 5280 EPSP 68 PROGRAM MODULE OPERATOR MANUAL...

