


SLIDE
Press
EDIT + SLIDE
to access the per-stage SLIDE feature. SLIDE can be turned on or off for each
stage by clicking its corresponding Stage button. When a stage’s slide is enabled, its corresponding
stage button lights
RED
. The screen also displays an overview of the slide status for each stage.
When SLIDE is enabled for a stage, one of two behaviours occurs:
● If
SLIDE TYPE
is set to either ‘Analog’ or ‘Tempo’ on the
screen, its PITCH output
will not immediately change to the stage’s pitch, but will instead glide (slide) from the previous
stage’s pitch over a period of time (also set on the SLIDE TIME screen).
● If
SLIDE TYPE
screen, the slide occurs at the beginning of the
following
stage, while the enabled stage holds its gate high for all of its pulses (as if you
switched its GATE TYPE to ‘HOLD’).
In Use:
1.
Press either the
TRK 1
or
TRK 2
button
,
depending on which track’s stages you wish to SLIDE.
2.
Press the
EDIT
button, followed by the
SLIDE
button to its right.
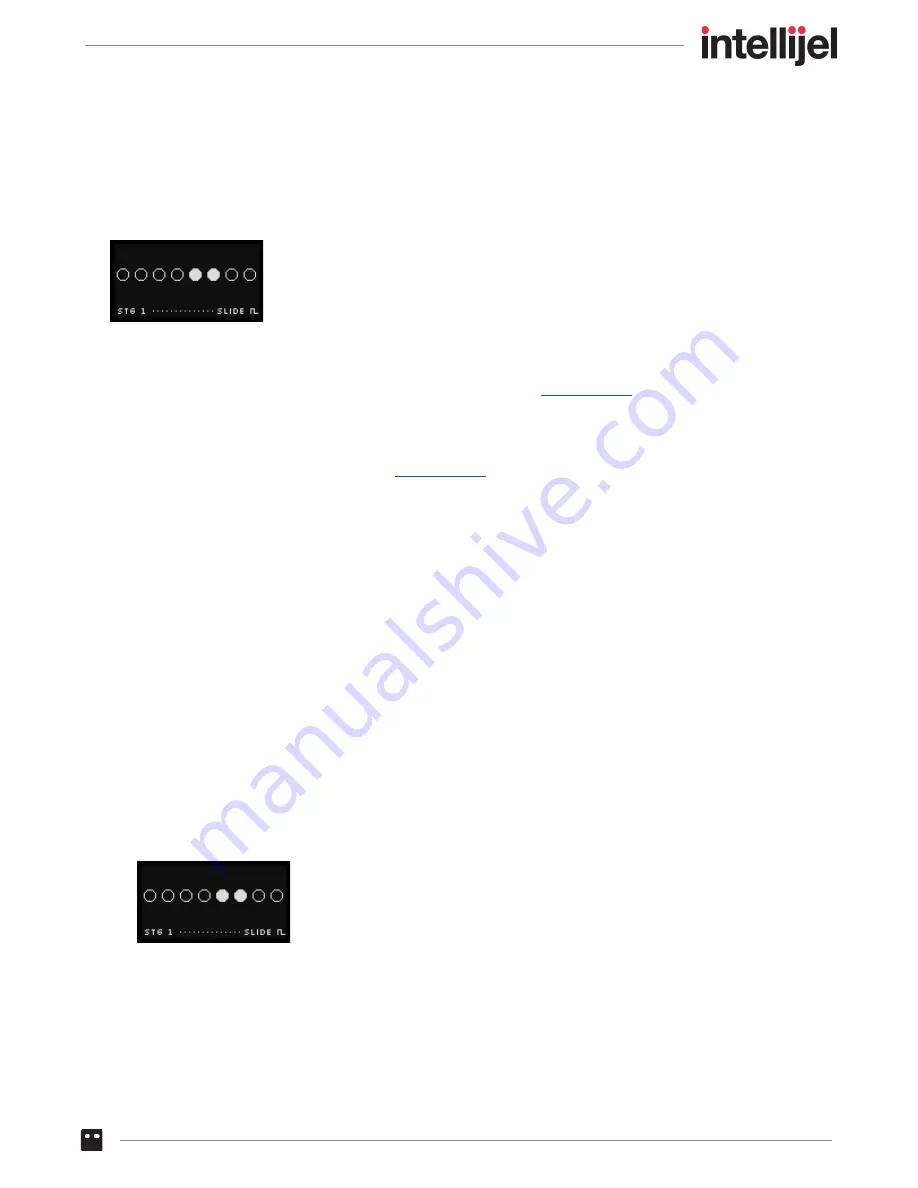
The screen displays an overview of every stage’s SLIDE setting, and the eight stage buttons are
used to select which stages you wish to slide.
3.
Press any of the stage buttons to toggle its slide function on/off.
Any stage with slide activated will have a red button. Buttons will be unlit for any stages with
slide turned off. The screen will also update to show that slide settings for each of the eight
stages.
In the following example, Stages 5 and 6 are set to SLIDE.
NOTE: If
Show Pos. = ON
in the SETUP menu, then an underline appears beneath the currently
playing stage.
Metropolix Manual
70


