Basic Tutorial
BlastMate III Operator Manual
2–1
2. B
ASIC
T
UTORIAL
In this tutorial, you will learn how to turn on and setup the BlastMate III to record an event and
then print an Event Summary Report. Follow this tutorial to practice event monitoring. You can
also use it as a guide when recording actual events.
Step 1: Install the BlastMate III
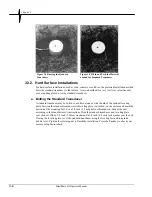
Unpack your the BlastMate III. Attach the ground spikes to standard transducer. Point the
standard transducer in the direction of the event. For this tutorial, point it away from yourself.
Press on the top of the standard transducer to force the ground spikes fully into the ground. Using
a level, check that the standard transducer is level. Attach the standard transducer cable to the
GEO connector on the front of the BlastMate III. Screw the microphone stand sections together
and attach the microphone to the stand. Aim the front of the microphone towards the event. In our
case, aim it away from yourself. Insert the microphone stand into the holder located on the front of
the BlastMate III keeping it in an upright position. Attach the microphone cable to the MIC
connector located on the front of the BlastMate III.
If you have an eight channel monitor, connect the sensors to the monitor according to the
instructions contained in the BlastMate III and MiniMate Plus™ Sensors, Adapters, Splitters, and
Extension Cables manual (714U3201).
Step 2: Turn the BlastMate III On
Press and hold the
On/Off
key, located on the BlastMate III keyboard, until you hear an audible
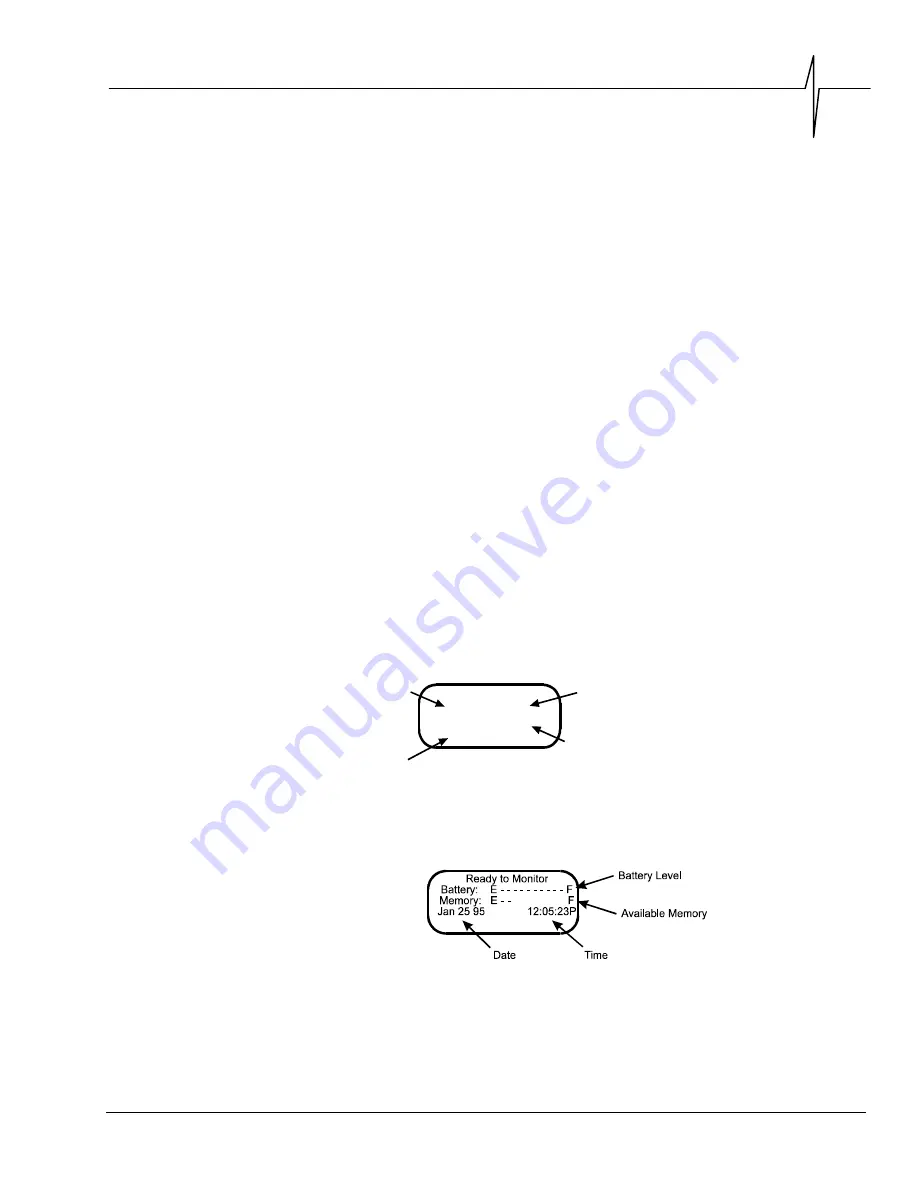
beep. A Start Up Window displays for three seconds followed by the Main Window display. The
Start Up Window shows the BlastMate III serial number, operating software version, amount of
installed memory, and the number of events stored in the BlastMate III.
Serial
Number
Number of
Events Stored
Size of Internal
Memory
Operating
System Release
BlastMate III
Sn BA6000 R 3.6
Event Memory: 5 M
Events stored: 10
Figure 2.1 The BlastMate III Start Up Window.
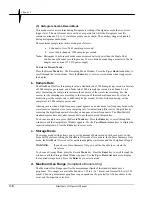
The Main Window tells you the BlastMate III is ready to monitor. It also indicates battery power
level, how full the memory is, date, and time. This is your starting window whenever you setup
the BlastMate III. From here, you access all setups.
Figure 2.2 The BlastMate III Main Window.
Содержание Blastmate III
Страница 1: ......
Страница 6: ...iv BlastMate III Operator Manual Notes ...
Страница 14: ...Chapter 1 1 4 BlastMate III Operator Manual 1 4 The BlastMate III Keys Figure 1 2 The BlastMate III Keys ...
Страница 20: ...Chapter 2 2 6 BlastMate III Operator Manual Notes ...
Страница 50: ......
Страница 74: ...Chapter 6 6 6 BlastMate III Operator Manual Notes ...
Страница 77: ...Appendix BlastMate III Operator Manual A 1 Appendix ...
Страница 78: ...Appendix A 2 BlastMate III Operator Manual ...
Страница 84: ...Appendix A 8 BlastMate III Operator Manual Notes ...
Страница 90: ...Index I 6 BlastMate III Operator Manual Notes ...


