EonNAS 1000 Series Hardware Manual
52
Inte rfac e
IP Addre ss
Netm as k
Ga te way
Link
LAN2
DHCP
LAN1
DHCP
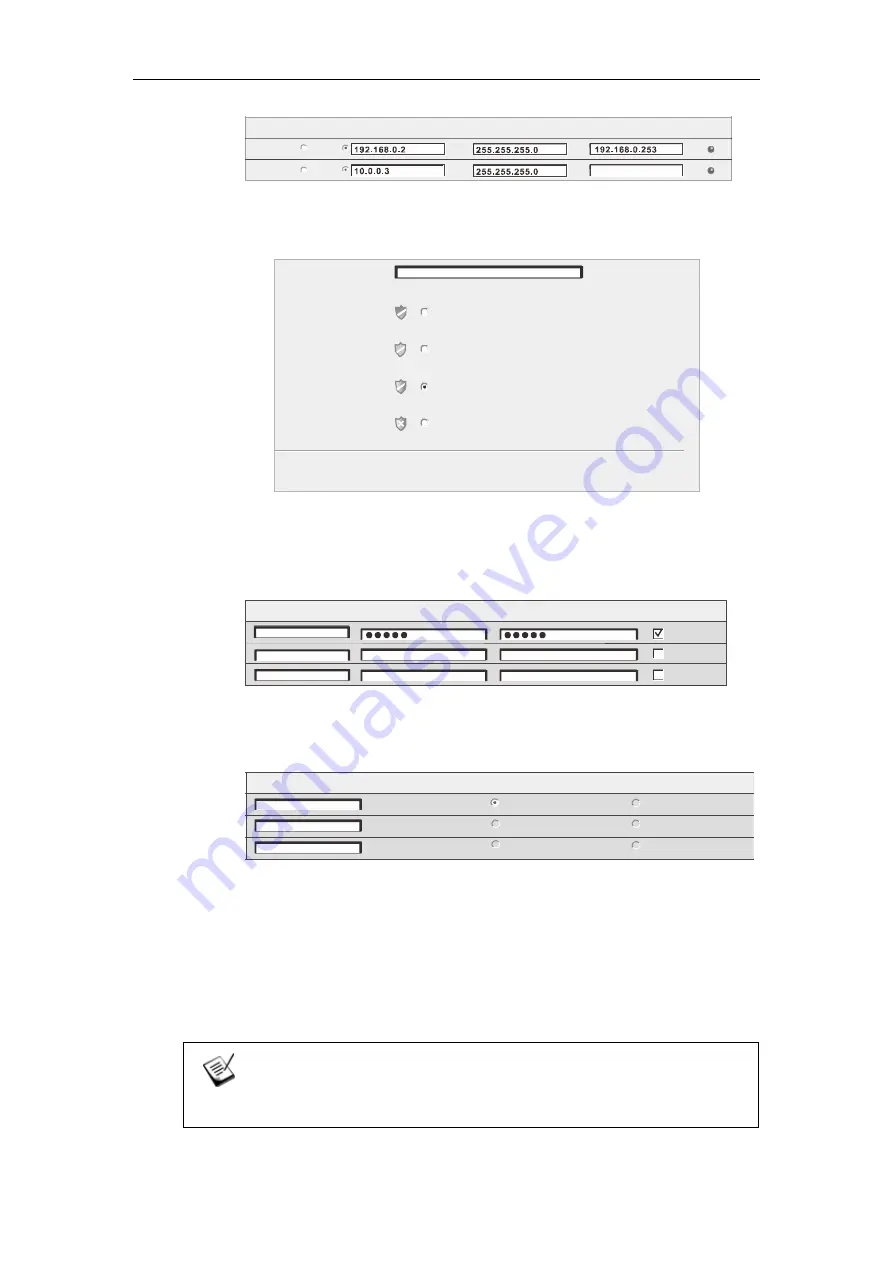
9. Enter a unique pool name, select the protection level, and click the Next
button.
Pool Nam e:
Dat a Pro tection L evel:
Best Protection
RAID 1: Provides best protection. Your data will be mirrored.
Better Protection
Good Protection [Recommended]
No Protection
RAID 6: Provides protection against two simultaneous drive failures.
RAID 5: Provides protection against one drive failure.
RAID 0: Provides no protection but offers maximum capacity.
Number of Drives: 4
Usable Cap acit y: 698.66 GB
Pool-1
10. Add at least one user account for accessing the new storage pool and click
the Next button (The default user account is username: guest, password:
guest).
Nam e
Pas sword
Confirm Password
Home Directory
g uest
11. Change the default share folder settings or add a new folder and click on the
Next button.
Folder
Acc es s Rights
Full Control
Rea d Only
E on S hare
Full Control
Full Control
Rea d Only
Rea d Only
12. View the summary of configurations. Click Back to modify the parameters or
Apply to complete the Startup Wizard. Press OK to initialize or to reboot when
prompted!
13. Upon reboot, when you hear two beeps, you may then log into and use your
EonNAS system (the whole process may take approximately 20 minutes to
complete).
NOTE
Remember to turn back on your Windows and antivirus’ firewall.
Содержание 1U EonNAS 1000
Страница 1: ...Infortrend EonNAS 1000 Series Version 2 2...
Страница 14: ...EonNAS 1000 Series Hardware Manual 14...


