34
M
a
i
n
t
e
n
a
n
c
e
&
T
r
o
u
b
l
e
s
h
o
o
t
i
n
g
3
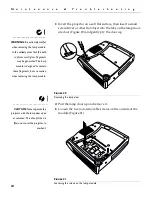
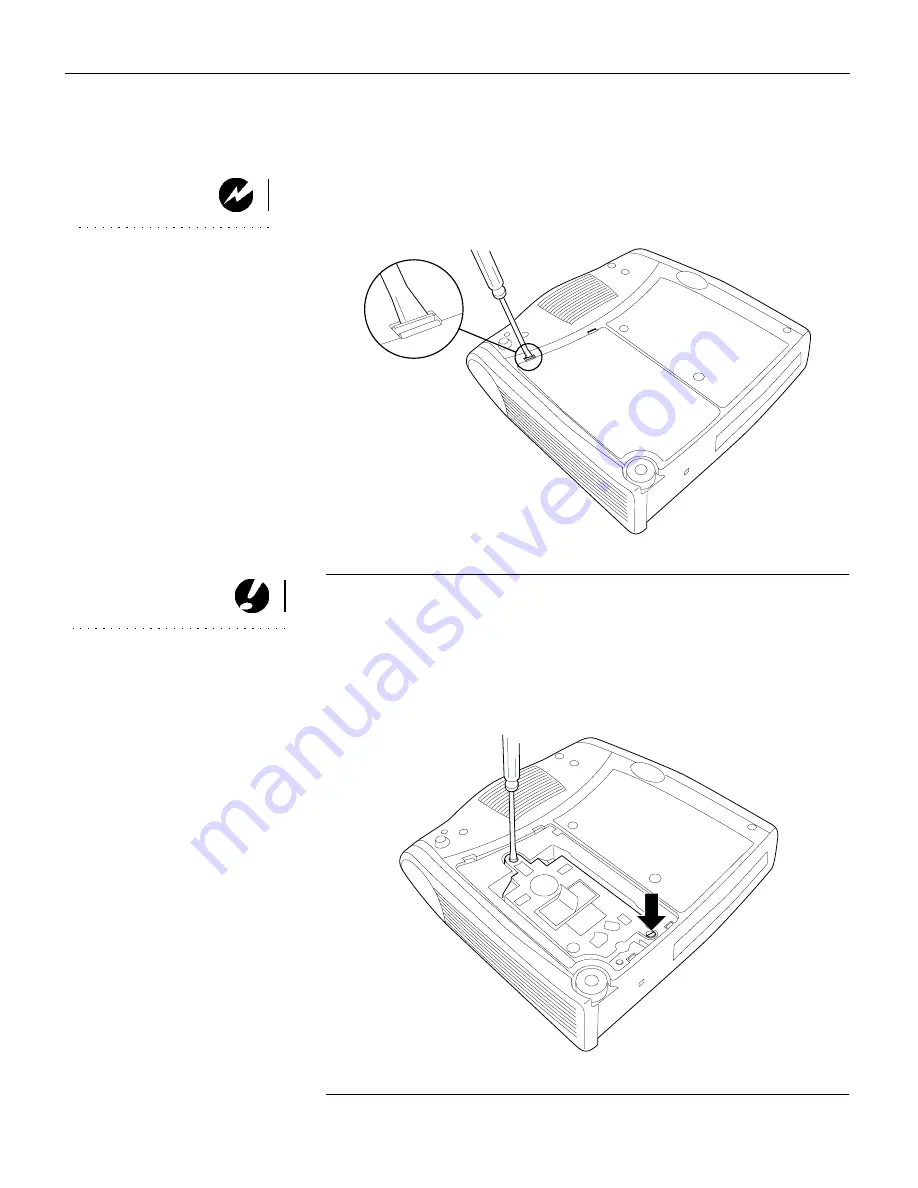
Invert the projector on a soft flat surface, then insert a small
screwdriver or other flat object into the tabs on the lamp mod-
ule door (Figure 20) and gently pry the door up.
WARNING:
Be extremely careful
when removing the lamp module.
In the unlikely event that the bulb
ruptures, small glass fragments
may be generated. The lamp
module is designed to contain
these fragments, but use caution
when removing the lamp module.
F
IGURE
20
Removing the lamp door
CAUTION:
Never operate the
projector with the lamp door open
or removed. This disrupts the air
flow and causes the projector to
overheat.
4
Pull the lamp door up and remove it.
5
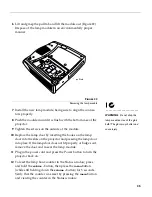
Loosen the two non-removable screws on the outside of the
module (Figure 21).
F
IGURE
21
Loosening the screws on the lamp module
Содержание LP340B
Страница 12: ...6 I n t r o d u c t i o n ...
Страница 38: ...32 U s i n g t h e P r o j e c t o r ...

