


13
CHAPTER IV BASIC FUNCTION OPERATION
This chapter mainly introduces the settings and operation of V6812IR-H0
series.
4.1 Live View
Start IE browser after the server is powered on for about 90 seconds, and then
enter IP address, such as http://192.168.1.100 (default), in the address field.
Note: The default subnet mask is 255.255.255.0 and the default gateway IP
address is 192.168.1.254. For normal access, please correctly set local IP
parameters before system login.
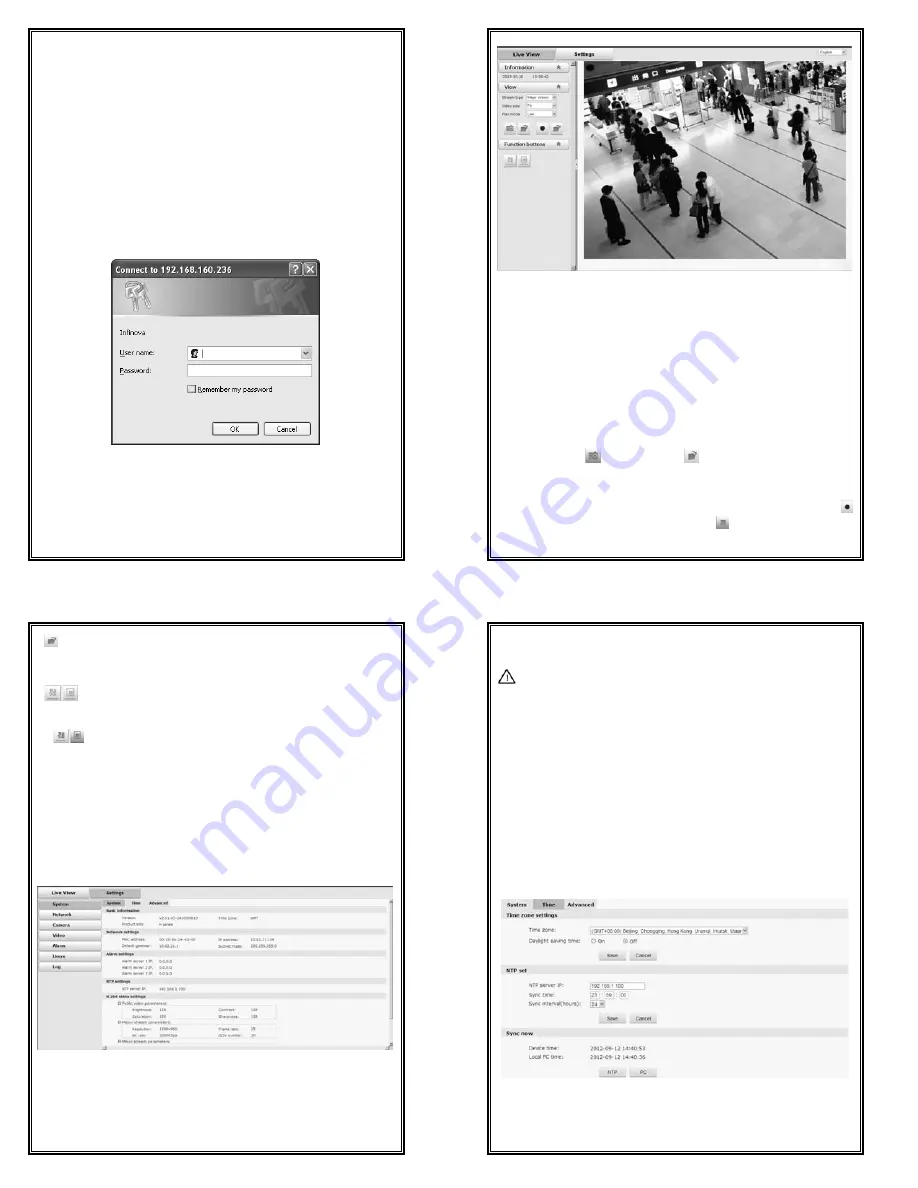
The login interface is displayed as shown in figure below in English operating
system.
Figure 4-1 User Login
Do log in the system with the default super user for the first time to run the
software. The default Super User is admin (password: admin). Input the correct
user name and password and then click “OK” button to log.
After login is successful, the following interface will display:
14
Figure 4-2
H.264
Live view
V6812IR-H0 series IP camera supports H.264 and M-JPEG video
compression formats. After successful login, it enters H.264 major stream live
video interface. Users can also select H.264 minor stream or MJPEG from the
drop-down list of stream type. In the H.264 major or minor stream type, users
can do recording, snap shooting, motion detection and privacy mask settings.
Over browsing videos, users can also select a proper video scale.
Play mode: live or fluid for option.
Click the button
to snapshoot and
to enter the storage path. Default:
C:\InfiPlayerAX\Picture.
V6812IR-H0 series supports local recording. Click the recording button
to start recording; when the button changes to
, click it to stop recording.
During local recording, “REC” appears on the video screen. Click the button
15
to enter the recording storage path. Default: C:\InfiPlayerAX\ Video.
Users can set the snap shooting and recording storage path in the video
settings interface.
Indicate that the motion detection and privacy mask functions are
disabled. Click the buttons to enable them and then the buttons will be shown
as
.
Note:
only when motion detection or privacy mask is enabled, you can set the
corresponding function in Video Settings, refer to Section 4.5.3 or 4.5.4 for
details.
Note: the login web page language should be set to the same as that of PC’s
operating system.
Click the option tab “Setting” to enter the system setting interface.
Figure 4-3 Settings Interface
With the help of navigation menu on the left, Super user can perform the
following operations: Basic Information View, Time Settings and Advanced
Settings, Network Settings, Camera Settings (including Basic Set, Effect Set,
White Balance, IR set, Reset), Video Settings, Alarm Settings, Account Settings
16
(Add/Delete User, Change Password), Log, etc.
Note: The following instructions are used for the super user.
4.2 System
Click the navigation bar “System” and it displays the following three option
tabs: System, Time and Advanced, as shown in Figure 4-3.
4.2.1 System Information
The initial interface of System Settings displays related system information,
such as basic system information, network settings, NTP settings, alarm settings,
H.264/MJPEG video settings, etc.
4.2.2 Time Settings
Figure 4-4 “Time” Settings


