


15
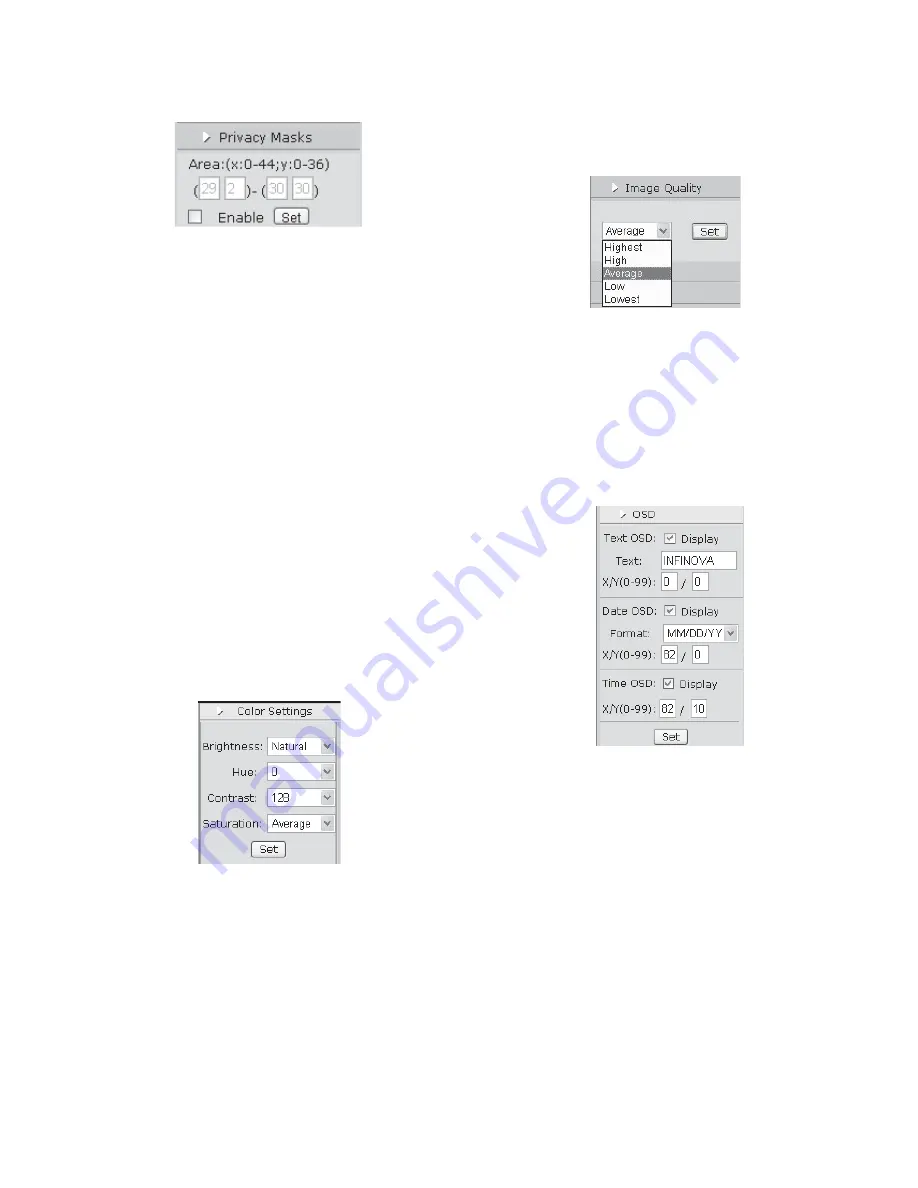
5.5 Privacy mask
Figure 5-5
V1492N-N series
support privacy mask function. If there is certain
location within the surveillance area where operators are not
allowed to see, and thus, PRIVACY MASK can be applied. System
covers and shields the sensitive area via Privacy MASK setting, to
avoid operators observing certain sensitive locations on monitor.
Area: Two coordinates determine an area. The line between those
two points is the diagonal of detection area. Each point extends
along 2 lines perpendicular to the X Axis and Y Axis, and the
rectangle formed by those 4 crossed lines is the motion detection
area. The selectable value on X Axis can be any of whole numbers
from 0 to 44, while Y Axis can be any of whole numbers from 0 to
36.
Note: The horizontal ordinate and vertical ordinate of the second
point should be greater than that of the first point. Plus, the area of
Privacy Mask shouldn’t over 396. User can use formula:
(X2-X1)*(Y2-Y1) to calculate the area. Tick “Enable” means
Privacy mask function is enabled. After finishing the setting, click
“Set” to make it effect.
5.6 Color Setting
Click “Color Setting” button, and then comes out the color
saturation option:
Figure 5-6
The parameters adjusted here include: brightness, hue, contrast and
saturation. For different cameras in different situations, to get a
good video image may require adjustment of the video parameters.
Default set:
%ULJKWQHVV
Natural.
+XH
0.
&RQWUDVW
128.
6DWXUDWLRQ
Average
1RWH
Only the super user can set this option.
5.7 Image Quality
If the Bit Rate is set as “vbr”, the button of Image Quality will be
displayed under the button of Color Settings. Click “Image Quality”
button to display the following interface:
Figure 5-7
As shown in the figure above, there are 5 levels available: Highest,
High, Average, Low, Lowest. The image quality will be worse in
sequence.
5.8 OSD Settings
Click “OSD” button in the navigation bar to display the following
interface:
Figure 5-8
OSD settings include: Text OSD, Date OSD and Time OSD.
7H[W26'
It is used to set the contents of text, its position where to display
and display status.
z
7H[W
the contents of the title. Display no more than 30
characters.
z
;$[LV <$[LV
the title Axis location. Both X Axis and Y Axis
can be any of a whole number from 0 to 99.
Click “Display” to enable text display.
'DWH26'
It is used to set date format, its display position and display status.
7LPH26'
It is used to set time display position and display status.
After all settings finished, click “Set” button. If display enabled, then the
setting will appear on the screen at designated location.
Содержание V1492N-18N05
Страница 2: ......
Страница 6: ......
Страница 40: ...Infinova 6WRXWV DQH 0RQPRXWK XQFWLRQ 1 8 6 7HO 86 RQO D VDOHV LQILQRYD FRP V1 4 1208...