30
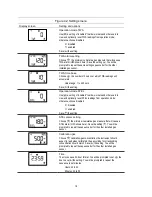
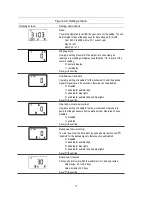
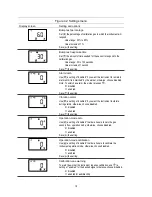
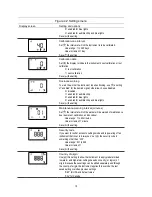
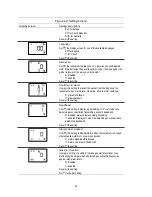
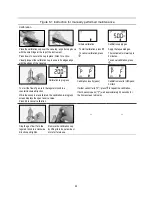
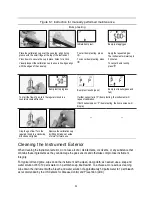
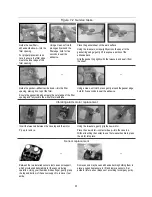
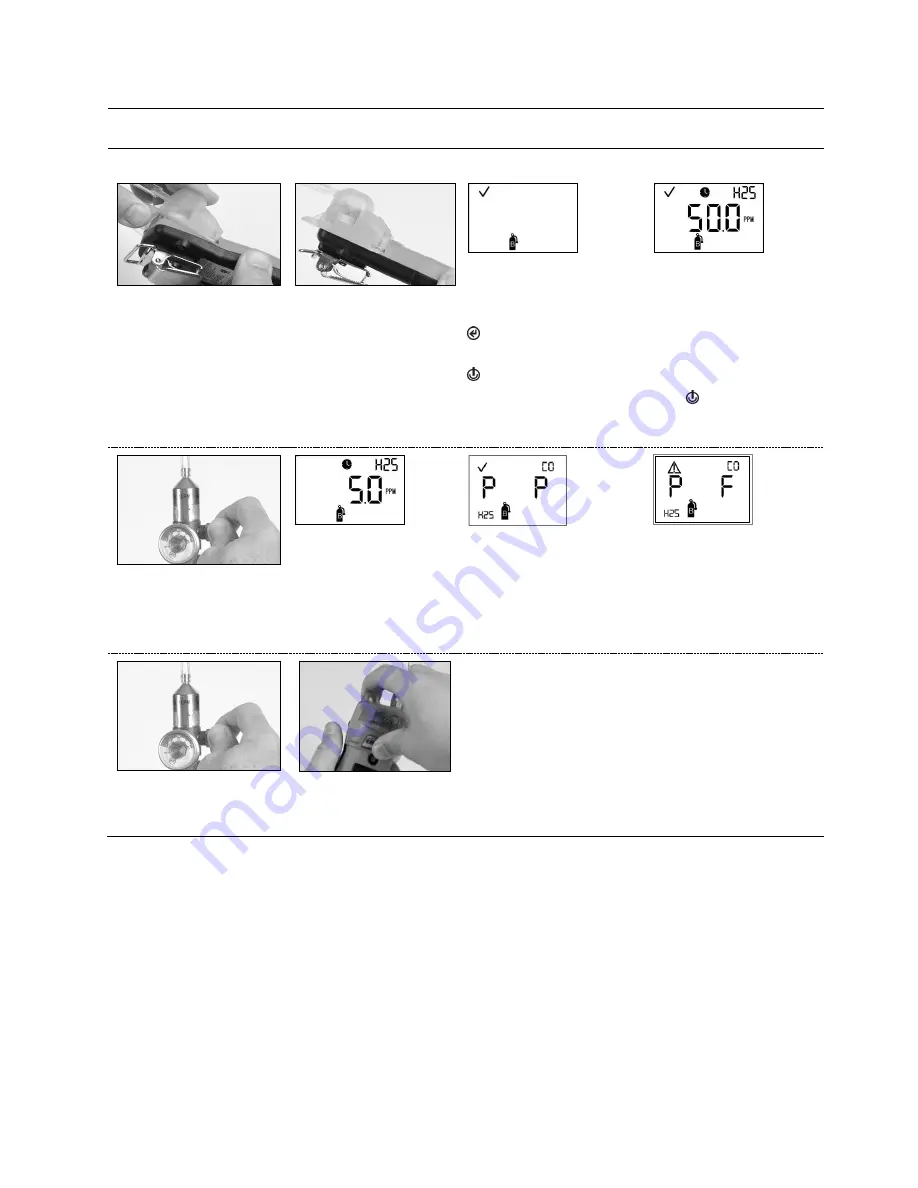
Figure 6.1 Instruction for manually performed maintenance
Bump testing
Initiate bump test
Bump test apply gas
Place the calibration cup over the case top; align its top
groove with the small ridge at the top of the instrument.
Press down to secure the cup in place; listen for a click.
Visually inspect the calibration cup to ensure its edges align
with the edges of the case top.
To start bump testing, press
.
To cancel bump testing, press
.
Apply the requested gas.
The instrument will wait up to
5 minutes.
To cancel bump testing,
press .
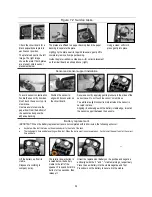
Bump test in progress
Bump test results (pass)
Bump test results (pass and
fail)
To start the flow of gas, turn the regulator knob in a
counterclockwise direction.
If either sensor fail
s (“F”)
bump testing, the instrument will
request calibration.
If both sensors pass
(“P”)
bump testing, the home screen will
display.
—
—
Stop the gas flow!
Turn the
regulator knob in a clockwise
direction and tighten.
Remove the calibration cup
by lifting its tabs; set aside
or store for future use.
Cleaning the Instrument Exterior
When cleaning the instrument exterior, do not use alcohol, disinfectants, or solvents, or any substance that
contains these ingredients as they can damage the gas sensors and otherwise compromise instrument
integrity.
For typical dirt and grime, wipe down the instrument with a clean, damp cloth; as needed, use a soap and
water solution of 8 to 10 parts water to 1-part dish soap, like Dawn®. To achieve a more serious cleaning,
wipe down the instrument with a bleach and water solution of approximately 50 parts water to 1 part bleach
as recommended by the US Centers for Disease Control and Prevention (CDC).
Содержание TANGO TX2
Страница 6: ......
Страница 16: ......
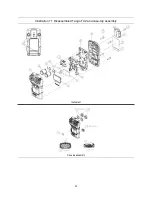
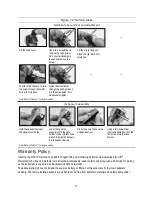
Страница 38: ...32 Illustration 7 1 Disassembled Tango TX2 and case top assembly Instrument Case top assembly...

