


25
The below section relates to where a cellular 3G dongle has been opted for, rather
than a hardwired ethernet connection.
Although the Pioneer supports both hardwired and cellular connection,
it is always advised to USE A HARDWIRED CONNECTION WHERE POSSIBLE.
As cellular connections are prone to dropping out and losing signal completely
in remote areas.
The result of a network loss is that the Pioneer will default
to a constant charging state, preventing the customer from utilising off-peak tariff
periods automatically.
Ensure the Pioneer has the latest firmware installed to ensure the highest performance
of the 4G/Wi-Fi Dongle. Note: The fastest way to update the charger is by connection
using a hardware Ethernet cable (even if it is just temporary for the
firmware update).
PRIOR TO UNBOXING THE WIRELESS CELLULAR DONGLE
, it is important to NOTE
ON YOUR JOB CARD the unique Pioneer device’s serial number, along with the serial
number of the dongle. This will allow pairing of, and association between, these two
products.
Pioneer serial number will look like:
SPNFAT1WG201- ####### - ###
(7-digits) – (3-digits)
Wireless Cellular Dongle serial identifier will look like:
WCD####
(4-digit number)
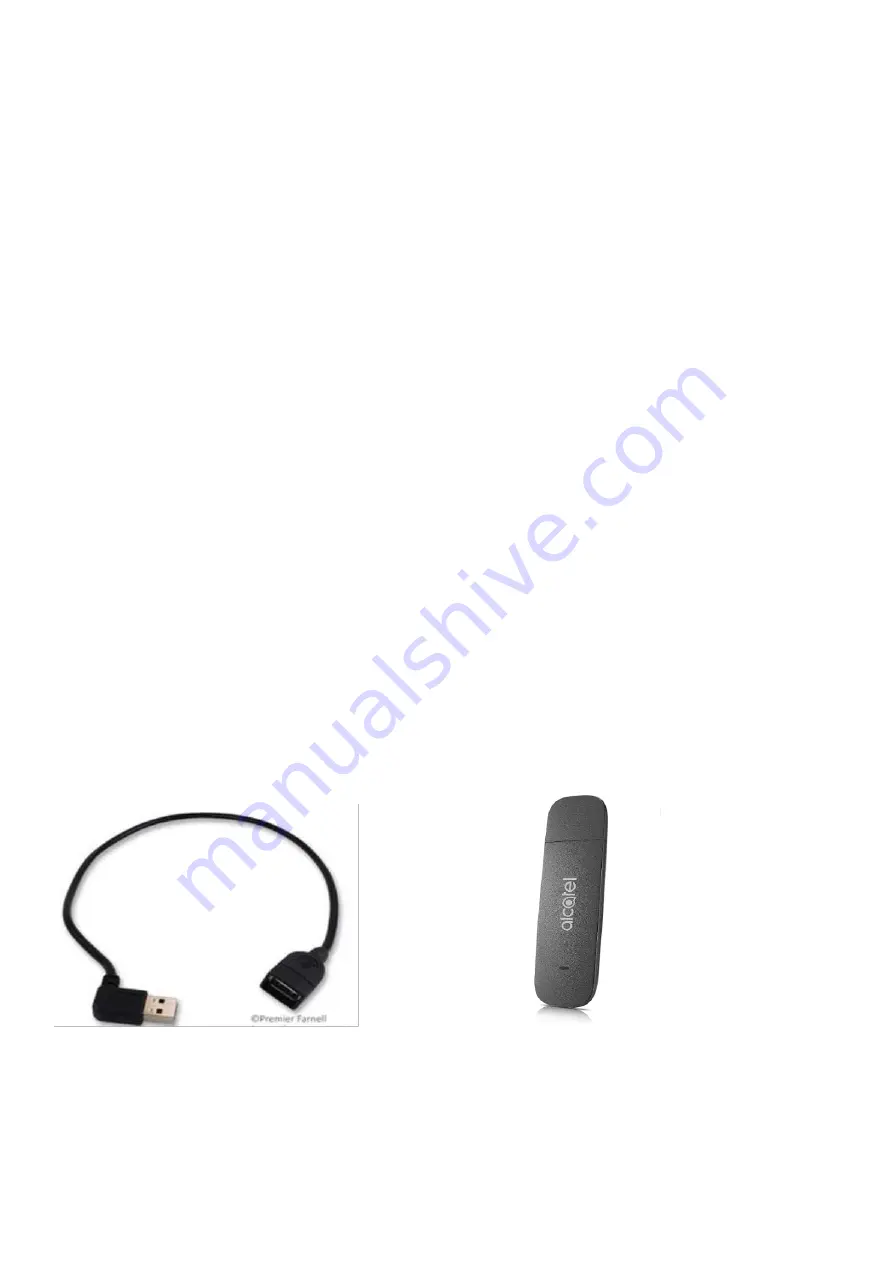
Within the cellular dongle box, there should be a USB extension (460mm), a Huawei
3G Cellular Dongle, Cable Tie Pad and 100mm Cable Tie.
Ensure the Cellular dongle is firmly pushed into the USB extension female end.
Attaching the Wireless Cellar Dongle (optional)
Push the free, 90-degree male end of the USB cable into the USB socket of the Green
Beaglebone inside the Pioneer (Noting orientation of the 90-degree tail)
Содержание 190105A101
Страница 1: ...1 Indra Pioneer Pioneer Installation Guide...
Страница 7: ...7...
Страница 18: ...Images of pig tailed mains cables into the charger 18...
Страница 33: ...33...
Страница 44: ...44...


