background image


Image Engineering 


Seite 

5

 von 

12


  Select the 

Transform Type, Reference Illuminant, 

and

 Profile Type.


  Select the 

Training data

 for which the transform will be optimized. 

  Select the 

Test data

 on which the transform will be evaluated. 

  Click 

Start

 to calculate the color transform. 

  By default, the transform is applied to the 

Test


data

 and a split view of each color and the 

color difference is shown in the evaluation panel. 


Export

 the ICC profile and matrices, if desired. 

3.1.5  ICC profile evaluation module 

  Load a raw camera image. 

  Select a profile that was saved from the 

CCM / ICC profile creation

 module. 

  The color managed image will be shown for viewing on an sRGB-calibrated display. 

  Export the color managed image, if desired. 


4  OPERATING INSTRUCTIONS 

4.1  Camera settings 

Set the camera to manual exposure mode, if available. To get best results the camera shall be 
able to save pictures as linear raw files. 


Exposure program  

Manual 

Aperture  

No default value 

ISO Speed  

Lowest value (e.g.100) 

Auto focus  

Off  

File type  

RAW 


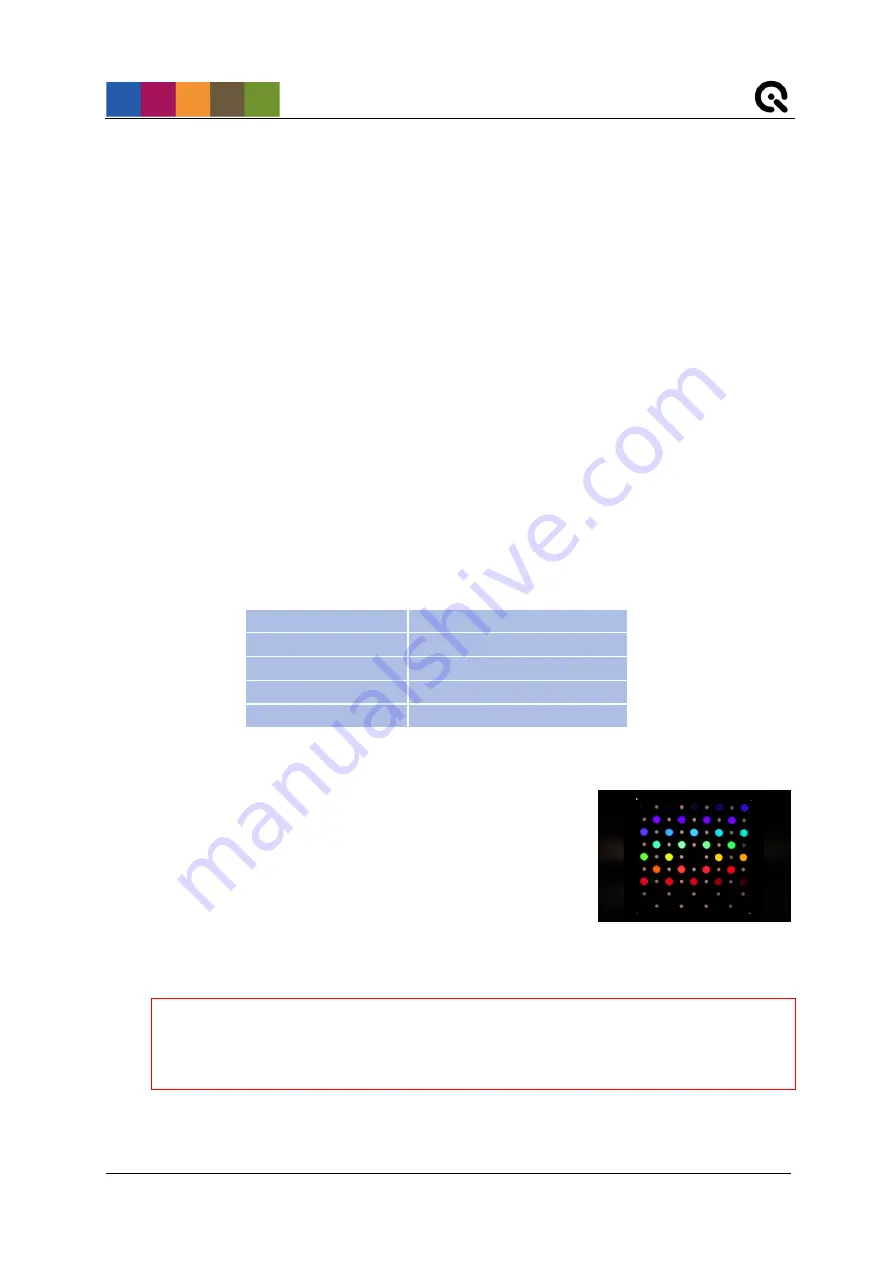
4.1.1  Camera position and lenses used 

Place the camera in front of the filter plate. The principal axis 
of the lens must be aligned perpendicular to the center of the 
filter plate. Adjust the distance between the lens and the filter 
plate  such  that  the  filter  plate  occupies  approximately  two-
thirds of the field of view of the camera, centered. Avoid using 
wide-angle lenses, since there is a slight angle dependence of 
the  radiance  power  and  the  peak  wavelength  of  the 
interference  filters.  Using  lenses  with  higher  focal  distances  ensures  a  minimum  viewing 
angle.  Viewing  angles  below  15°  do  not  cause  noticeable  impacts  on  the  resulting  spectral 
responses. 

Note: Ensure that the filters are the only light sources that are captured by the 
camera. To avoid stray light or other light hitting the camera sensor the pictures 
should be taken in a dark room or the space between camera and the camSPECS 
device should be shielded.  


Содержание camSPECS

Страница 1: ...Image Engineering GmbH Co KG Im Gleisdreieck 5 50169 Kerpen Horrem Germany T 49 2234 2273 99 99 1 0 F 49 2234 2273 99 99 1 10 www image engineering com camSPECS Quick Start Guide 31 January 2020 ...

Страница 2: ...al sensitivity iQ LED module 4 3 1 3 Validation module 4 3 1 4 Color Transforms module 4 3 1 5 ICC profile evaluation module 5 4 OPERATING INSTRUCTIONS 5 4 1 Camera settings 5 4 1 1 Camera position and lenses used 5 4 1 2 Exposure 6 4 2 Spectral sensitivity camSPECS Module 6 4 3 Spectral sensitivity iQ LED Module 8 4 4 Validation module 9 4 5 Color Transforms Module 10 4 6 ICC profile evaluation 1...

Страница 3: ...ce with suitable distance to walls Do not open the top sliding port of the housing during operation for bulb exchange Do not open the device when connected to the power supply 2 GETTING STARTED Remove the packaging material The plug for the power supply and the main switch are located at the back side of the box Connect camSPECS with a power socket and switch it on and let it run for a couple of m...

Страница 4: ...red by the camera for each of the Spectra Click the Start button The computed spectral sensitivities are displayed and a text file is saved 3 1 3 Validation module Take a picture of a ColorChecker 24 patches or ColorChecker SG 140 patches chart that was illuminated by a light source whose spectral distribution is included in the software D50 D55 D65 A C Additional spectral distribution files can b...

Страница 5: ... save pictures as linear raw files Exposure program Manual Aperture No default value ISO Speed Lowest value e g 100 Auto focus Off File type RAW 4 1 1 Camera position and lenses used Place the camera in front of the filter plate The principal axis of the lens must be aligned perpendicular to the center of the filter plate Adjust the distance between the lens and the filter plate such that the filt...

Страница 6: ...asonable exposure settings typically f 5 6 t 1 2s ISO 100 depending on camera and lens in RAW mode with Bayer pattern Check the RAW image for the highest recorded value in all RGB channels using a RAW image viewer or converter i e dcraw 4 2 Spectral sensitivity camSPECS Module 1 Select the calibration file for your camSPECS device With the and buttons calibration files can be added and removed fro...

Страница 7: ...ust contain the filter arrangement of camSPECS device With the and C buttons you can add images remove one selected image or clear the whole list After the measurement the spectral curve of the first image in the list is displayed By clicking on the other images in the list the corresponding results are displayed 7 Check the advanced settings 8 Start the processing procedure The filters in the ima...

Страница 8: ...sent 4 Check Dark Frame Subtraction to select a dark capture taken with the camera with the lens cap on or other means to ensure no light reaches the image 5 Add Spectra Folder to select the folder containing the spectral power distribution files for the desired individual LEDs that were previously saved using the Export feature in the separate iQ LED software 6 Add Image Folder to select the fold...

Страница 9: ...first column and the intensity values in the second column Columns must be separated with a tabulator The files in the calibration_files lightsource directory of the camSPECS program folder may be used as a template Format your file corresponding to these files and copy it to this folder then restart camSPECS 3 Select ColorChecker reflectance data The data used contains the spectral distribution b...

Страница 10: ...lly Double click outside ROIs to continue 7 Export the validation graph to an image JPEG PNG TIFF BMP GIF for documentation purposes 4 5 Color Transforms Module 1 Select a Camera Spectral Sensitivites file that was created by camSPECS 2 Select the desired Transform Type from those available 3 Select the desired Reference illuminant spectral distribution file for the light source of the scene adopt...

Страница 11: ...orm 7 Optionally Additional Test Data can be selected to input additional test spectra to be used to evaluate the camera transform 8 Click Start to generate the specified transform 9 The results panel shows the performance of the transform By default a visual representation of the Test data is shown in split field for each color patch 10 Display shows the results from the computed transform by def...

Страница 12: ...g and viewing 2 Select ICC profile directory selects the directory where ICC profiles are located or were saved in the CCM ICC profile creation module 3 ICC profile test image 1 selects from a list of ICC profiles To view the raw image select None 4 ICC profile test image 2 selects from a list of ICC profiles To view the image color managed for viewing on an sRGB device select the ICC profile just...

Отзывы: