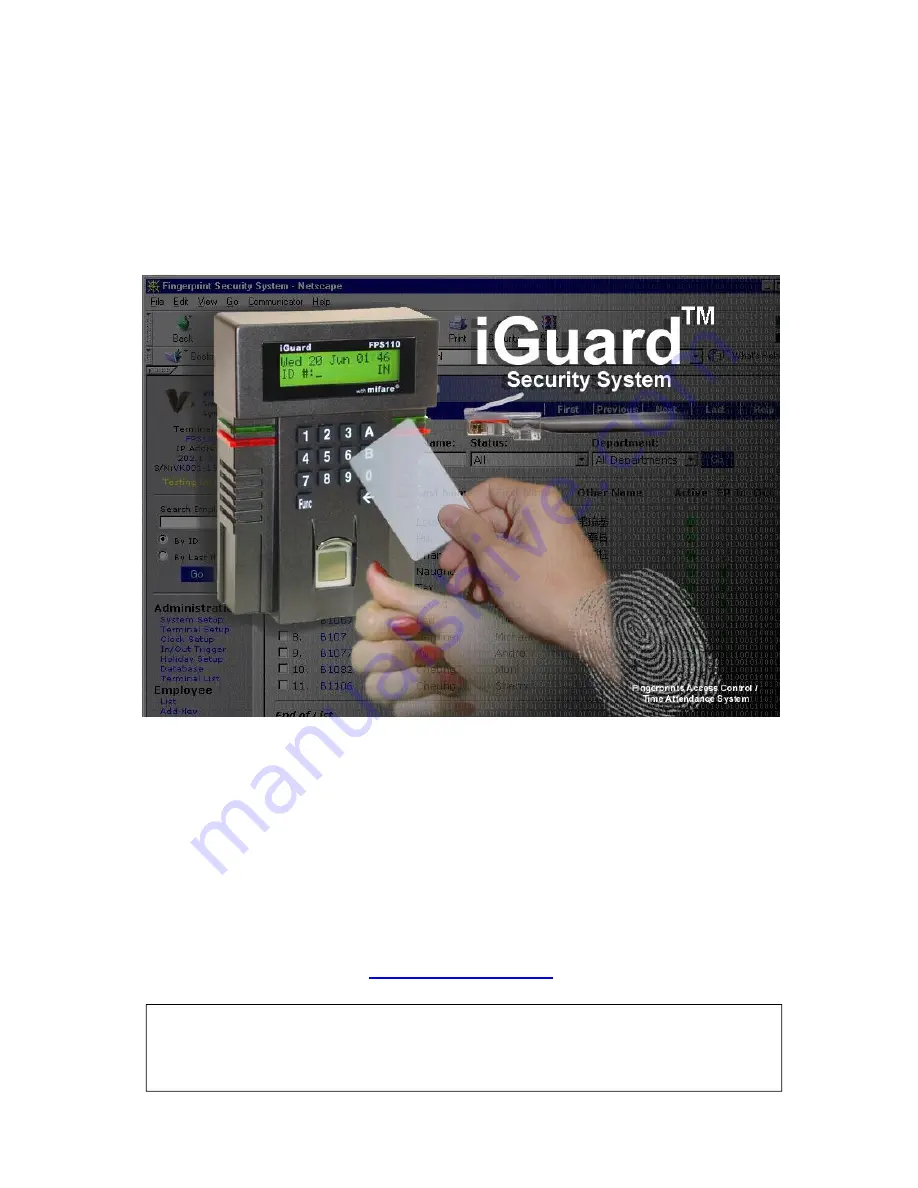
background image


iGuard FPS110 


Operation Manual 


Manual Version 3.33 


Information to user:

     This equipment has been tested and found to comply with the limits for a Class A digital device, 

pursuant  to  part  15  of  the  FCC  Rules.  These  limits  are  designed  to  provide  reasonable  protection  against  harmful 
interference  when  the  equipment  is  operated  in  a  commercial  environment.  This  equipment  generates,  uses,  and  can 
radiate radio frequency energy and, if not installed and used in accordance with the instruction manual, may cause harmful 
interference  to  radio  communications.  Operation  of  this  equipment  in  a  residential  area  is  likely  to  cause  harmful 
interference in which case the user will be required to correct the interference at his own expense. 

Содержание FPS110 Series

Страница 1: ...against harmful interference when the equipment is operated in a commercial environment This equipment generates uses and can radiate radio frequency energy and if not installed and used in accordanc...

Страница 2: ...Resetting the device Function 7 18 Auto Match Function 8 18 Using the Internet Browser 19 Reports Access Log 20 Reports Attendance 21 Employee List 22 Employee Add New 24 Department List 25 Department...

Страница 3: ...quick access operation by just presenting the smart card during normal office hours where only low security is required For maximum security users can be verified by both the smart card and fingerprin...

Страница 4: ...te sensor that images fingerprints by measuring capacitance Its rugged silicon based design offers substantial advantages over optical based sensors Beneath the sensor s surface passivation layer is a...

Страница 5: ...process and is not necessary in the daily verification process Hints for Capturing Fingerprint Images Place your thumb flat on the fingerprint sensor using the pad not the tip of your thumb The tip of...

Страница 6: ...ater Access Control Mode vs Time Attendance Mode The Access Control Mode is to control the employees from accessing the business premises The system controls the electronic door strike to lock unlock...

Страница 7: ...necessary information Therefore you only need to access the Master device using the Internet Browser to obtain all the access and attendance records of the whole system It is not necessary to access...

Страница 8: ...d solely for Time Attendance System these terminals can be left disconnected Door Sensor optional Terminals 6 7 It provides iGuard the current status of the door open close If the door is left open fo...

Страница 9: ...access If you want to use the feature you must connect the product to your corporate network If it is used as a Time Attendance System you must connect iGuard FPS110 to the network since the Internet...

Страница 10: ...enter the Administrator Password as shown Enter Password 123_ 2 Enter the Administrator Password e g 123 Press 1 Add user Press 5 System Configuration 3 Press the Func key to continue The setup menu...

Страница 11: ...he IP address of the device The default is 192 168 0 100 Enter the static IP address assigned to the device e g 192 168 1 123 Subnet Mask 255 255 255 000 3 Press Func key to continue Enter the sub net...

Страница 12: ...ssword AB456_ 2 Press the backspace to erase the old password and enter the new password e g AB456 Access Password _ 3 Press the Func key to accept the new Administrator Password You will then be prom...

Страница 13: ...default setting and none of the terminals is selected neither You must specify the authorized period by first clicking on any one of the Day buttons i e Sunday to Saturday and Holiday buttons then se...

Страница 14: ...hile in the Standby Mode You will then be asked to enter the password Enter Password _ 2 Enter the Access Password such as 9394AB709 The password is shown as astride for security reason Mon Aug 30 13...

Страница 15: ...er and can cover the scanner area better IMPORTANT During the enrollment process you must position the center of your fingerprint of your thumb to the center of the fingerprint sensor The center of th...

Страница 16: ...e images are OK you will see the acknowledge message ID A01 Added OK momentary then the device is ready for next enrollment Mon Aug 30 13 49 ID _ 9 Press the Backspace to return to the Standby mode Ve...

Страница 17: ...n the following steps Description LCD Display Enter ID _ 1 While in Standby Mode press the Func key to enter the Setup Menu Enter the Administrator Password default 123 and press Func key then press 2...

Страница 18: ...ts will also be permanently deleted You must re enroll the employee if necessary Resetting the device Function 7 The device can be turned off easily by just simply turning the power off However there...

Страница 19: ...g the IP address in the Internet Browser e g http 192 168 0 250 This is the IP address assigned to the device during the setup procedure The following will appear in the browser The iGuard s home page...

Страница 20: ...cify the Department and only the particular department members will be shown You can also limit the Time Period such as displaying only Today s records Last Week records Last Month records etc You can...

Страница 21: ...iGuard FPS110 P 21 Reports Attendance The attendance reports provide a consolidated access records of each person as follows...

Страница 22: ...s in Active status i e not suspended o The FP Fingerprint indicator indicates that the Fingerprint Information is available for the employee It is possible to add an employee through the browser first...

Страница 23: ...ID first You can also select a group of employees to display in the web page by adding the constraints at the top of the page and press the GO button Scroll down to the bottom of the right panel and...

Страница 24: ...his ID first every time when accessing the device The user can just simply lift the shutter and place the finger on the sensor The device will then automatically capture the image of the finger and w...

Страница 25: ...s shown as follows This page lists all the departments available The EVERYONE department is the default department and cannot be deleted When a new employee is added this new employee is automatically...

Страница 26: ...time of a particular day e g Monday by clicking on the Monday button and the web page in the next page will appear You can select the authorized time period at the bottom of the page If you want to se...

Страница 27: ...s page up is similar to the procedure for setting up the department Once the current time is within the valid period users can use the Door Access Password to enter the premises as discussed earlier T...

Страница 28: ...to configure the system such as setting up the IP address of the device and to administrate the users settings such as adding and deleting users The default name is admin and the default password is...

Страница 29: ...efault In Out status will follow the settings specified in the In Out Trigger page Please refer to the description in Administration In Out Trigger later in this section Show Chinese On Terminal Check...

Страница 30: ...d Beep Setting Door Relay Control Normally in Access Control Mode the door relay will be closed no matter the user s access status is IN or OUT If the IN checkbox is disabled the door relay won t be c...

Страница 31: ...nload at our website 4 Administration In Out Trigger Use this page to setup the In Out Trigger time for the default In Out status for Time Attendance Recording The In Out Time Setting is useful only i...

Страница 32: ...iday Setup Use this page to setup the Holiday list The Holiday list is use for the Time Restriction purpose along with the day of week settings In the above example the dates 09 10 2001 10 30 2001 12...

Страница 33: ...he above example the device Main is the master unit and it has one slave unit named Office The corresponding IP address of each device is also shown As a convenient feature you can remotely unlock the...

Страница 34: ...in the access report as shown below The records in Pink color with the checkbox next to them indicate that these records were added manually You can later on delete these records by selecting the chec...

Страница 35: ...ite applications such as Microsoft EXCEL Various reports can then be easily generated using the built in features of the office suite application In this way companies can design their own report form...

Страница 36: ...011 Leung Wei Kun manager 09 30 1999 19 06 18 FLATB Out 8 B1067 Lau Ester engineer 09 30 1999 18 58 11 FLATB Out 9 A1154 Chow Man Keung assistant 09 30 1999 18 36 48 F1103 Out 10 A1050 Chan KC support...

Страница 37: ...up data to your desktop computer When it is necessary to restore the data for example a new device has been installed go to the Restore page and specify the file name as follows Press the Go button an...

Страница 38: ...o the browser as shown below Currently the only supported web camera is Axis 2100 Network Camera from Axis Communications 5 Up to four Web Cameras are supported at the same time and can be shown in th...

Страница 39: ...Description LCD Display Enter Password _ 1 While in Standby Mode press the Func key to enter the Setup Menu You will be prompted to enter the Administrator Password as shown Enter Password 123_ 2 Ent...

Страница 40: ...between Test Mode Normal Mode and is illustrated in the following steps Description LCD Display Enter Password _ 1 While in Standby Mode press the Func key to enter the Setup Menu You will be prompted...

Страница 41: ...This problem can be solved by using smart card to store the user information and the user will carry his her own information with him her Also this option allows almost instant verification during th...

Страница 42: ...Operation Similar to the basic model all the users must enroll in the device first The enrollment procedure is identical to the one in the basic model i e via the Function 1 in the Setup Menu describ...

Страница 43: ...eypad The unit will then write the user information to the card Del Internal Mem Yes No 1 2 _ 5 After writing to the card you will be asked whether or not to delete the user from the Internal Memory M...

Страница 44: ...he Func key to enter the Setup Menu Enter the Administrator Password default 123 and press Func key then press 0 to select Add New SmartCard menu You will then be asked to present the smart card A01 R...

Страница 45: ...The page is very similar to the Internal Memory one except that it has one additional column i e the Branch column and has only one Active Indictor You must assign the departments each smart card user...

Страница 46: ...e button to save the new settings Please note that the Auto Match feature is not available for Smart Card users It is because the fingerprint information of the smart card users is not stored in the I...

Отзывы: