iGolf Transfer
Backup Course Files
Backup Golf Courses
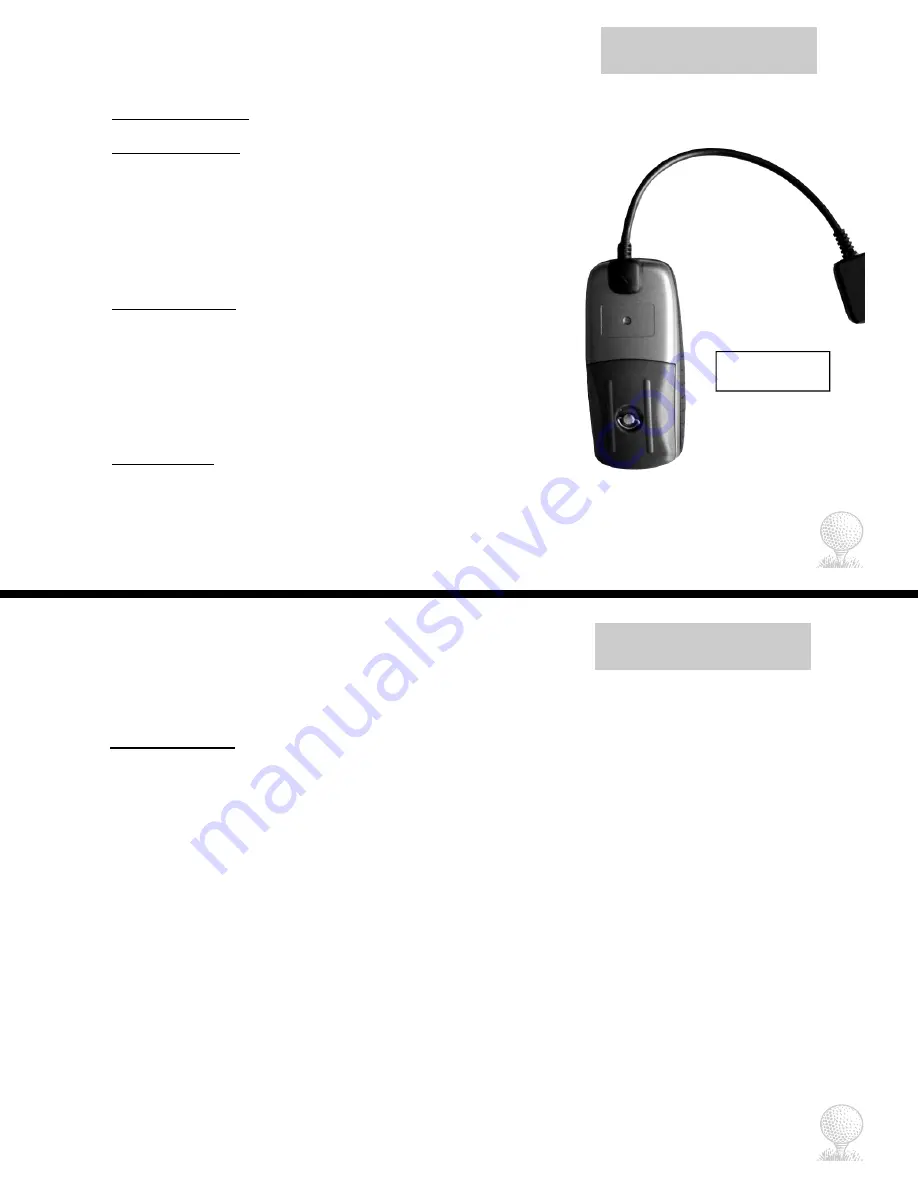
Connect GPS Caddie
1. Remove belt clip by squeezing tab on top of clip
together and sliding up to expose connection terminal.
2. Connect the USB cable to your computer and to the GPS Caddie by
sliding connector down to cover terminal (as shown in picture).
3. Turn the GPS Caddie on by pressing Power button.
4. GPS Caddie status must show Connected to continue.
5. Click Exit at any time to exit iGolf Transfer.
Backup GPS Caddie
1. On GPS Caddie Main Menu, scroll to highlight Handheld Sync and press
Enter.
2. On the computer, go to iGolf Transfer and click Backup to begin
transferring files.
*Transfer may take up to 2 minutes per golf course.
3. Click Stop to terminate the transfer.
4. Click Exit at any time to exit iGolf Transfer.
Backed-Up Files
This area lists all the files currently saved to the iGolf folder on your
computer.
To permanently remove any file:
1. Highlight file name and click Delete.
2. Click Exit at any time to exit iGolf Transfer.
Insert cable as shown
on the left.
34
Create Golf Course
iGolf Transfer
Create Golf Course
To enter golf course scorecard information using a computer:
1. Gather golf course scorecard information.
2. Enter Golf Course Name in white box.
3. Select up to five (5) Tee Boxes to enter.
4. Select the Number of Holes for the golf course (if two or more 9-hole courses, enter each course separately).
5. Click Create Holes.
6. Enter distance for each Tee Box selected for the hole.
7. Enter Par and HCP information for Men and/or Women for the hole.
8. Click Next to enter next hole, Back for previous hole, or Cancel to start over.
9. Repeat steps 5-7 for remaining holes.
10. Click Finish to save golf course file.
11. Send the new golf course file to the GPS Caddie using iGolf Transfer (see page 33).
12. On the GPS Caddie, go to Map Course (see pp. 17-20) and map GPS points.
13. Click Exit at any time to exit iGolf Transfer.
35


