Part 2 - Configuration
40
When configuring a port, the device may fail to scan
if the port selected for the NVR and the port selected
for the camera differ. In this case, you must register the
camera to change its IP address.
●
No.
: Select the registered camera number and click
the
Add Camera
button to register the camera.
●
MAC Address
: Displays the scanned camera’s MAC
address.
●
Address
: Displays the scanned camera’s IP address.
●
Model
: Indicates the camera model.
●
Protocol:
Indiscates the scanned camera’s protocol.
●
Name
: Displays the scanned camera’s IP name.
●
Status
: The “Registered” indicates the camera is
registered to the NVR and “Not registered” indicates
the camera is not registered to the NVR.
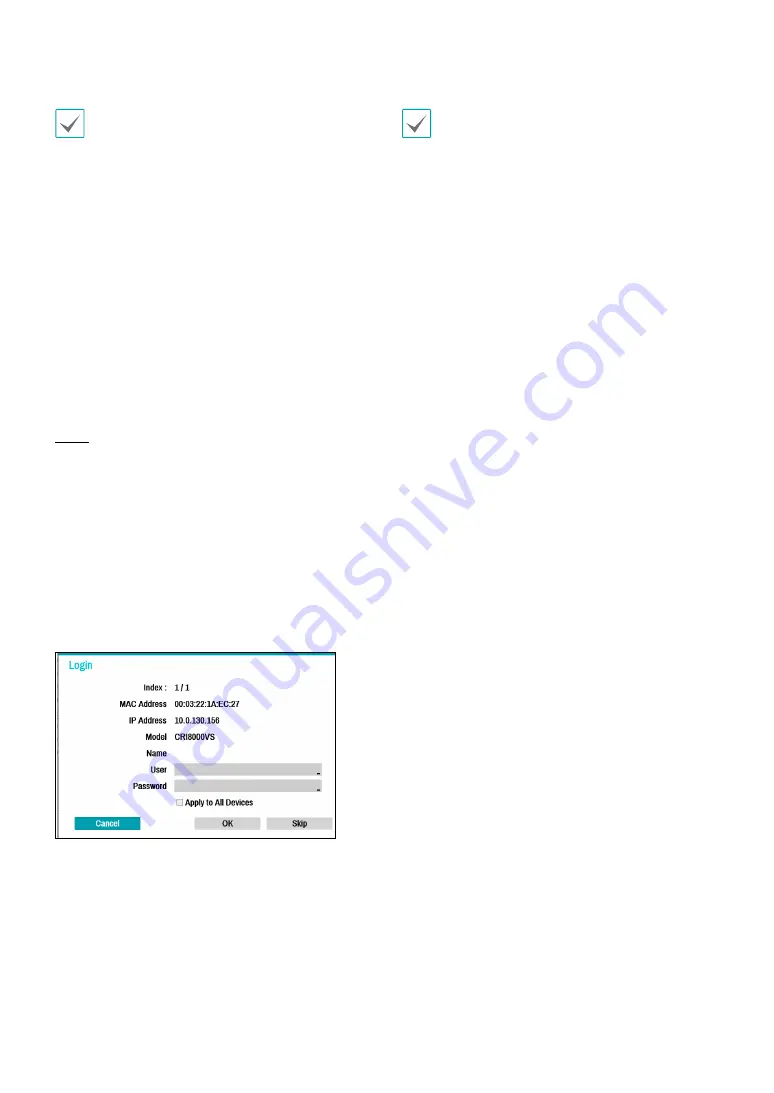
Login
If the password is set or you want to register third party
cameras, registering a device requires an authorized
user login.
1
Select the desired deivce from the list and click the
Add Camera
button, then the login window will
appear.
2
Select a user, enter the password, and then select
OK
.
•
By selecting
Apply to All Devices
, you can
apply the same authentication information to
all of the network devices in the list.
•
When you select multiple network devices
from the list and click the
Add camera
button,
a window for the network device will appear.
Select
Skip
to skip the authentication settings
for the current network device and to display
the Authentication window of the next network
device.
•
For IDIS cameras, a user and password may not
be required.


