Part 1 - Getting Started
21
Live Mode
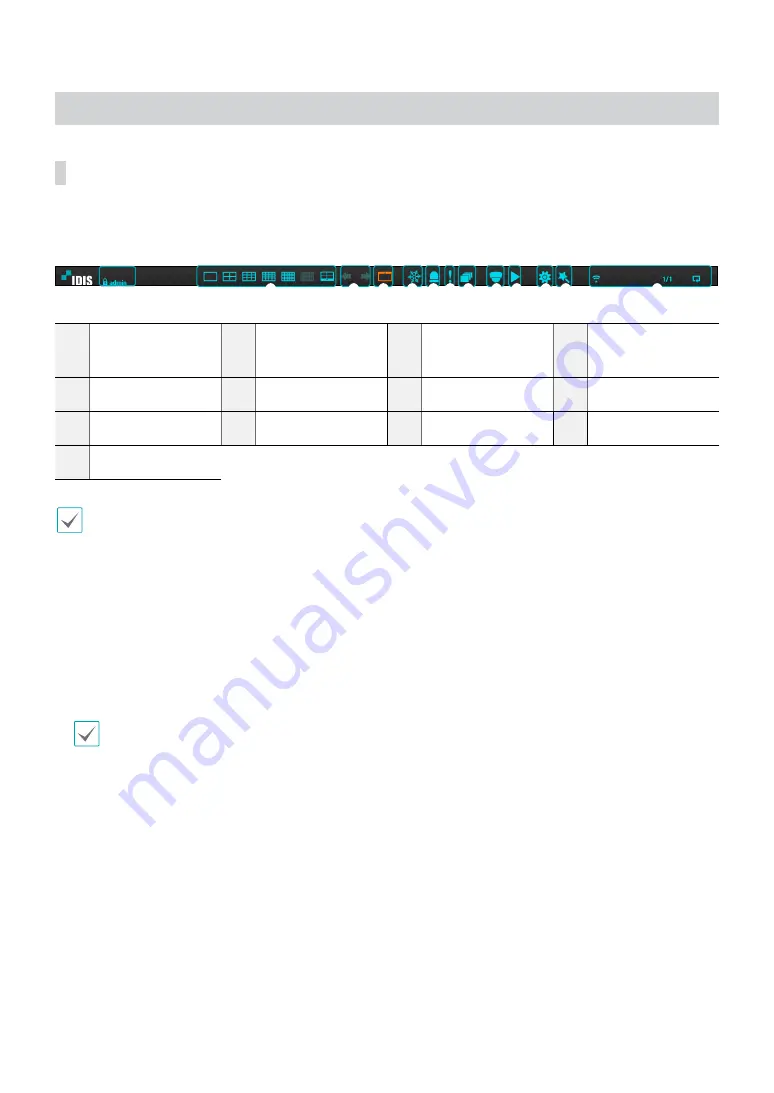
Live Menu
Press the
Setup
button while in Live mode to bring up the Live menu on the top of the screen. Press
Setup
once
more to hide the menu. Use the Arrow buttons on the front panel of the NVR or the remote control to select the menu
options.
1
2
3
4
5 6 7 8
9 0
! @
#
1
Login/Logout
2
Layout
3
Previous Group,
Next Group
4
Display
5
Freeze
6
Alarm
7
Panic Recording
8
Sequence
9
Select Camera
0
Search Mode
!
Setup
@
Wizard
#
Status Indication
Placing the mouse pointer near the top portion of the screen also displays the Live menu.
1
Login/Logout
Log into and out from accounts. If in the logged in state, the account ID is shown. If in the logged out state, the
login icon is shown.
2
Layout
Used to change the screen layout to single screen, corridor format, 2x2,1+5, 1+7, 3x3, 4x4, 5x5, or 6x6. In order to
use the corridor format
feature,
Corridor Format
(Display Setup - Main monitor - Use Corridor Format) must first be
enabled.
The 32-channel model does not support the corridor format feature.
3
Previous/Next Group
Loads the previous/next screen group.
4
Display
●
OSD
(On Screen Display): Enables/disables the
OSD
feature.
●
Full
: Displays the video in full screen mode.
●
Aspect Ratio
: Select whether to enable the original aspect ratio of video transmitted from the camera.
5
Freeze
Freezes the screen. Select
Freeze
again to unfreeze.
6
Alarm
Pressing this button while the alarm has been activated resets all NVR outputs, including the built-in buzzer.


