Part 2 - Configuration
45
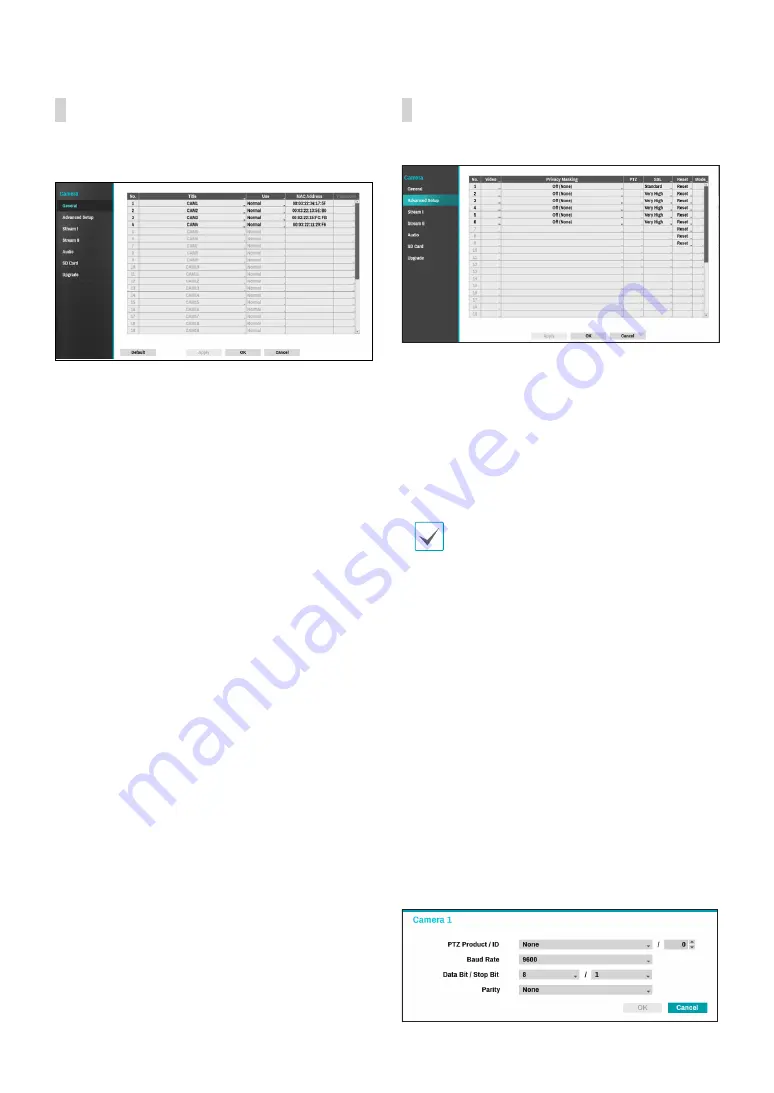
General
Enable/disable the covert view and rename cameras.
●
Title
: Edit the camera’s name.
●
Use
: Set the camera as
Normal
,
Covert 1
, or
Covert 2
.
Live images and video recordings from cameras that
have been set as
Covert 1
or
Covert 2
will not be
available to users who do not have covert camera
access. Setting a camera as
Covert 1
hides its images
but does display OSD information about the camera.
Setting a camera as
Covert 2
hides its images as well
as ODS information about the camera as if it has been
deactivated completely.
Advanced Setup
Configure security and other advanced camera settings.
●
Video
: Adjust the camera image sensor settings such
as white balance and exposure. Configuration options
may differ de
pending on the camera model.
●
Privacy Masking
: Enable/disable and configure
privacy masking for the camera.
●
SSL
: Set the camera’s security level as
Unavailable
,
Standard
,
High
, or
Very High
.
Standard
,
High
and
Very High
settings
apply SSL (Secure Sockets Layer)
protection to the camera.
The more cameras security level is set to
Very High
,
the more the device loads may occur due to the
decoding of received data such as video and audio.
This may cause the total recording performance to
decrease and not work as you set it to. In this case,
you must improve the load by lowering the security
level or by lowering the recording bitrate.
●
Reset
: Resets the port or cameras.
–
Factory Reset
: Control the PoE Switch’s port. This
option is available when connecting to Video In/
PoE port or using a DirectIP™ PoE Switch (optional).
Select
PoE Reset
to reboot the camera. It is not
supported by video encoders.
–
Soft Reset
: Reboots the camera.
–
Factory Reset
: Resets the NVR to all its initial
factory settings. It is supported by DirectIP™
cameras only.
●
Mode
: Select a resolution mode. This is supported by
video encoders only.
●
PTZ
: If using an RS-485-compliant camera, configure
it for use in PTZ Mode.


