Part 1 - Getting Started
17
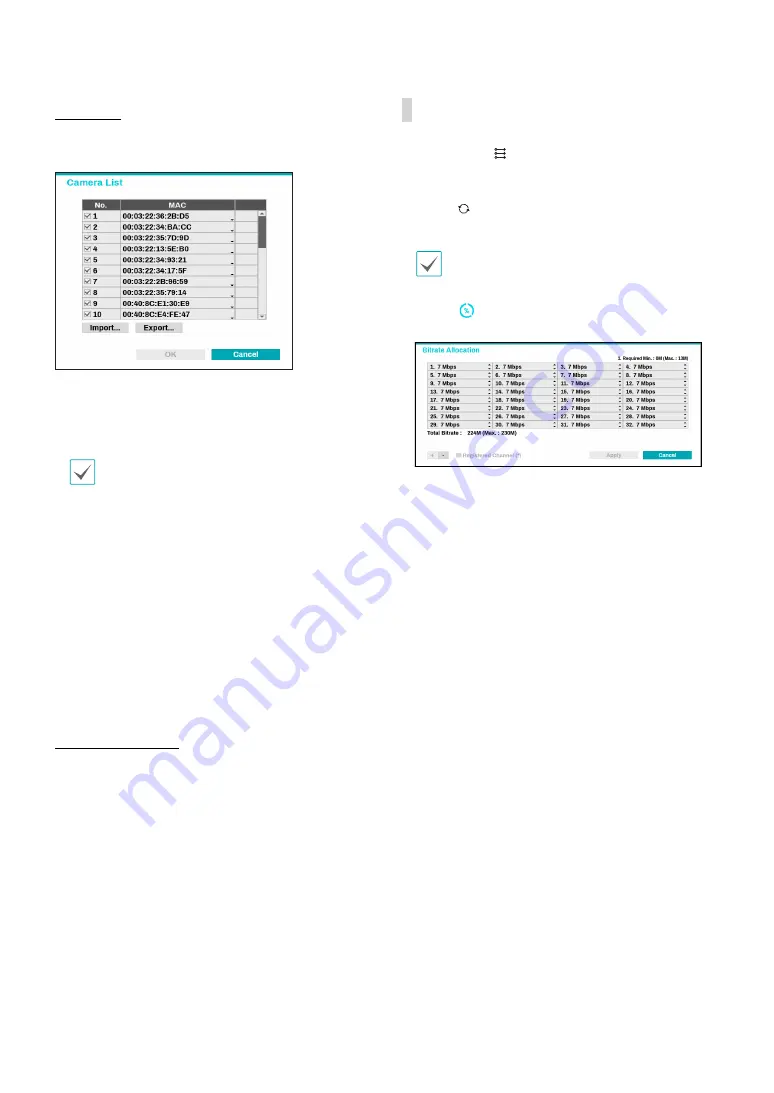
Camera list
By using the camera information file, .csv, the user can
register the cameras easily.
●
Export :
Button : Exports the list of camera
information on USB as a .csv file
●
Import :
Button : Imports a camera information file,
.csv file. The user can edit a csv file directly.
•
A column indicates camera number, B
column the camera MAC address, C column
the Video In port of the video encoder in the
.csv file. C column indicates only for video
encoders. If camera information displays
as follows: 5,00:11:22:18:30:20,3, 5 = CAM 5,
5,00:11:22:18:30:20 = MAC address, 3 means video
encoder.
•
Before using this feature, the cameras must be
scanned first. If the cameras to be registered
do not exist in the list, the camera cannot be
registered.
•
This feature is not supported for the third-party
cameras.
Scan Refresh Interval
Configures the refresh interval to scan the camera. If
the interval is short, camera scan results are refreshed
more frequently. However, if the interval is long, it is
advantageous to scan cameras on a wide network.
Camera View Buttons
●
ALIGNMENT
Button: Realigns camera screens
displayed on the video display area in the order of
Video In
port connections.
●
RESET
Button: Refreshes the video display area
and the camera list.
Selecting
RESET
clears all scanned devices from the
list.
●
Bitrate
Button: Displays the following window to
change the bitrate allocation for each channel.
When registering the camera, you can set the stream
as much as the performance (bitrate) assigned to the
channel. If high performance
(bitrate) is not allocated,
Quailty, IPS and Resolution can be low. If a channel
has a camera already registered, bitrates may not be
lower than current stream settings. You can change
the bitrate by pressing the + - button at the bottom
left. Only the bitrate of the registered camera can be
changed by checking the registered channel (*).


