


ViVOpay Vend 3 User Guide
10
Installing the ViVOpay Vend 3
7 mm
.64 inches
oles x4
65 mm
2.56 inches
External Mount
The ViVOpay Vend 3 can be mounted directly on a surface (external) or mounted from behind a
surface (internal) using a flange bracket. Surface mounting requires the standoff and seal for
effective weather proofing.
To mount externally
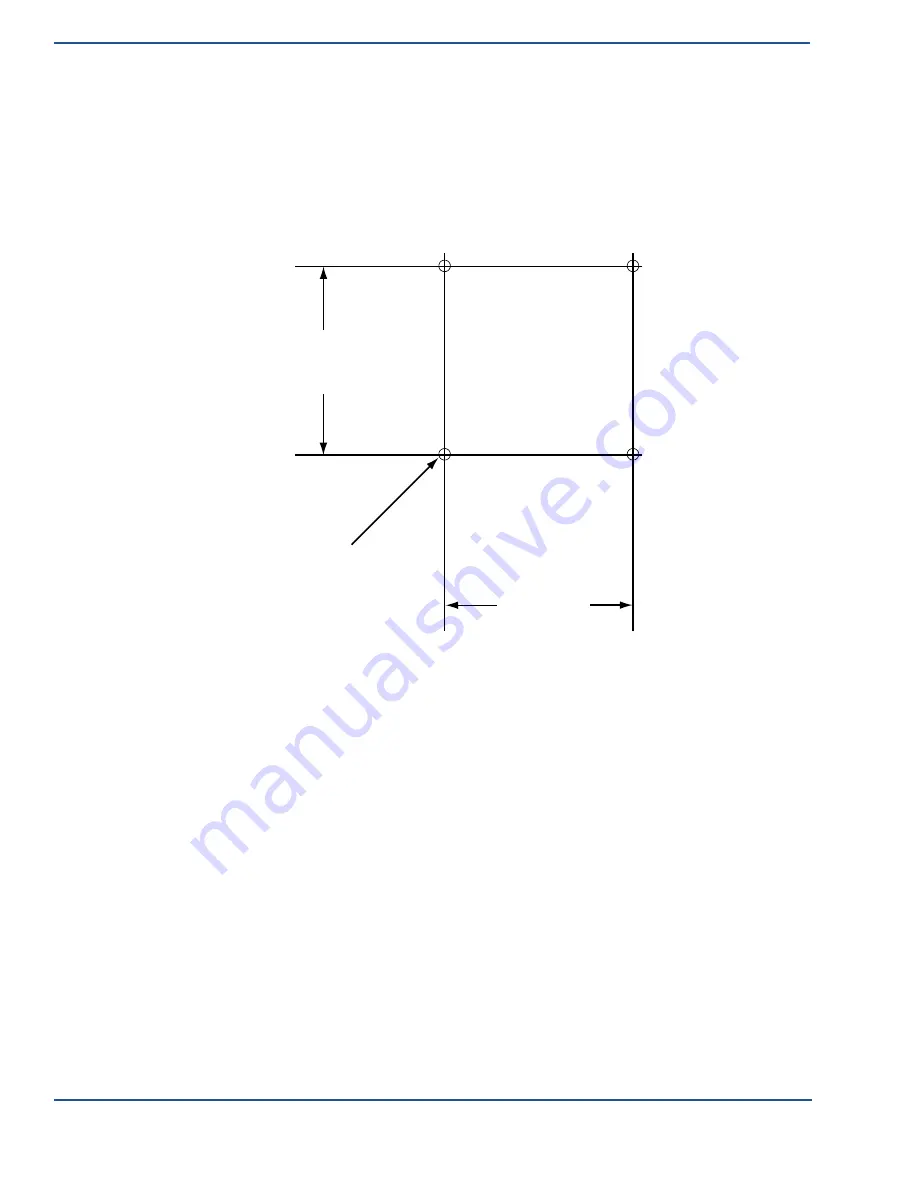
1. Drill four 3.5mm (9/64 inch) holes in the surface where the ViVOpay Vend 3, iris
VRX will be mounted. Use the hole spacing shown in
Figure 1
.
Mounting
Figure 1. Mounting hole dimensions
2. Drill a 5/8 inch hole or cut an access hole large enough to pass an RJ50 connector in the
center of the area inside the mounting holes.
3. Position the ViVOpay Vend 3, iris VRX over the mounting holes and use four M3
screws (not supplied) long enough to secure the ViVOpay Vend 3, iris VRX to the
mounting surface.
Internal Mount
The ViVOpay Vend 3, iris VRX comes with a bracket designed to install the ViVOpay Vend 3 in
the same location as a currency acceptance device.
To mount internally
1. Disconnect power from the vending machine.
2. Open the vending machine to access the currency acceptor mounting locations.


