Monarplan
®
Installation manual
26
062014V1
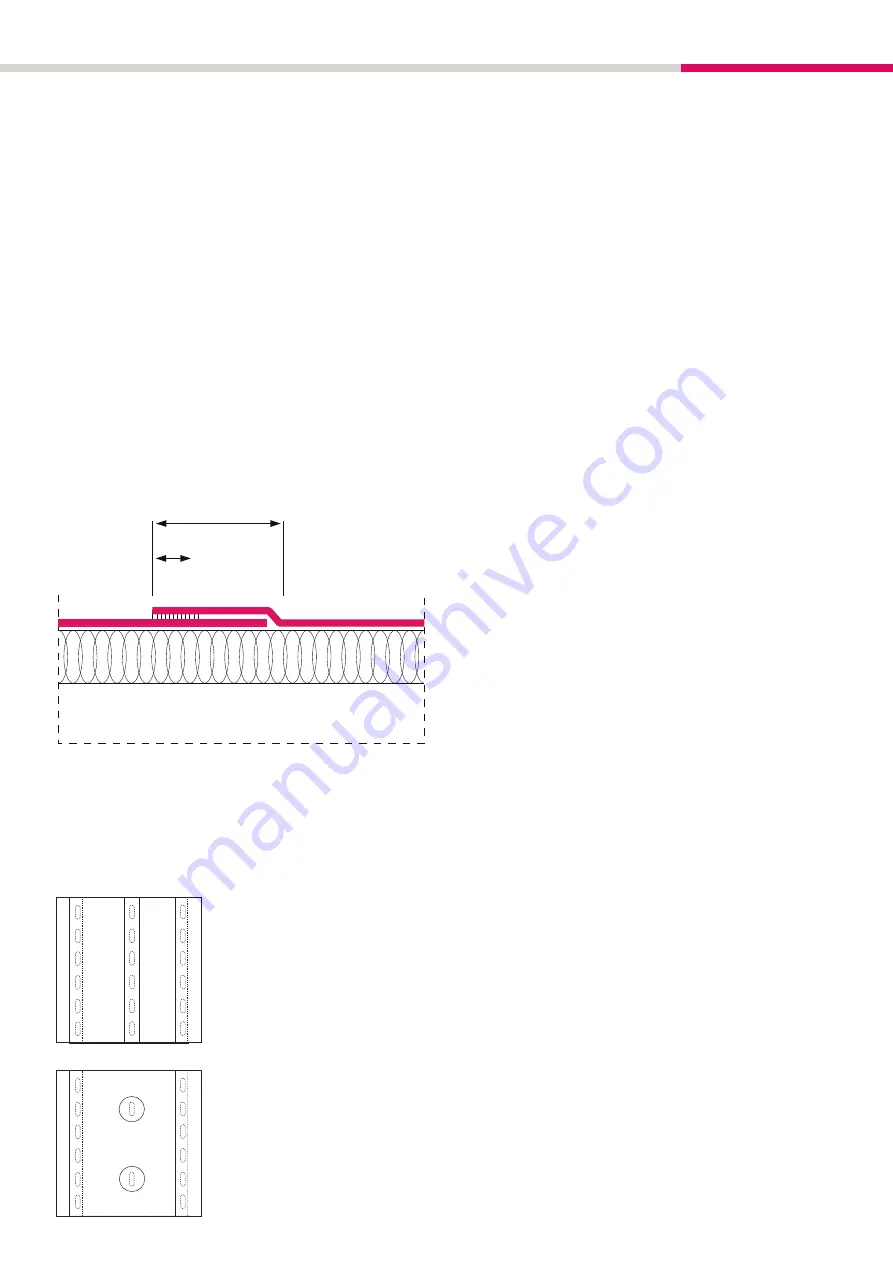
End Laps
End laps should be a minimum of 50 mm and wherever possible
should be staggered to the adjacent sheet.
The weld must have a compulsory minimum width of 20 mm.
Checking the seams is a compulsory action at the end of any
area of work. The welded seams have to cool down to ambient
temperature before probing.
Outside seam overlap
Mid-sheet fixings may be required dependent upon the results of
the wind uplift calculation, especially in corner areas.
The fasteners outside the overlap area are covered by welding
either
in a row
with a section of unbacked
membrane (Monarplan® D, 15 cm
wide)
or
individually
with round unbacked
preformed details, (Monarplan® D
plates) 15 cm in diameter.
7.4.3 Fastening plan
If required, project-related individual calculations will be produced
on request, as a service of the fastener manufacturer, including
installation instructions, material requirements and fastening plan.
The fastening plan contains
• the dimensions of the field, perimeter and corner areas,
as well as
• the required quantity of fastening elements per roof area.
With mechanical in-lap fastening, the membrane width(s), the
corrugation width (top corrugation spacing) of the metal sheets
and the position of movement joints and large roof penetrations
(arcade and single rooflights, natural smoke vents) are taken into
consideration. In order to draw up an individual calculation and a
fastening plan, a “
Data Sheet
” confirmed by the roofing contractor
will be necessary.
7.4.4 Fasteners
Prior to any application, fastening systems must be tested and
certified according ETA-06. The selection of the fasteners (type,
length) technologically depends on:
• the thickness of the build-up structure
• the material of the supporting substructure (profiled steel
decking, timber deck, derived timber product, cement or
lightweight concrete)
• the strength of the substrate
• the corrosion impact from the build-up structure (especially in
the case of refurbishment)
The instructions of the fastener manufacturer must be strictly
adhered and only tread fast fastening systems must be used.
7.4.5 Installation scheme
• Line out the exact position of the (row of) membranes (repeat
after 4-5 membranes)
• Roll out the membrane, allow relaxing and, if necessary, cut to
length
Note the position of the butt joints!
• Align the membrane along the line-out with an overlap of min.
11 cm to the edge of the adjacent membrane
• Set fasteners at the free longitudinal edge of the membrane.
Observe spacing!
• weld the overlapping longitudinal edge and form the butt joint
min 50 mm
min. 20 mm


