


Installing Options in the Diskette Drive Compartment
7
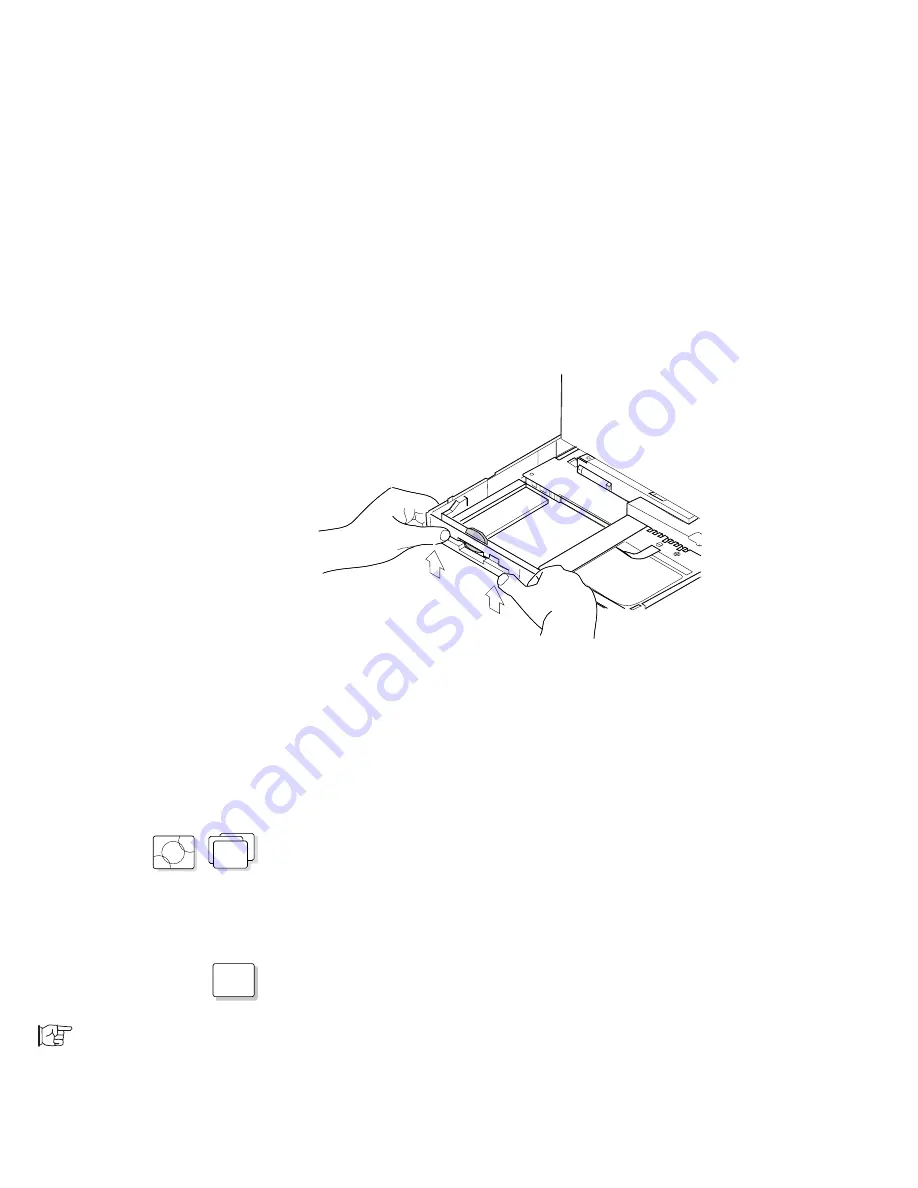
Push the bezel from the bottom of the computer and
remove it.
8
Refer to the manual that came with the option to install it
and its bezel in the compartment.
9
Close the keyboard and reconnect all cables.
10
If the option in the diskette drive compartment requires
power, start the ThinkPad Features program and set the
parameter to send power to it.
OS/2
WIN
If you are using OS/2 or Windows,
1
Start the ThinkPad Features program.
2
Select Power; then select Diskette Drive Compartment
in the
Power for devices menu.
DOS
If you are using DOS, use the PS2 command at the command
prompt.
PS2 command:
Page 41.
152
IBM ThinkPad 755CX User's Guide
Содержание ThinkPad 755CX
Страница 1: ...i ...
Страница 6: ...vi IBM ThinkPad 755CX User s Guide ...
Страница 16: ...xvi IBM ThinkPad 755CX User s Guide ...
Страница 23: ...Getting Started 2 Right Side View 2 1 1 2 2 1 3 3 1 Chapter 1 Getting Started 7 ...
Страница 25: ...Getting Started 2 3 1 4 5 6 7 Chapter 1 Getting Started 9 ...
Страница 26: ...Getting Started 10 IBM ThinkPad 755CX User s Guide ...
Страница 30: ...Locations and Functions InsideView RearView Bottom View 6 14 IBM ThinkPad 755CX User s Guide ...
Страница 48: ...Carrying the Computer 32 IBM ThinkPad 755CX User s Guide ...
Страница 214: ...Installing the Infrared Device Driver 198 IBM ThinkPad 755CX User s Guide ...
Страница 242: ...Getting Service 226 IBM ThinkPad 755CX User s Guide ...
Страница 246: ...Avoiding Hardware Conflicts 230 IBM ThinkPad 755CX User s Guide ...
Страница 264: ...Additional Information for Telephony Function 248 IBM ThinkPad 755CX User s Guide ...
Страница 288: ...272 IBM ThinkPad 755CX User s Guide ...


