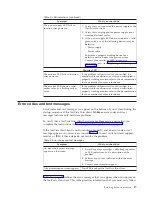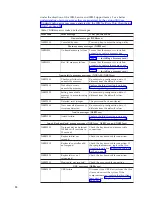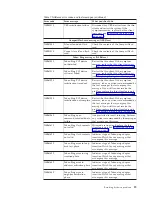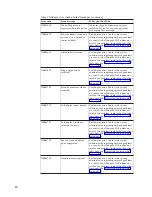
Connecting the hardware
Read “Safety notices” on page v before you continue with
these instructions.
1.
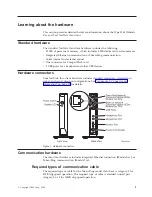
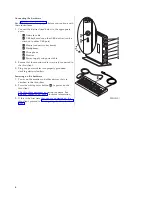
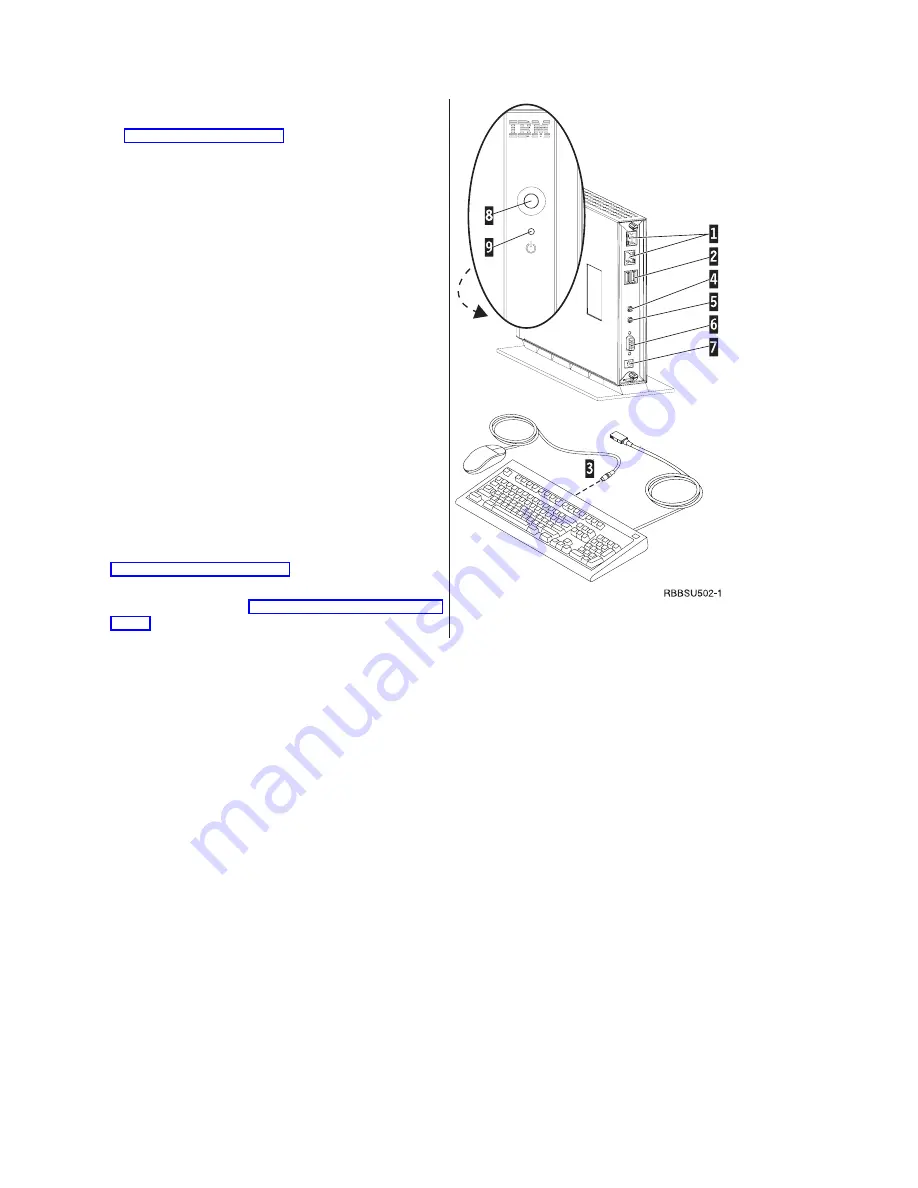
Connect the devices listed below to the appropriate
ports:
1
Network cable
2
USB keyboard and other USB devices (can be
attached to either USB port)
3
Mouse (connects to keyboard)
4
Headphones
5
Microphone
6
Monitor
7
Power supply and power cable
2.
Ensure that the monitor cable is securely connected to
the thin client.
3.
Plug any power cables into properly grounded
working electrical outlets.
Powering on the hardware
1.
Power on the monitor and other devices that are
attached to the thin client.
2.
Press the white power button
8
to power on the
thin client.
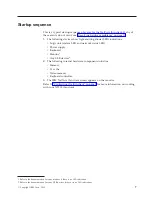
The thin client performs its startup sequence. See
“Startup sequence” on page 7 for more information.
3.
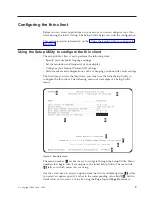
If this is the first time that you are powering on the
thin client, proceed to “Configuring the thin client” on
page 9.
6
Содержание NetVista N2200
Страница 2: ......
Страница 6: ...iv...
Страница 14: ...4...
Страница 18: ...8...
Страница 44: ...34...
Страница 48: ...38...
Страница 50: ...40...
Страница 58: ...W Web information available on the World Wide vii World Wide Web information available on the vii 48...
Страница 61: ......
Страница 62: ...SA23 2804 00...


