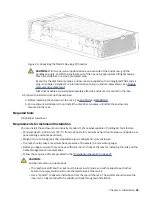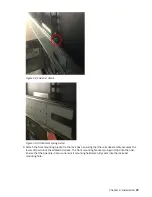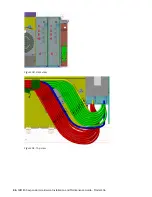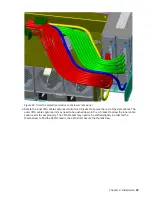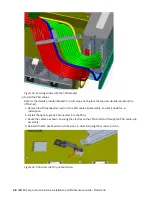
Figure 25. Middle slide – fully extended (Slide release latch identified above)
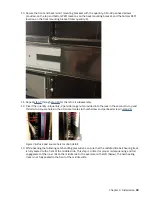
Figure 26. Middle slide release detail
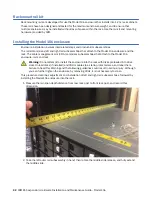
3. Unscrew and remove the quantity-4 rail kit rear-mounting bracket screws to adjust the rack post-to-
post distance for the left rail subassembly.
Adjust the rail for the rack post-to-post distance.
Attachment holes for Step No.3 are identified in the above figure.
4. Relocate the right rail mounting bracket to approximately match the rack post-to-post distance
This bracket has 1" of available adjustment after the screws are secured. After torquing the
quantity-4 screws removed in step 3, verify that the bracket can be adjusted to the exact rack post-
to-post distance determined in step 1.
5. Repeat step 1 through step 4 for the right outer rail subassembly.
Chapter 4. Installation 33
Содержание 106
Страница 1: ...IBM ESS expansion Version 5 3 5 Hardware Installation and Maintenance Guide Model 106 IBM SC27921101...
Страница 6: ...Russia Electromagnetic Interference Class A Statement 100 Homologation statement 100 vi...
Страница 12: ...xii...
Страница 18: ...xviii IBM ESS expansion Hardware Installation and Maintenance Guide Model 106...
Страница 20: ...2 IBM ESS expansion Hardware Installation and Maintenance Guide Model 106...
Страница 44: ...26 IBM ESS expansion Hardware Installation and Maintenance Guide Model 106...
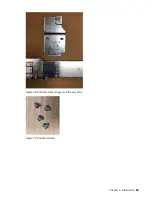
Страница 53: ...Figure 28 CMA attachment aligned with outer slide Figure 29 Panhead screws Chapter 4 Installation 35...
Страница 84: ...66 IBM ESS expansion Hardware Installation and Maintenance Guide Model 106...
Страница 100: ...82 IBM ESS expansion Hardware Installation and Maintenance Guide Model 106...
Страница 108: ...90 IBM ESS expansion Hardware Installation and Maintenance Guide Model 106...
Страница 119: ......
Страница 120: ...IBM SC27921101...

