AS14100MP-CL
Page
16
The ideal location for the unit is above and not more
than 6.1m (20ft) from the drain. For such installations,
using the appropriate adaptor fitting (supplied),
connect 20mm (3/4”) plastic tubing to the drain line
connection located on the top of the valve.
If the unit is located more than 6.1m (20ft) from the
drain, use 25mm tubing for runs up to 12.0m. You
may elevate the line up to 1.8m providing the run
does not exceed 4.5m and the water pressure at the
conditioner is not less than 280kPa (40psi.) You may
elevate an additional 500mm for each additional
70kPa. (10psi) of water pressure.
When the drain line is elevated and empties into a
drain which is below the level of the control valve,
form a 170mm (7 inch ) loop at the drain end of the
line so that the bottom of the loop is level with the
drain line connection. This provides an adequate
siphon trap.
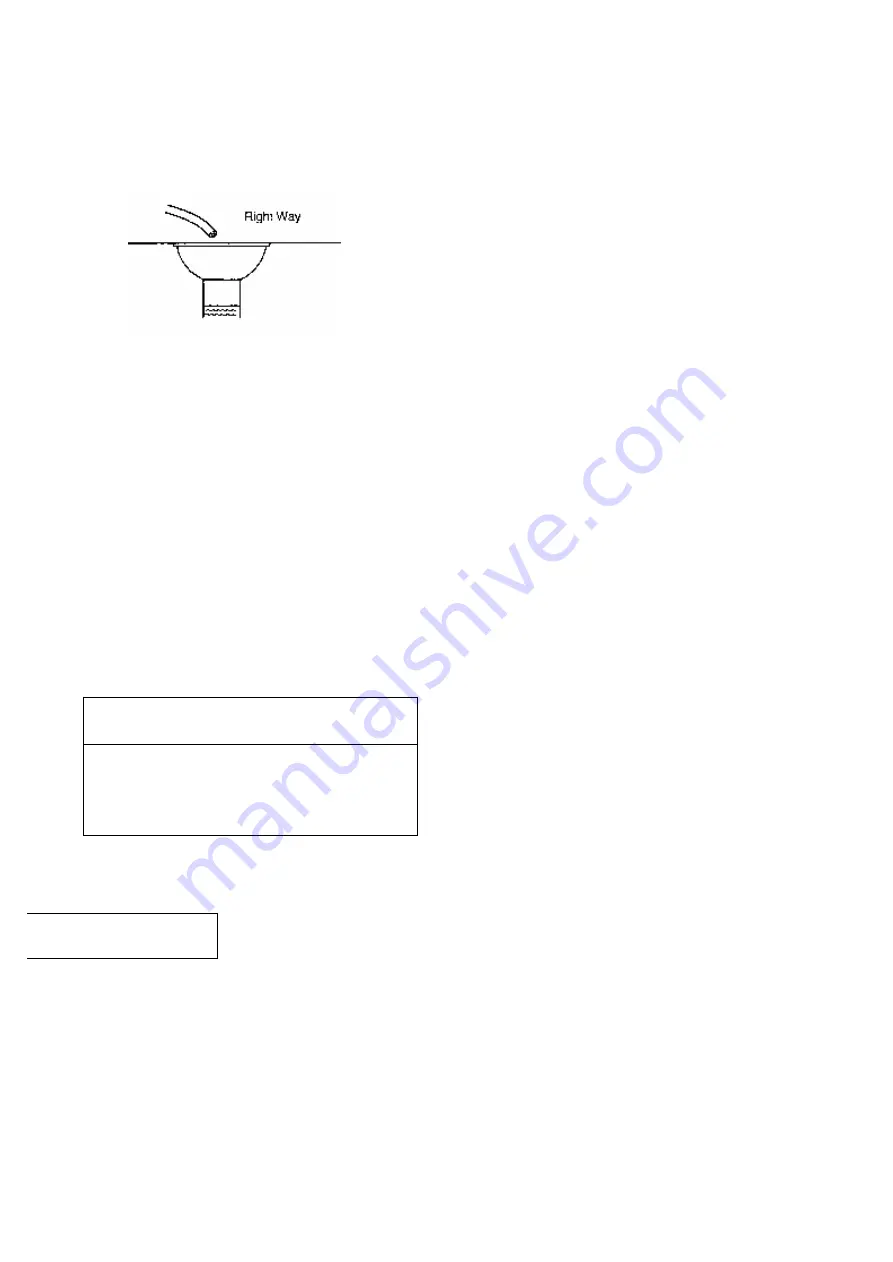
If the drain empties into an overhead sewer line, a
sink-type trap must be used.
Caution
Never connect the drain line into a drain,
sewer line or trap. Always allow an air gap
between the drain line and the wastewater
to prevent the possibility of sewage being
back-siphoned into the conditioner.
Important Installation Details
The control valve, fittings and/or bypass are designed
to accommodate minor plumbing misalignments but
are not designed to support the weight of the system
or the plumbing.
Do no use Vaseline, oils, other hydrocarbon lubricants
or spray silicone anywhere. A silicone lubricant may
be used on black o-rings but is not necessary.
Avoid
any type of lubricants, including silicone, on the
clear lip seals.
The nuts and caps are designed to be unscrewed or
tightened by hand or with the special plastic wrench.
Do not use a pipe wrench to tighten or loosen nuts or
caps. Do not place a screwdriver in the slots on caps
and/or tap with a hammer.
Do not use pipe dope or other sealant on threads.
Use teflon tape on threaded inlet, outlet and drain
fittings.Teflon tape is not necessary on the nut
connection or caps because of o-ring seals.
After completing any valve maintenance involving
the drive assembly of the drive camp assembly
and pistons, press and hold NEXT and REGEN
buttons for 3 seconds or unplug power source
jack from the printed circuit board (black wire)
and plug back in
. This resets the electronics and
establishes the service piston position. The display
should flash all wording, then flash the software
version and then reset the valve to the service
position.
All plumbing should be done in accordance with local
plumbing codes. The pipe size for the drain line
should be a minimum of 20mm.
Solder joints near the drain must be done prior to
connecting the drain line flow control fitting. Leave at
least 150mm (6”) between the drain line control fitting
and solder joints when soldering pipes that are
connected on the drain line control fitting. Failure to
do this could cause interior damage to the drain line
flow control fitting.
When assembling the installation fitting package (inlet
and outlet), connect the fitting to the plumbing system
first and then attach the nut, split ring and o-ring.
Heat from soldering or solvent cements may damage
the nut, split ring and o-ring. Solder joints should be
cool and solvent cements should be set before
installing the nut, split ring or o-ring. Avoid getting
primer and solvent cement on any part of the o-rings,
bypass valve or control valve.
Position the softener within 1 ½ metres of a 10 amp
GPO. The transformer is connected into the plug
socket on the back of the valve control panel. Do not
Figure 5 - Air Gap Installation
Not In Bypass In Bypass
Содержание AS14100MP-CL
Страница 3: ...AS14100MP CL Page 3...
Страница 10: ...AS14100MP CL Page 10 MODEL AS14100MP WATER SOFTENER WITH CONTROL VALVE SERIES MODEL WS1EI...
Страница 18: ...AS14100MP CL Page 18...
Страница 19: ...AS14100MP CL Page 19 WS1EI Screen Display Information And Programming Instructions...
Страница 21: ...AS14100MP CL Page 21 General Regeneration Error Screens Status...
Страница 28: ...AS14100MP CL Page 28 SPARE PARTS AND SERVICING INSTRUCTIONS...
Страница 37: ...AS14100MP CL Page 37 10 V3156 O ring 214 2 Flow Diagrams Service and Backwash flow diagram service...
Страница 38: ...AS14100MP CL Page 38 flow diagram backwash Flow Diagram Downflow...
Страница 39: ...AS14100MP CL Page 39 flow diagram downflow brine Flow Diagrams Rinse and Fill...
Страница 40: ...AS14100MP CL Page 40 flow diagram rinse flow diagram fill WS1 Wrench Order No V3193 01...
Страница 48: ...AS14100MP CL Page 48 INJECTOR PERFORMANCE CURVES...
Страница 49: ...AS14100MP CL Page 49...
Страница 51: ...AS14100MP CL Page 51...


