


81
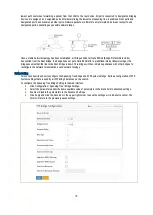
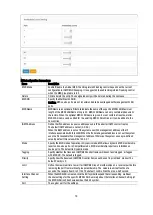
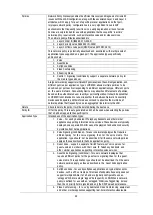
IGMP Snooping Configuration Parameters:
Items
Description
Snooping Enabled
Enable / Disable the Global IGMP Snooping
Unregistered IPMCv4
Flooding Enabled
Enable unregistered IPMCv4 traffic flooding.
IGMP SSM Range
SSM (Source-Specific Multicast) Range allows the SSM-aware hosts and routers run the
SSM service model for the groups in the address range. Format: (IP address/ sub mask).
Leave Proxy Enable
Enable IGMP Leave Proxy. This feature can be used to avoid forwarding unnecessary leave
messages to the router side.
Proxy Enabled
Enable IGMP Proxy. This feature can be used to avoid forwarding unnecessary join and leave
messages to the router side.
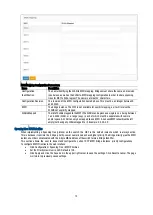
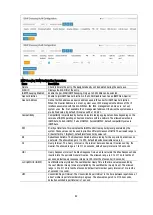
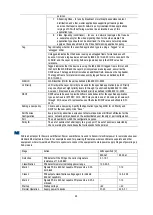
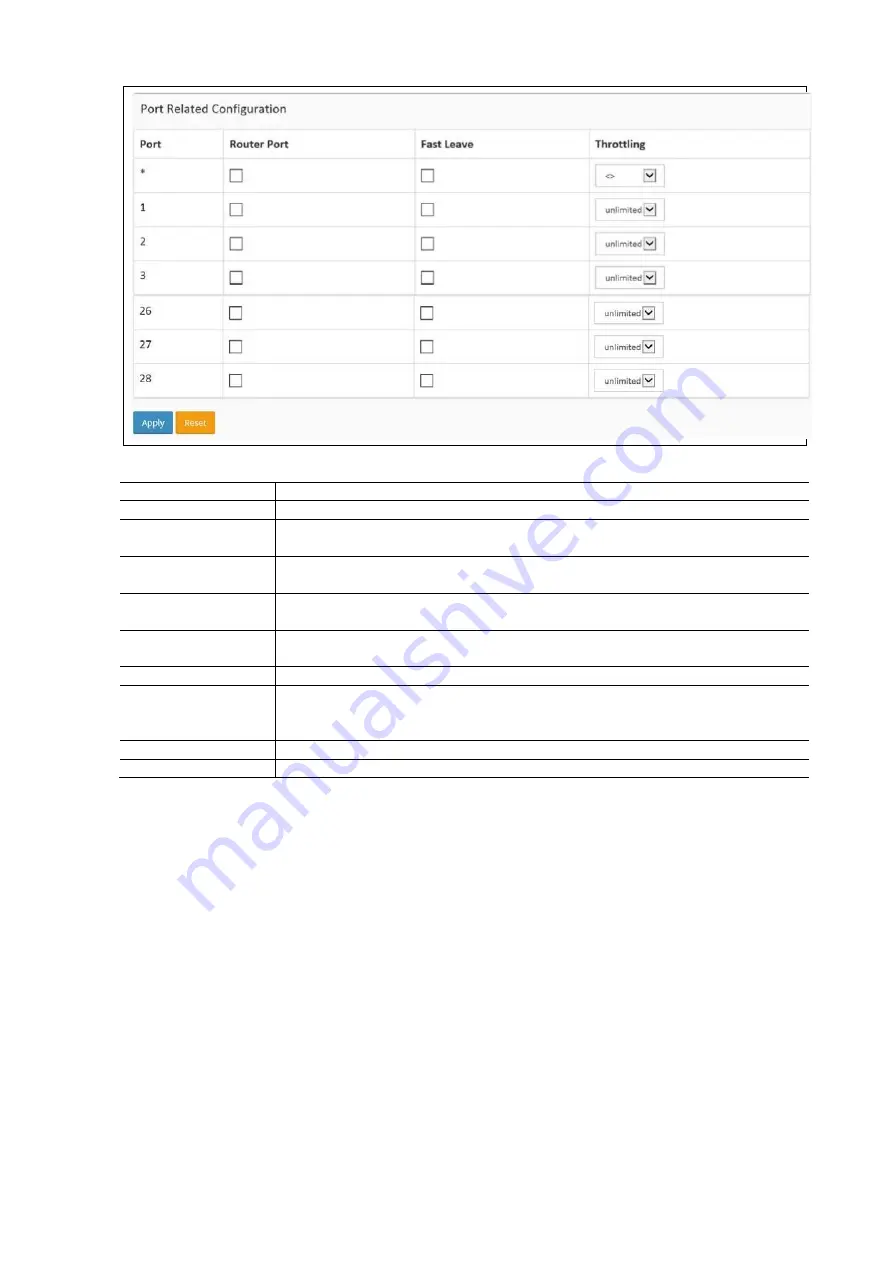
Port
Displays the physical Port index of the switch.
Router Port
Specify which ports act as router ports. A router port is a port on the Ethernet switch that
leads towards the Layer 3 multicast device or IGMP query. If an aggregation member port is
selected as a router port, the whole aggregation will act as a router port.
Fast Leave
Enable fast leave on the port.
Throttling
Enable to limit the number of multicast groups to which a switch port can belong.
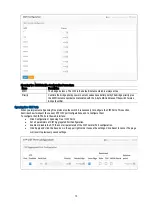
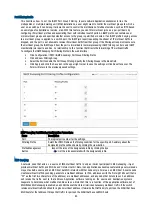
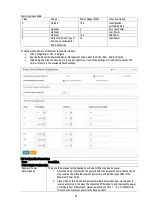
IGMP Snooping VLAN Configuration
This section describes the VLAN configuration setting process integrated with IGMP Snooping function. For each setting the
page shows up to 99 entries from the VLAN table, default being 20, selected through the "entries per page" input field. The
first entr y displayed will be the one with the lowest VLAN ID found in the VLAN Table. The "VLAN" input fields allow the
user to select the starting point in the VLAN Table. Clicking the button will update the displayed table starting from that or
the next closest VLAN Table match.
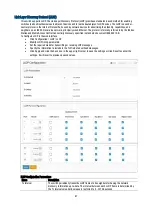
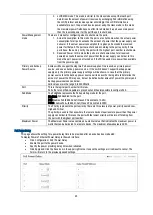
To configure the VLAN in the web interface:
Click Configuration / IPMC / IGMP Snooping / VLAN Configuration
Select enable or disable Snooping. Specify the parameters in the blank field.
Click the refresh button to update the data or click << or > to display the previous entry or the next entry.
Click Add New IGMP VLAN to add a new VLAN.
Click Apply and click the Save icon in the upper right corner to save the settings or click Reset to cancel. The
Form will return to the previously saved settings.


