


17
Chapter 3 WEB MANAGEMENT
This chapter provides the entire Web Smart PoE switch features, along with a detailed description of how to configure each
feature via tre web interface.
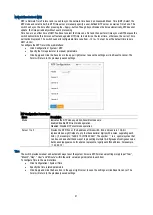
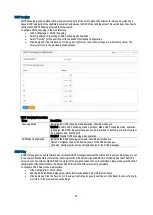
It is very important to note that all changes made to the swtich need to be saved to the configuration
of the switch by clicking the “Save” button at the top of the Graphical Interface.
All the changes made will have an “Apply” button. Clicking “Apply” will
make the changes but these changes are temporary lasting only until the
next loss of power or reboot of the switch. Clicking the “Save” button
represented by the floppy disk in the upper right corner of the GUI after
clicking the “Apply” button will save the changes to the Switch’s
configuration and preserve the changes.
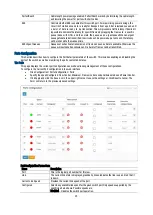
Switch Configuration
This part guides configuration and management of this switch through the web interface. With this interface, the switch is
easily configured and monitoed through any one port.
Start up by the following steps:
1.
Place the switch close to your PC/Laptop that you intend to use for configuration. It will help you to check the
status of the switch by LED in front panel while working on your PC/Laptop.
2.
Connect the Ethernet port of your PC/Laptop to any port on the front panel of the switch. Turn the switch on and
make sure the connectivity by checking LED in the front panel of the switch.
3.
Configure your PC’s IP address the same subnet with the switch’s.
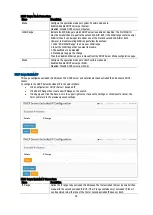
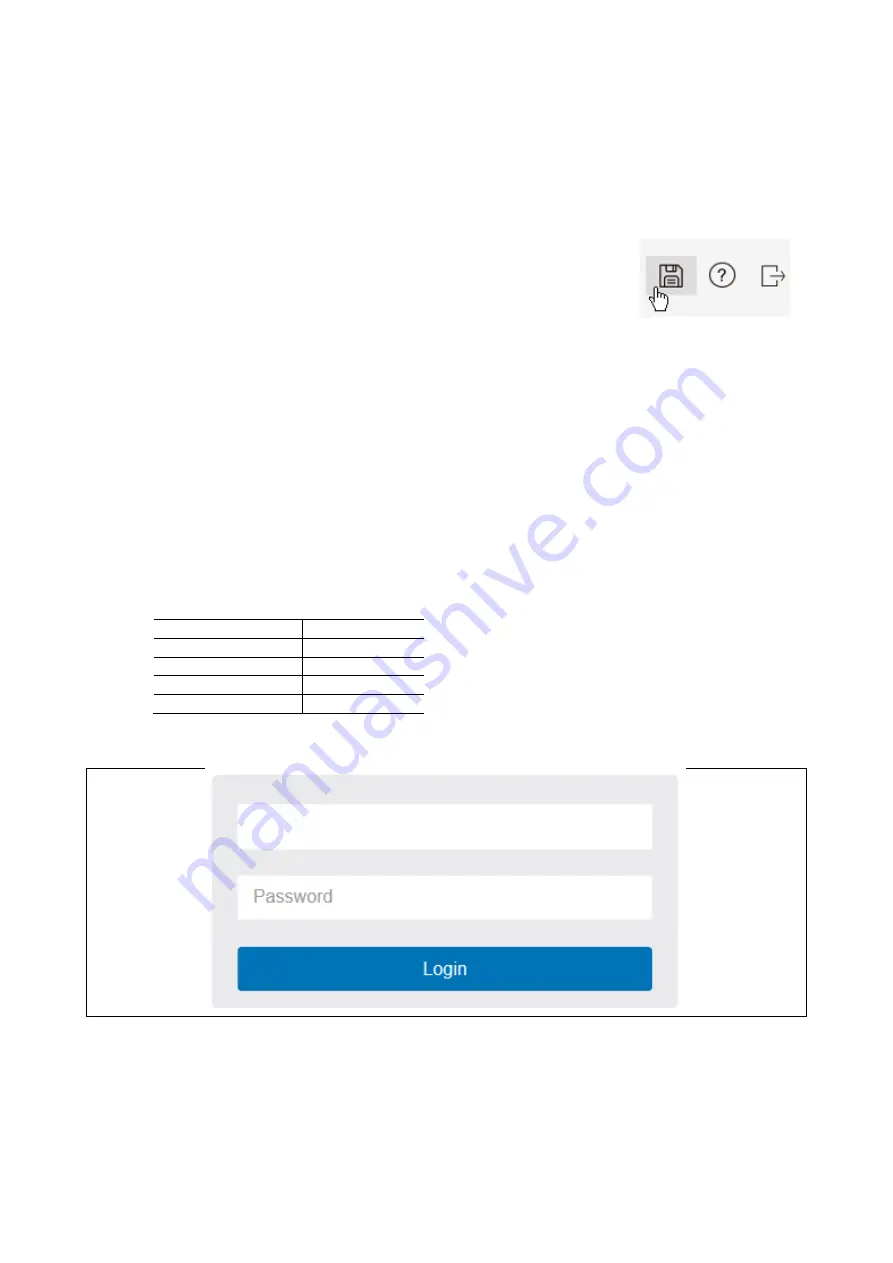
The following table describes the default necessary login Information:
Login Information
IP Address
192.168.0.10
Subnet Mask
255.255.255.0
Default
192.168.1.254
Username
i3admin
Password
i3admin
4.
Open the web browser, and go to 192.168.0.10 Site then the login window will open. Key in the username
“i3admin” and Password “i3admin” then click “Login”.
5.
After you login successfully, you will see the home page is displayed as shown below. The home page displays
the Menu Bar on the left side of the screen and shows the front panel port states on the right side.


