


61
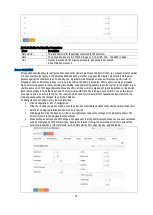
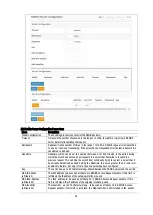
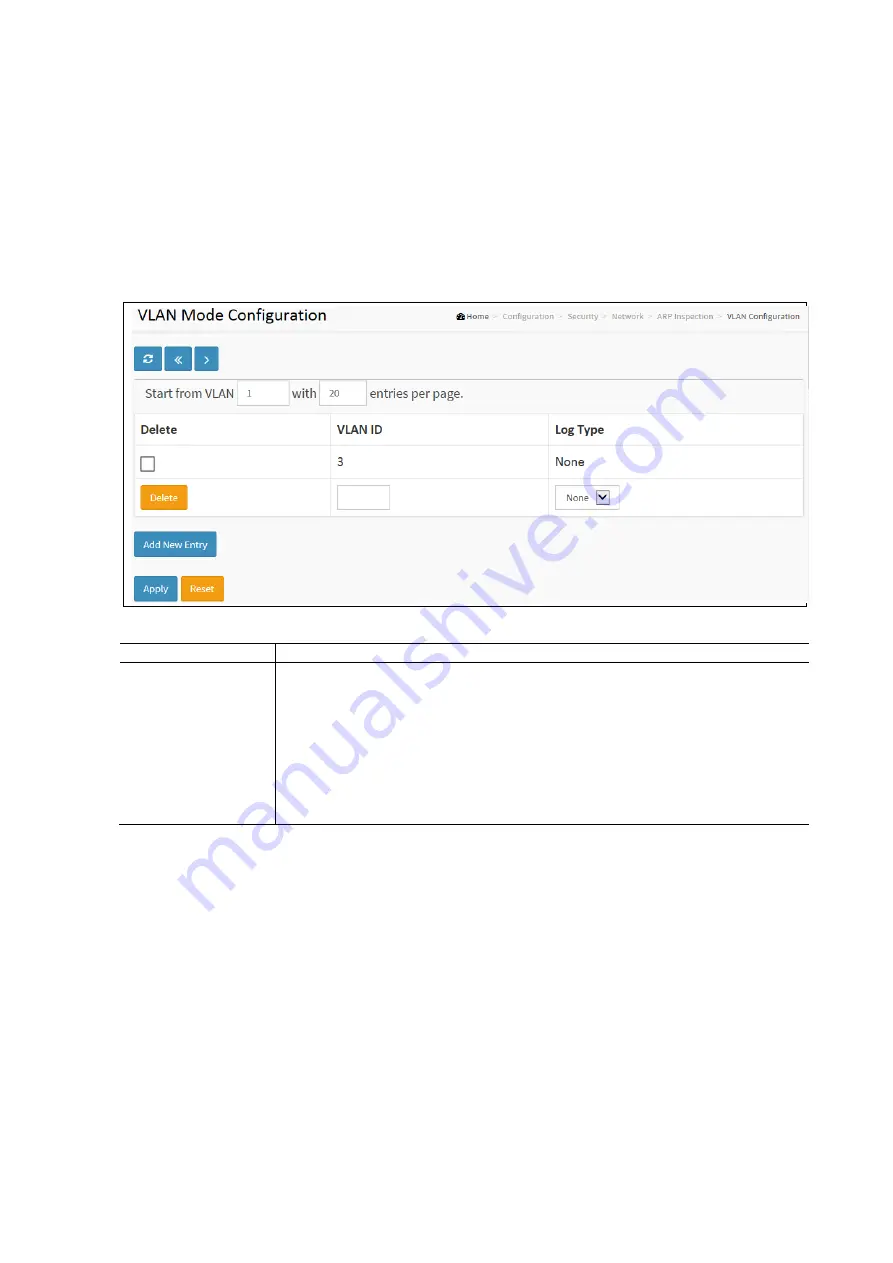
VLAN Configuration
Each page shows up to 9999 entries from the VLAN table, default being 20, selected through the "entries per page" input
field beginning with the entry with the lowest VLAN ID found in the VLAN Table. The "VLAN" input fields allow the user to
select the starting point in the VLAN Table. The form will use the next entry of the currently displayed VLAN entry as a basis
for the next lookup. When the end is reached a warning message is shown in the displayed table.
To Configure a VLAN Mode Configuration in the web Interface:
•
Click Configuration / Security / Network / ARP Inspection / VLAN Configuration
•
Click Add New Entry
•
Specify the VLAN ID and Log Type
•
Click Apply and click the Save icon in the upper right corner to save the settings or click Reset to cancel. The
Form will return to the previously saved settings.
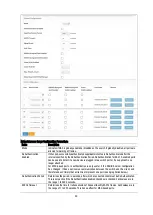
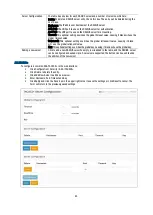
Access Control List Configuration Parameters:
Items
Description
VLAN Mode
Configuration
First the VLANS must have ARP Inspection enabled on the ARP inspection. Only when both
Global Mode and Port Mode on a given port are enable on the ARP page is ARP Inspection is
enabled on this given port. Then, you can specify which VLAN will be inspected on VLAN mode
configuration web page. The log type also can be configured on per VLAN setting. Possible
types are:
None: Log nothing.
Deny: Log denied entries.
Permit: Log permitted entries.
ALL: Log all entries.
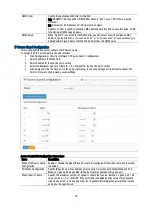
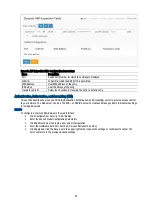
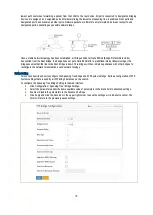
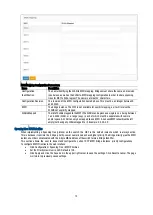
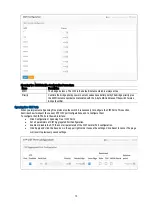
Static ARP Inspection Table
This section describes how to configure the Static ARP Inspection Table parameters of the switch. These can be used to
configure and to manage the ARP entries.
To configure the Static ARP Inspection Table in the web interface:
•
Click Configuration / Security / Network / ARP Inspection / Static Table
•
Click Add New Entry.
•
Specify the Port, VLAN ID, IP Address, and MAC address in the entry.
•
Click Apply and click the Save icon in the upper right corner to save the settings or click Reset to cancel. The
Form will return to the previously saved settings.


