3.
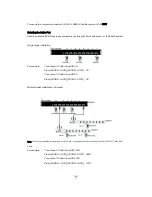
Connect the PS/2 keyboard and mouse connectors of the KVM cable set to the second stage
switch
’
s console keyboard and mouse ports.
Note : The above working diagram represents an JKP1610LS (16 port) KVM switch cascaded with the JKP115-801e/17JKP1 KVM
switch.
4. Using the all-in-one KVM Cable set (Part No. K15C6P) take the male (HDDB-15pin) connector
and plug it into the PC1 port indicated on the rear of the second stage switch.
Connect the other male VGA (HDDB-15) cable end to the VGA port of the computer you’re
installing.
5. Connect the PS/2 keyboard and mouse connectors of the KVM cable set to the corresponding
keyboard and mouse ports on the computer.
6. Repeat steps 2 and 3 for any other compatible KVM switches you wish to add to the installation.
Then repeat steps 4 and 5 for each additional computer you wish to connect.
Содержание JKP115-801e
Страница 2: ......
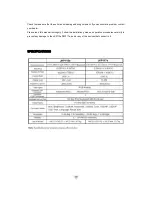
Страница 8: ...Note Specifications are subject to change without notice...
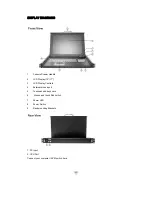
Страница 10: ...617JKP1 Rear View 1 DC Input 2 Firmware Upgrade Port 3 PC Ports...


