


66
Ch.3 Record Player
Note:
To have different combinations of camera
selections and store each set of combinations,
use the
Memory
buttons. (See "Memory
buttons" on page 61 for details.)
Camera Selection Panel
5. When you click the
Play
button on the
Navigation Panel
,
video recordings from the selected cameras will
simultaneously be played on-screen. (See page 64 for
details on the Navigation Panel.)
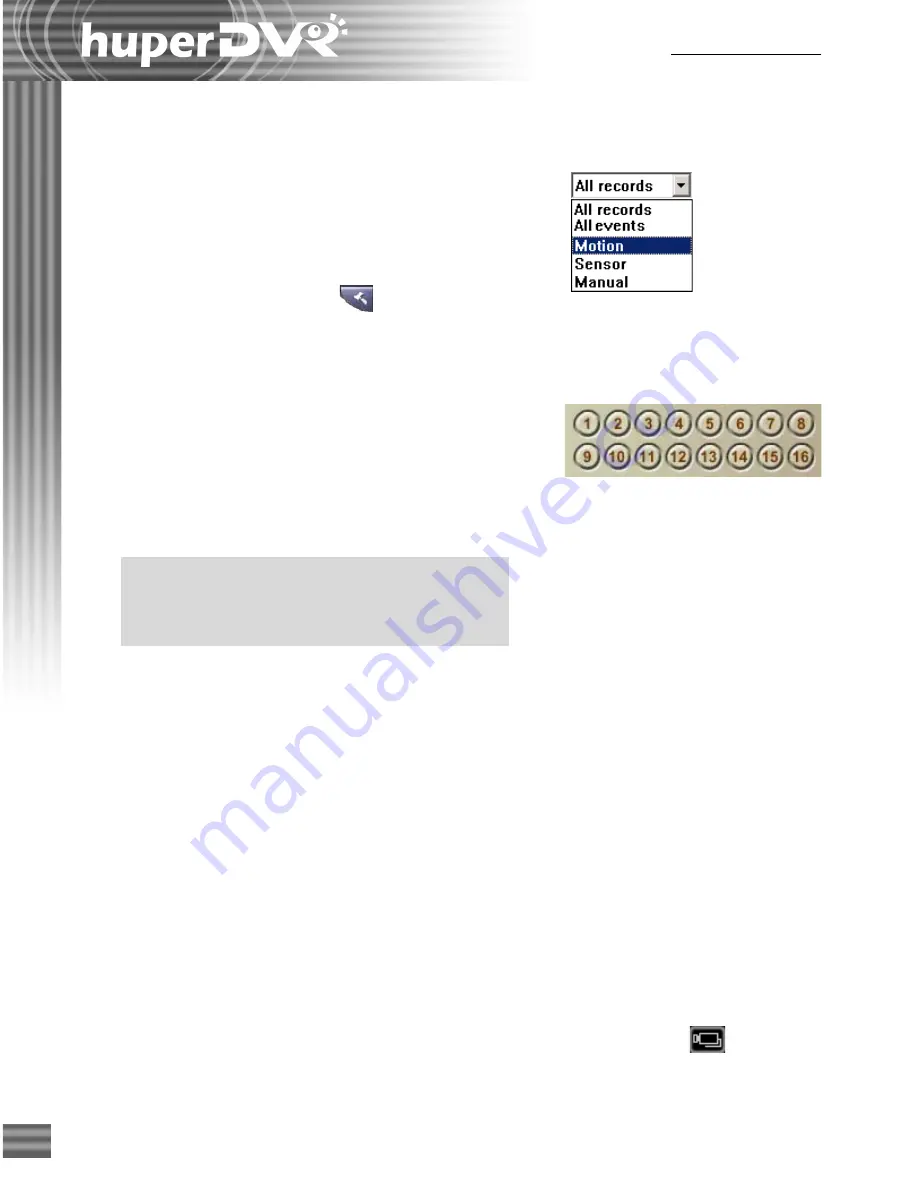
Selecting video cameras
The
Camera buttons
in the
Camera Selection Panel
are only enabled when
All
is selected in the
Camera
drop-down list. The Camera buttons on the Camera Selection Panel are toggle buttons
and allow multiple selection of video cameras. To view recorded videos from selected cameras,
choose the video cameras by clicking the corresponding number buttons. To deselect video
cameras, click on their corresponding number buttons again.
The number of selected cameras determines the split screen layout of the Record Player program
screen, as depicted in the table next page.
To deselect all selected cameras and allow single camera selection only, click the
button. The
color of the camera image on the button then changes to green, indicating that the
Camera
Selection Panel
is now in single camera selection mode.
Viewing records by time segments
To view records by time segments:
1. Select "
All Records
" from the "
Record type
" drop-
down list.
2. By default, the
History list
displays time segments in
intervals of one hour.
To change the interval, click
. In the
Preferences
dialog box
, specify the desired interval for displaying
time segments.
3. Click a desired time segment in the
History list
.
4. Select
All
in the
Camera
drop-down list then in the
Camera Selection Panel
, click the cameras whose
video recordings you want to access for the selected
time segment. As you select more cameras, the number
of split screens increases. (See "Selecting video
cameras” below for more details on
Camera buttons
and split screens.)
Содержание huberDVR 2400
Страница 146: ...146 Appendix Output wiring Diagram NC Normal Close setting NO Normal Open setting...
Страница 161: ...161 DVR Using RS232 Com Port Connect to RS232 Port DVR using COM Port...
Страница 162: ...162 Appendix DVR Using USB to Connect to RS232 Com Port Connect to USB RS232 converter DVR without COM Port...
Страница 165: ...165 Input Output Pin...
Страница 169: ...169 Application Example Small Fan or TV Set under 5A IOB 0805 RO Wiring Example B Small Fan or TV Set under 5A...
Страница 182: ...182 Appendix Input Output Pin...
Страница 213: ...213 Step 4 Connect RS232 cable from the RS 232 port of converter device to the computer...
Страница 216: ...216 Appendix huperRemote Manual...


