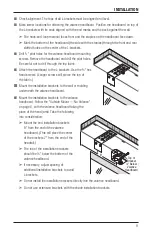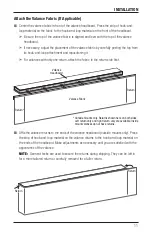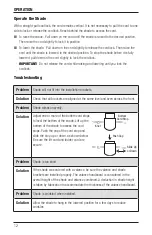
INSTALLATION
6
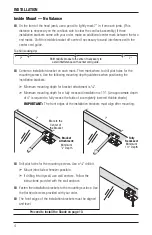
Outside Mount — No Valance
■
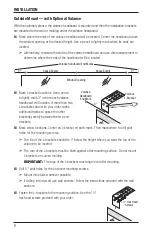
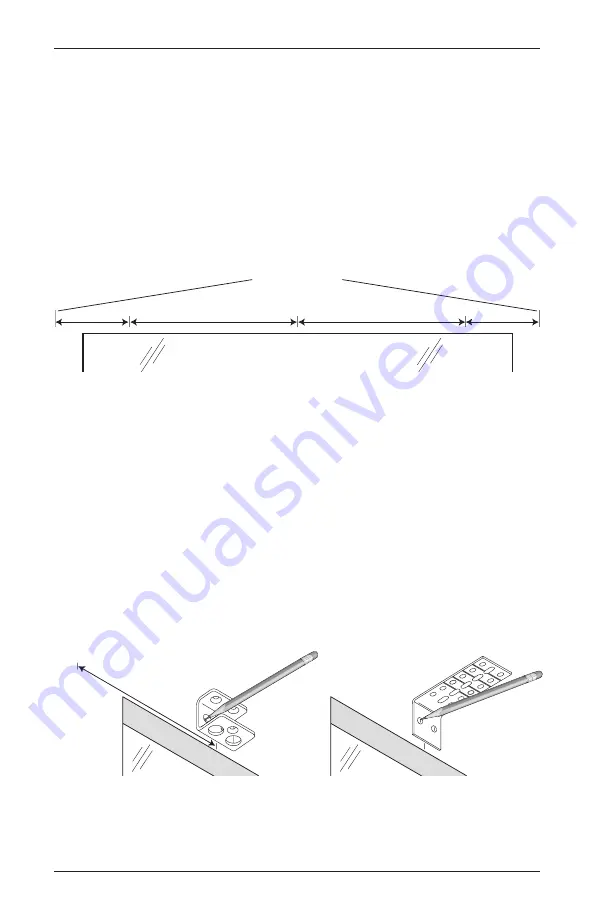
Center the headrail above the window opening at the desired height. Use a pencil to lightly
mark where its ends are located.
➤
Alternatively, measure the width of the headrail and use this measurement to determine
where the ends of the headrail will be located.
■
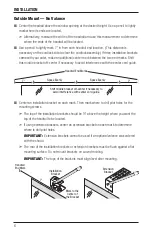
Use a pencil to lightly mark 7" in from each headrail end location. (This distance is
necessary on the cordlock side to clear the cordlock assembly.) If three installation brackets
came with your order, make an additional center mark between the two end marks. Shift
this middle bracket off-center if necessary to avoid interference with the center cord guide.
■
Center an installation bracket on each mark. Then mark where to drill pilot holes for the
mounting screws.
➤
The top of the installation brackets should be ¼" above the height where you want the
top of the headrail to be located.
➤
If using extension brackets, center an extension bracket on each mark to determine
where to drill pilot holes.
Important:
Extension brackets cannot be used if an optional valance was ordered
with the shade.
➤
The rear of the installation brackets or extension brackets must be flush against a flat
mounting surface. Do not mount brackets on curved molding.
Important:
The tops of the brackets must align level after mounting.
Space Evenly
Space Evenly
Headrail End Marks
7"
7"
Shift middle bracket off-center if necessary to
avoid interference with center cord guide.
Installation
Bracket
Headrail
End Mark
7"
Extension
Bracket
Mark to the
Center of
the Bracket
Содержание Design Studio
Страница 1: ...Installation Operation Care Roman Shades Straight Pull Cordlock...
Страница 19: ......

