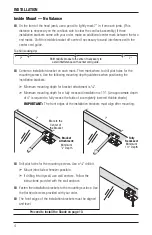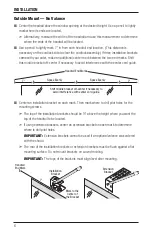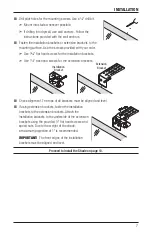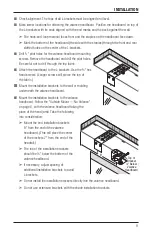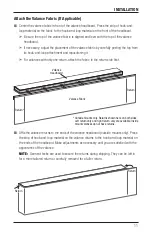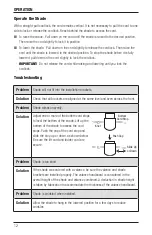
INSTALLATION
8
Outside Mount — with Optional Valance
With the optional valance, the valance headboard is mounted and then the installation brackets
are mounted to the wall or molding under the valance headboard.
■
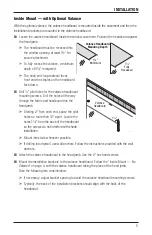
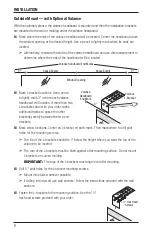
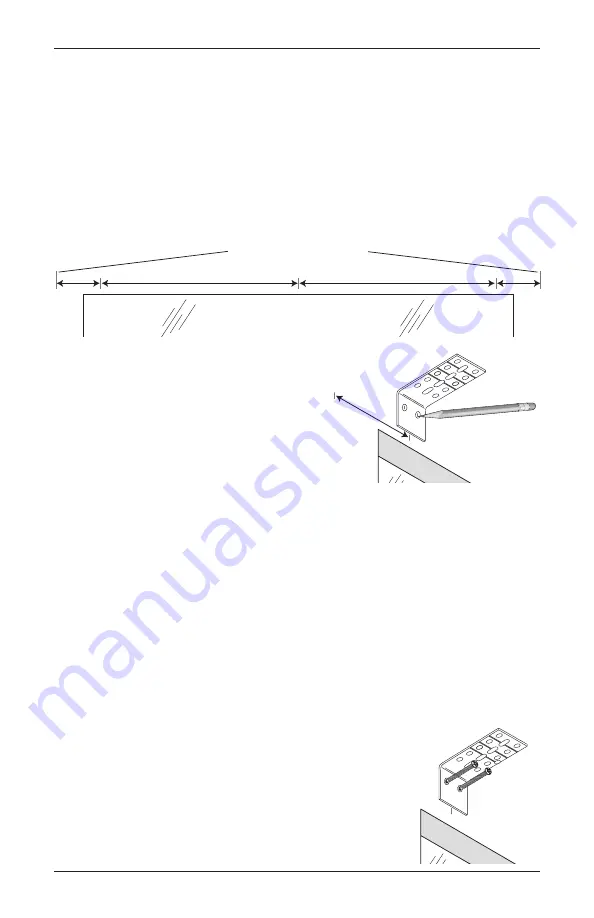
Mark where the ends of the valance headboard will be located. Center the headboard above
the window opening at the desired height. Use a pencil to lightly mark where its ends are
located.
➤
Alternatively, measure the width of the valance headboard and use this measurement to
determine where the ends of the headboard will be located.
■
Mark L-bracket locations. Use a pencil
to lightly mark 3" in from each valance
headboard end location. If more than two
L-brackets came with your order, make
additional marks to space the other
bracket(s) evenly between the two end
brackets.
■
Mark screw locations. Center an L-bracket on each mark. Then mark where to drill pilot
holes for the mounting screws.
➤
The top of the L-brackets should be 1" below the height where you want the top of the
valance to be located.
➤
The rear of the L-brackets must be flush against a flat mounting surface. Do not mount
L-brackets on curved molding.
Important:
The tops of the L-brackets must align level after mounting.
■
Drill
1
/
8
"
pilot holes for the L-bracket mounting screws.
➤
Mount into studs whenever possible.
➤
If drilling into drywall, use wall anchors. Follow the instructions provided with the wall
anchors.
■
Fasten the L-brackets to the mounting surface. Use the 1½"
hex head screws provided with your order.
3"
3"
Space Evenly
Space Evenly
Valance Headboard End Marks
Window Opening
Valance
L-Bracket
3"
Valance
Headboard
End Mark
1½" Hex Head
Screws
Valance
L-Bracket
3"
Valance
Headboard
End Mark
1½" Hex Head
Screws
Содержание Design Studio
Страница 1: ...Installation Operation Care Roman Shades Straight Pull Cordlock...
Страница 19: ......

