Appendix A: Using the Preferences Menu
95
Setting the Display
Setting the Display
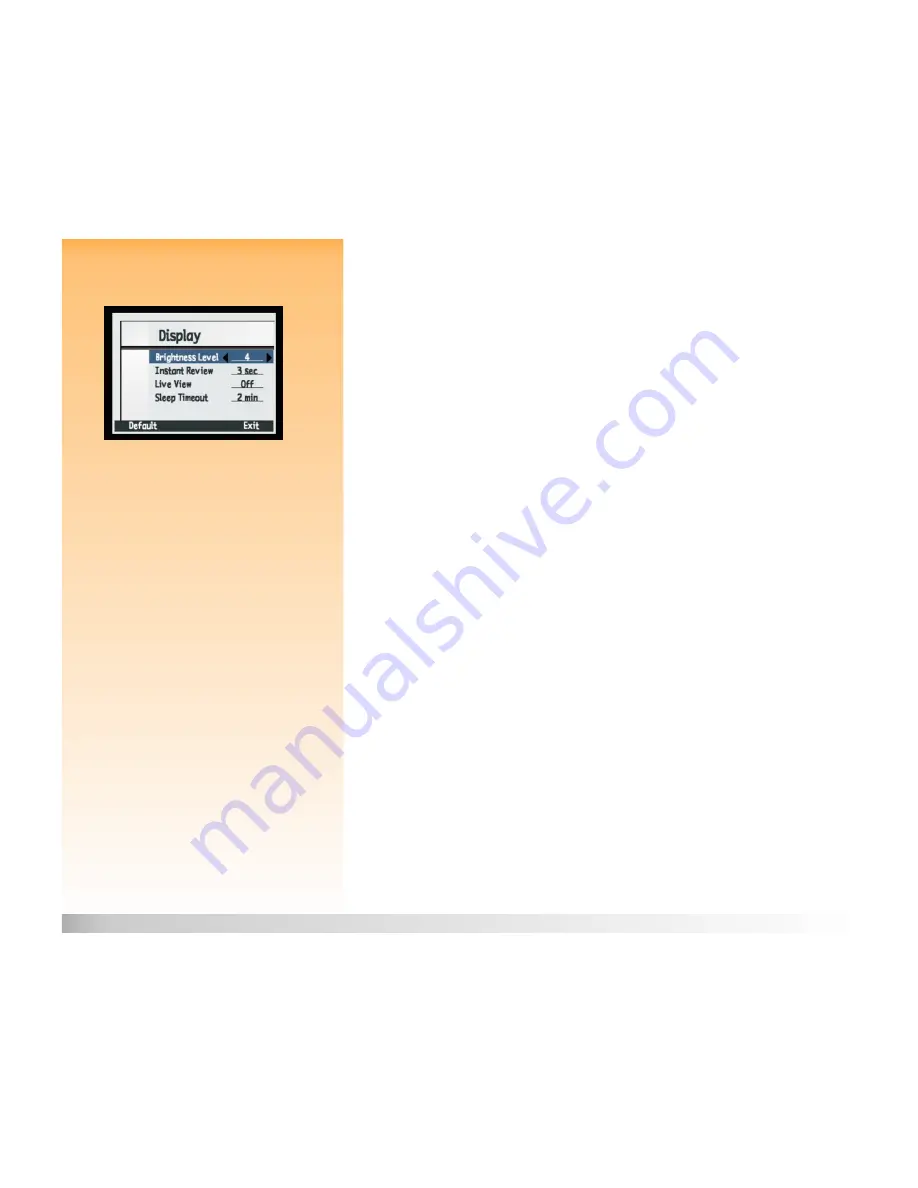
Figure 72:
Display Submenu
Use the Display submenu to control the display on the camera’s image LCD.
Brightness Level
Use the Brightness Level setting to control the brightness of the display on the camera’s image LCD.
You can set the Brightness Level from 1 (dimmest) to 7 (brightest). The default value is 4.
To change the Brightness Level:
1
Press the down or up arrow on the 4-way controller, if needed, to highlight the Brightness
Level option.
2
Press the right or left arrow on the 4-way controller to scroll through the values until you see
the value you want.
3
Press the right (Exit) soft key to save the setting, exit the Display submenu, and return to the
Preferences menu.
Instant Review
The camera’s Instant Review feature allows you to see displayed on the image LCD either the One
Shot image, the final image of a Continuous image sequence, or the first image of a Timelapse
sequence you just captured. (See “Using Instant Review” on page 25 for more information.) The
default setting is that Instant Review is on for 3 seconds, and the maximum setting is that it is
on for 30 seconds, after you capture either a One Shot image or the final image in a Continuous or
Timelapse sequence.
To change the duration of the Instant Review period, or to turn Instant Review Off:
1
Press the down or up arrow on the 4-way controller to highlight the Instant Review option.
2
Press the right or left arrow on the 4-way controller to scroll through the values until you see
the value you want.
3
Press the right (Exit) soft key to save the setting, exit the Display submenu, and return to the
Preferences menu.


