Using the keyboard
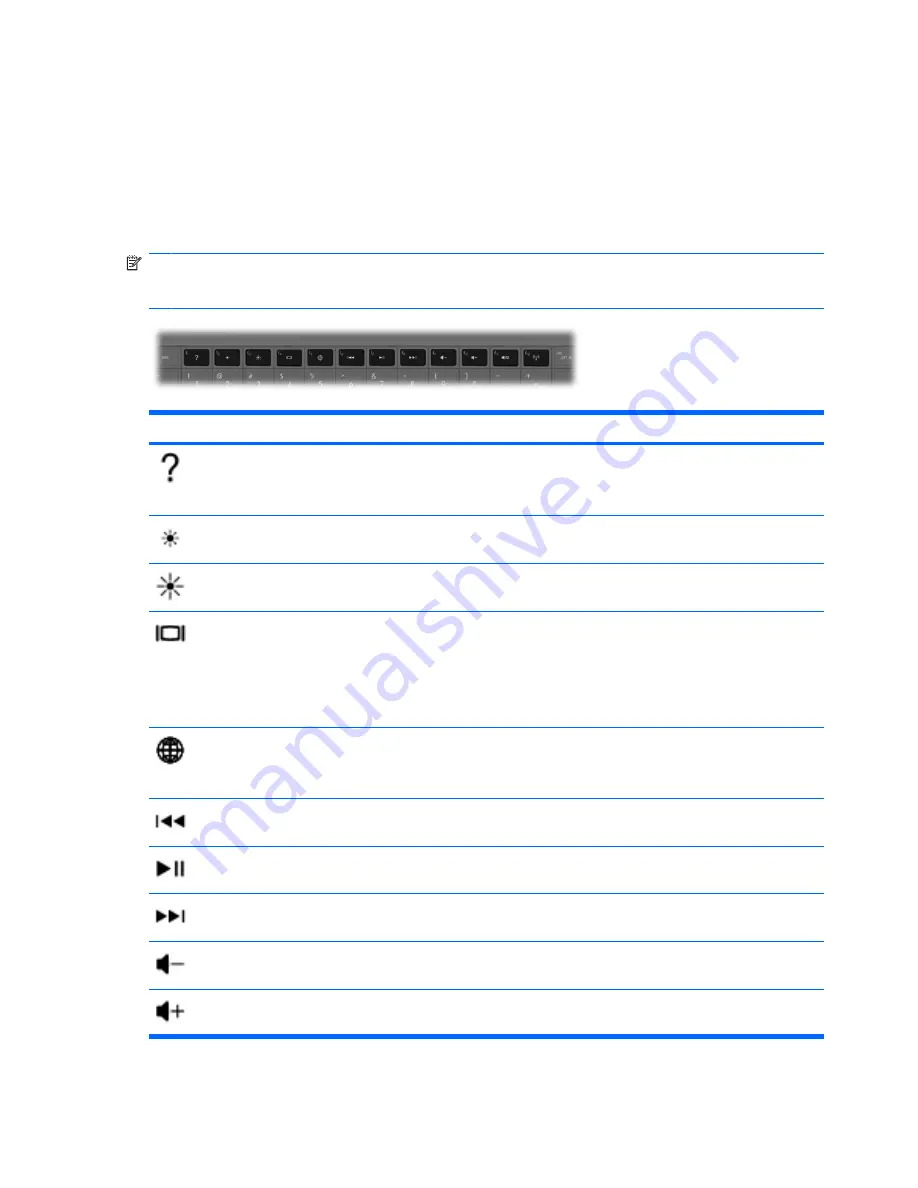
Using the action keys
Action keys are customized actions that are assigned to specific keys at the top of the keyboard. The
icons on the
f1
through
f12
keys represent the action key functions.
To use an action key, press and hold this key to activate the assigned function.
NOTE:
The action key feature is enabled at the factory. You can disable this feature in Setup Utility.
If this feature is disabled in Setup Utility, you must press
fn
and an action key to activate the assigned
function.
Icon
Key
Description
f1
Opens Help and Support, which provides information about your Windows operating system and
computer, answers to questions and tutorials, and updates to your computer
Help and Support also provides automated troubleshooting and links to support specialists
f2
Decreases the screen brightness level incrementally when you hold down this key
f3
Increases the screen brightness level incrementally when you hold down this key
f4
Switches the screen image among display devices connected to the system. For example, if a monitor
is connected to the computer, pressing this key alternates the screen image from computer display to
monitor display to simultaneous display on both the computer and the monitor.
Most external monitors receive video information from the computer using the external VGA video
standard. The
switch screen image
action key can also alternate images among other devices that
are receiving video information from the computer.
f5
Opens a Web browser
NOTE:
Until you set up your Internet or network services, this action key opens the Internet
Connection Wizard.
f6
Plays the previous track of an audio CD or the previous section of a DVD or a BD
f7
Plays, pauses, or resumes an audio CD, a DVD, or a BD
f8
Plays the next track of an audio CD or the next section of a DVD or a BD
f9
Decreases speaker volume incrementally when you hold down this key
f10
Increases speaker volume incrementally when you hold down this key
18
Chapter 4 Keyboard and pointing devices
Содержание Pavilion g6-1000
Страница 1: ...Getting Started HP Notebook ...
Страница 4: ...iv Safety warning notice ...
Страница 23: ...4 Keyboard and pointing devices Using the keyboard Using pointing devices Using TouchPad gestures 17 ...
Страница 32: ...2 Remove the battery from the battery bay 2 26 Chapter 5 Maintenance ...
Страница 47: ...7 Customer support Contacting customer support Labels 41 ...
Страница 50: ...8 Specifications Input power Operating environment 44 Chapter 8 Specifications ...


